Recycling HDPE High Density Polyethylene
Small batch HDPE Recycling
If you’ve ever priced materials such as aluminum steel or plastic for making small parts or prototyping you know how expensive it can be. This of course is why I end up melting down aluminum and in this case, plastics.
 Collecting Materials
The easiest and most prevalent home recycling of plastics is done with HDPE, or “Number 2”, recyclable plastic. It’s easy to find, inexpensive, and holds up well to machining, and abrasion, but can be easily recycled in the home shop.
The first step in the process is to make sure you’re using HDPE. You can identify it by the recycling label on the plastic itself. Also… Not all HDPE will react the same under recycling conditions. You need to sort the materials you plan to process into “like” groups. Mixing materials from different sources can lead to plastic that is unusable.
Obligatory safety notes
- Melted plastic is hot and sticks to everything, including skin.
- Wear Eye Protection, leather gloves, long sleeves, long pants, shoes, etc.
- Melting plastic can produce toxic fumes and smoke. I only do this outside. Proper ventilation is mandatory.
- This process does NOT produce food safe plastic…
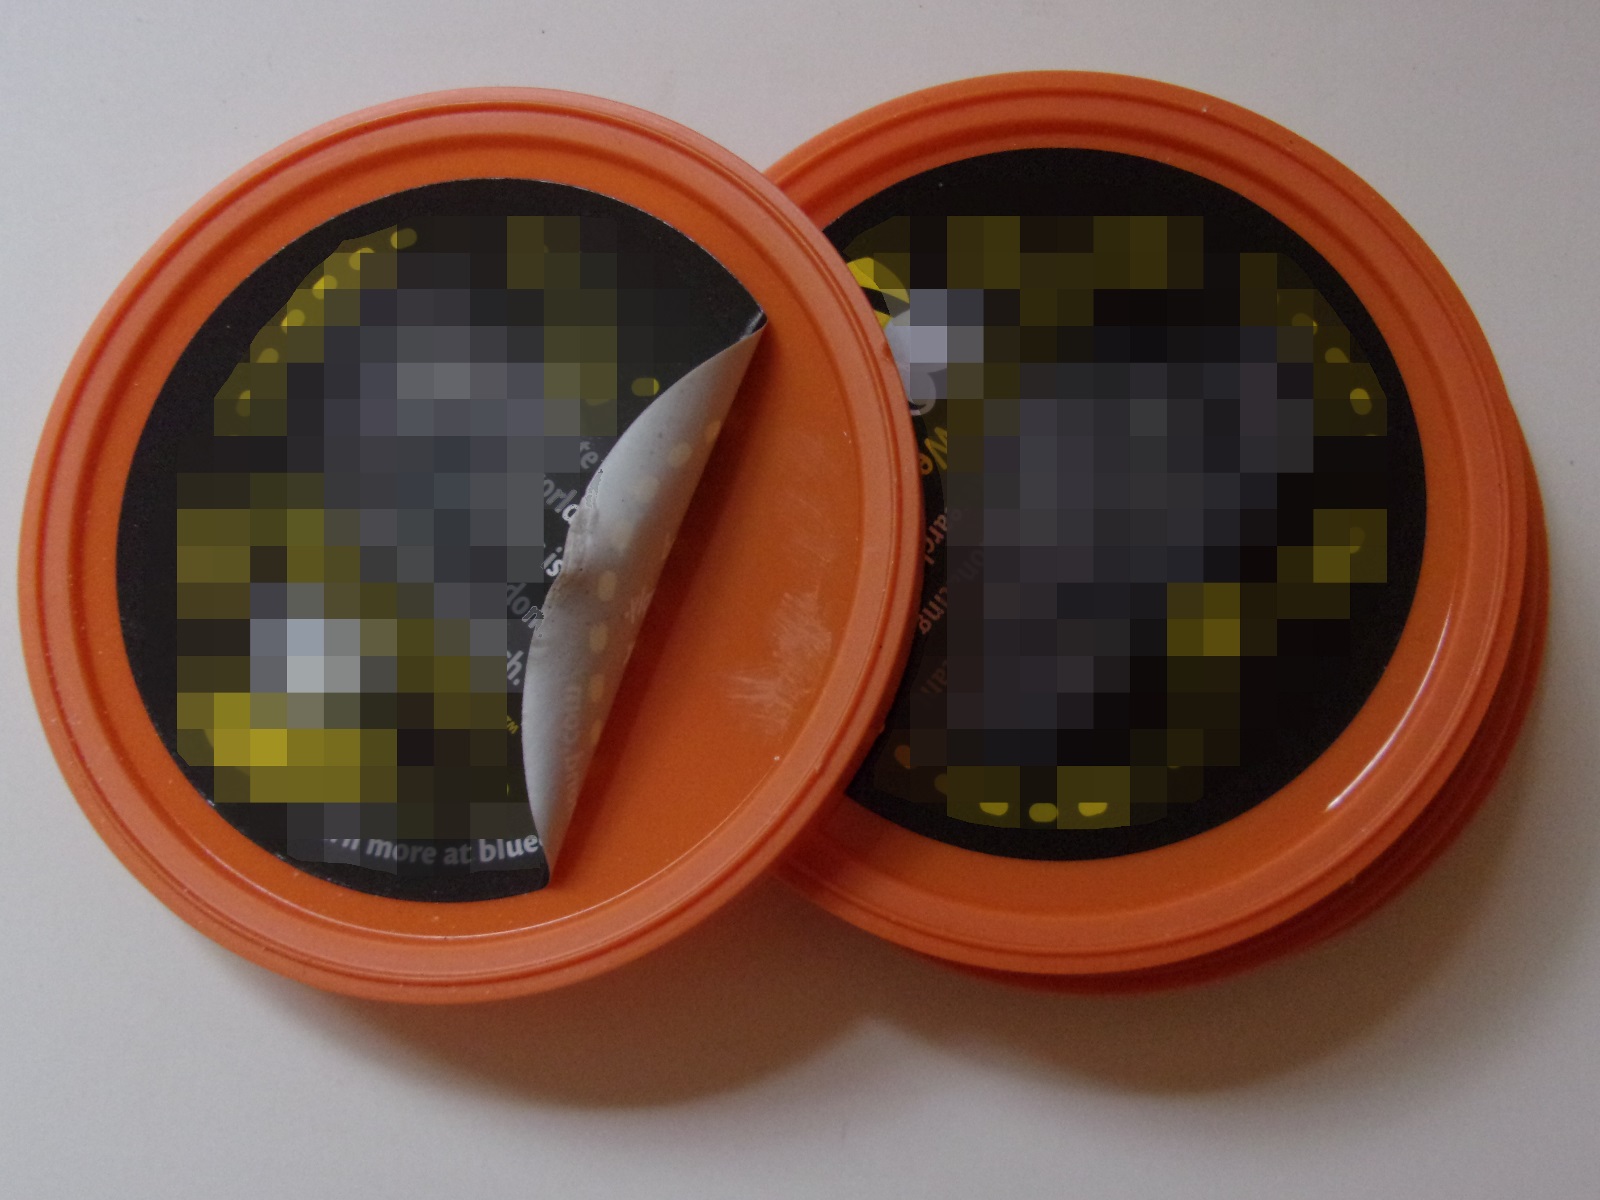
- Remove labels or any other material attached to the plastic you plan to recycle. It’s usually pretty easy to remove labels from HDPE, since it tends to be fairly slick.
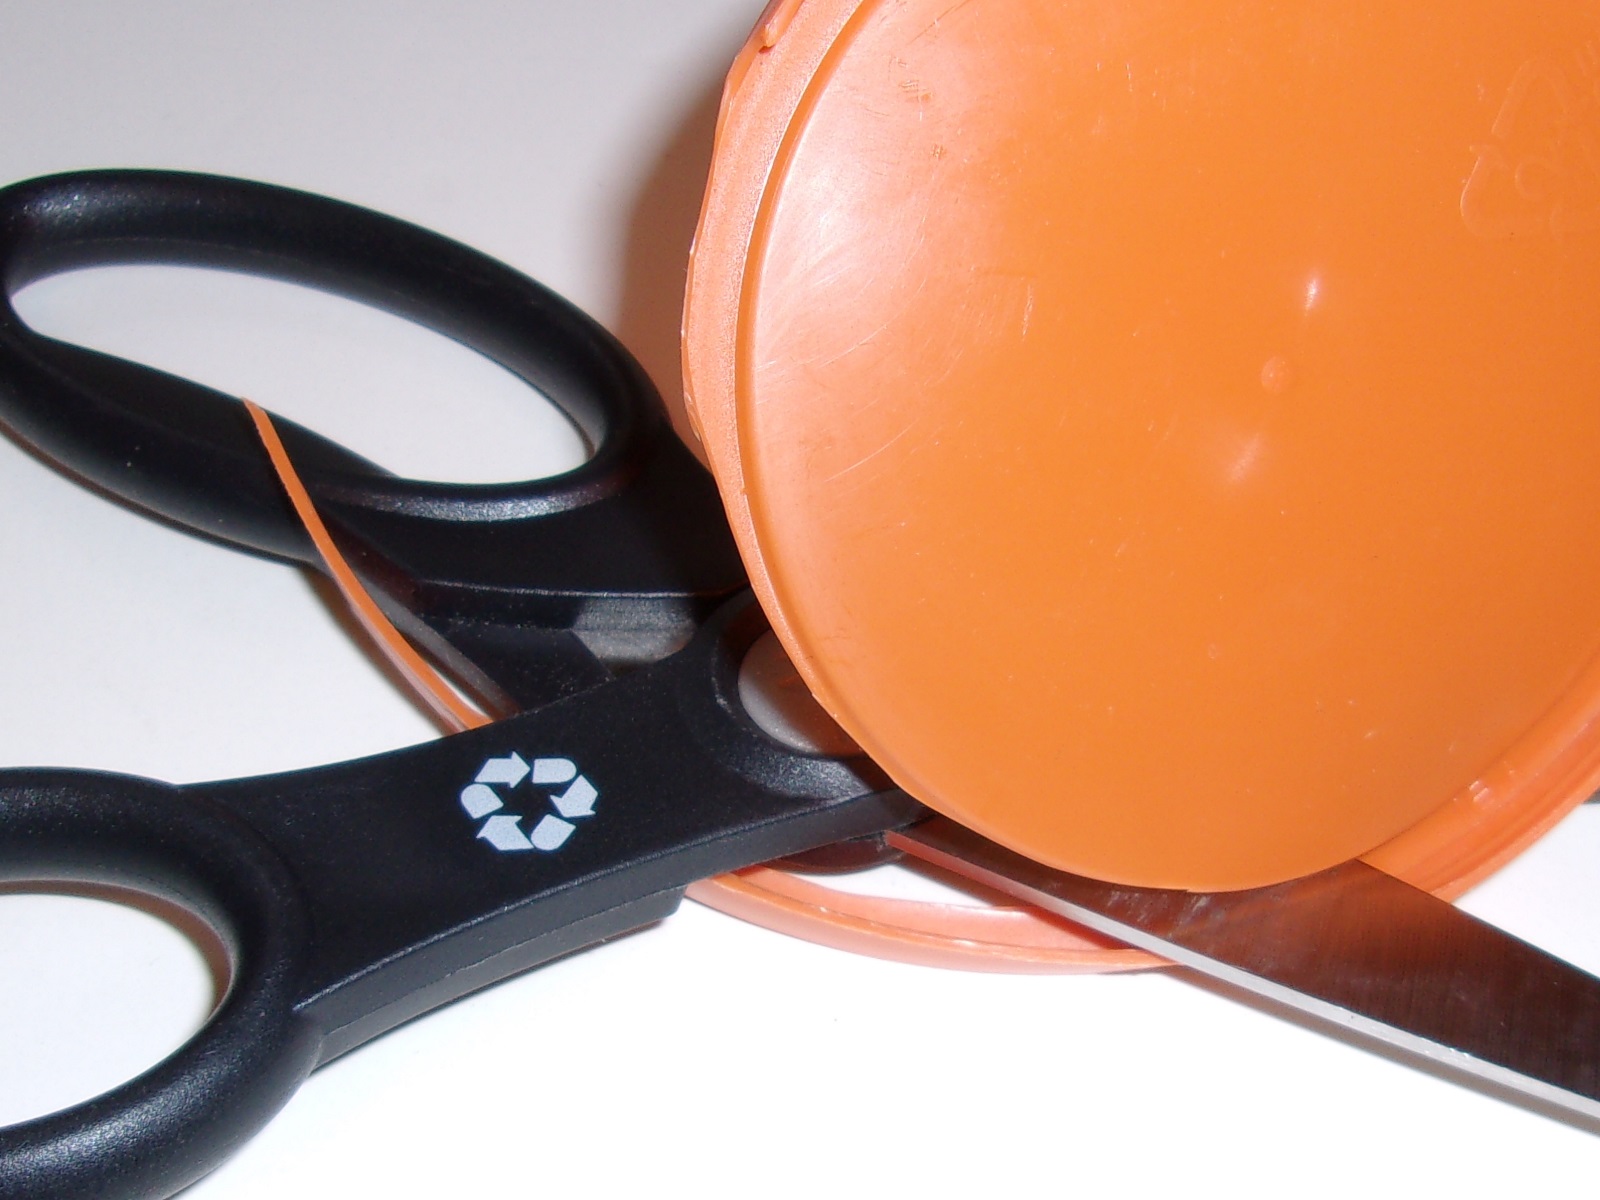
- I like to remove the thick rim around the outside of the lids, simply because it makes it easier to process. I’ll use the rims I’ve cut off in some other project. The rims will be chipped up the same as the rest of the lid.
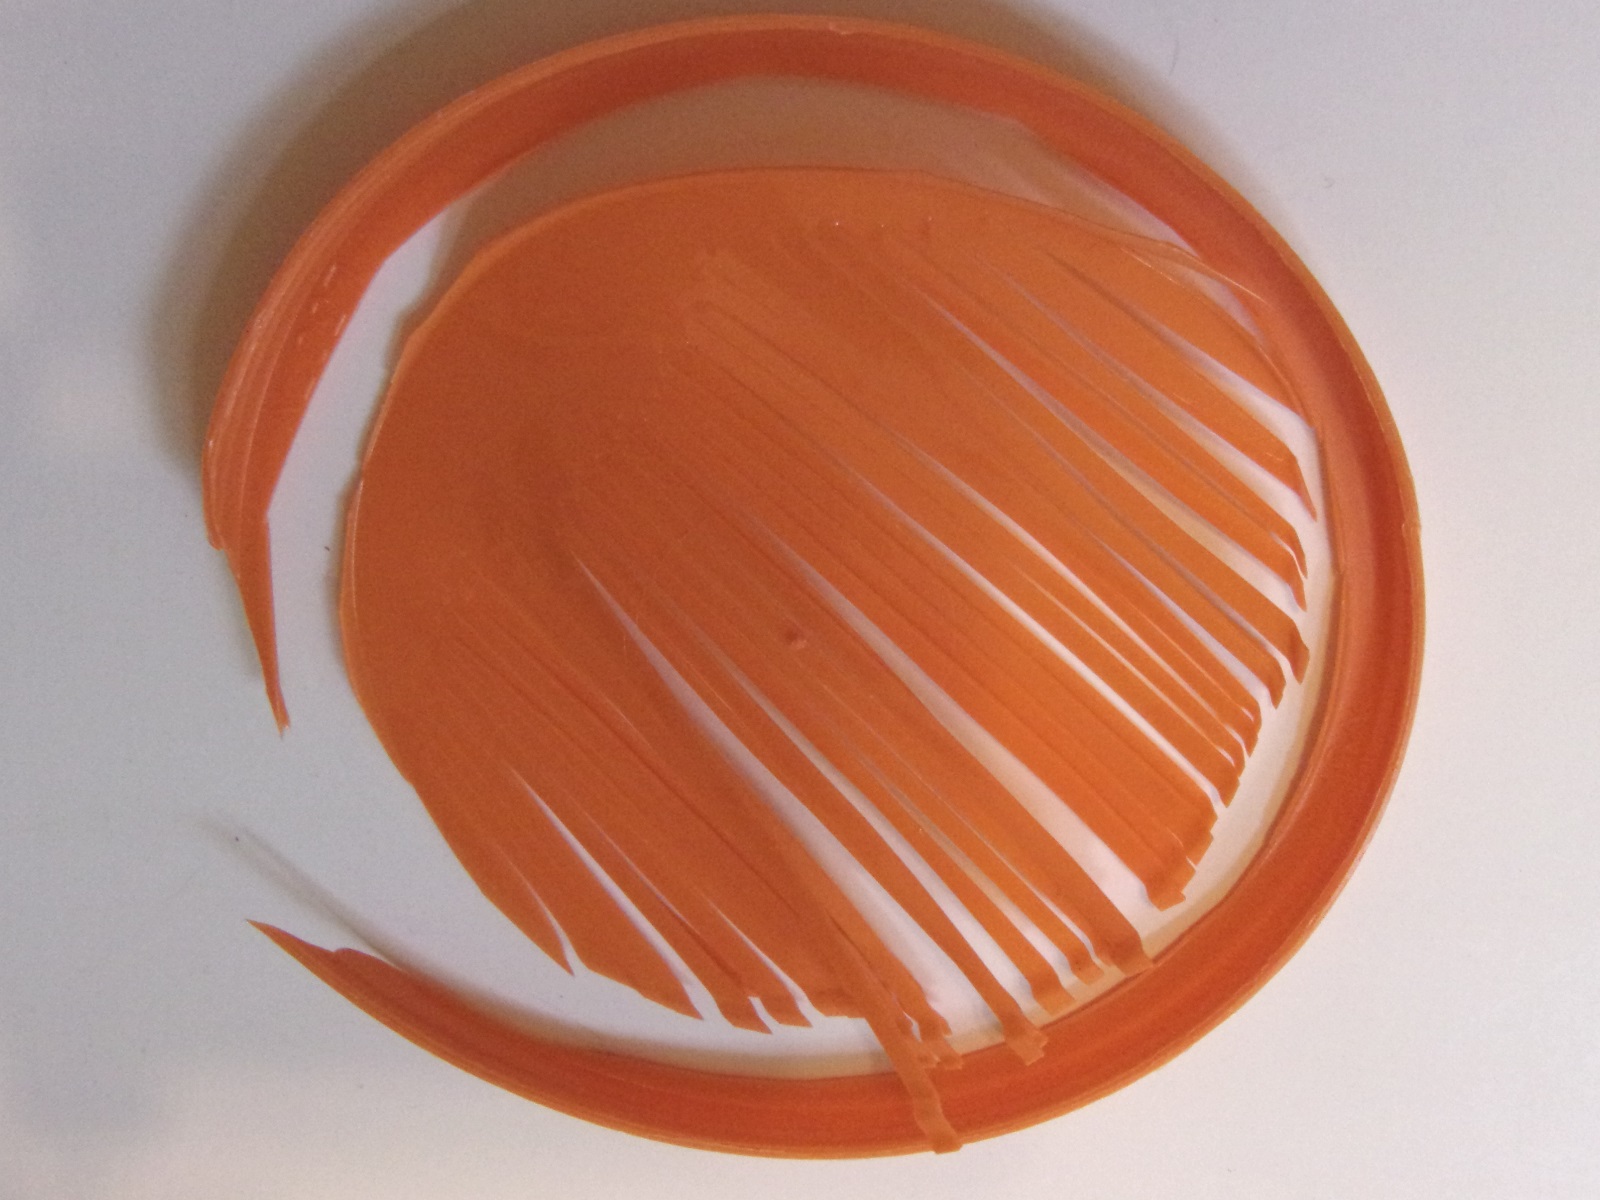
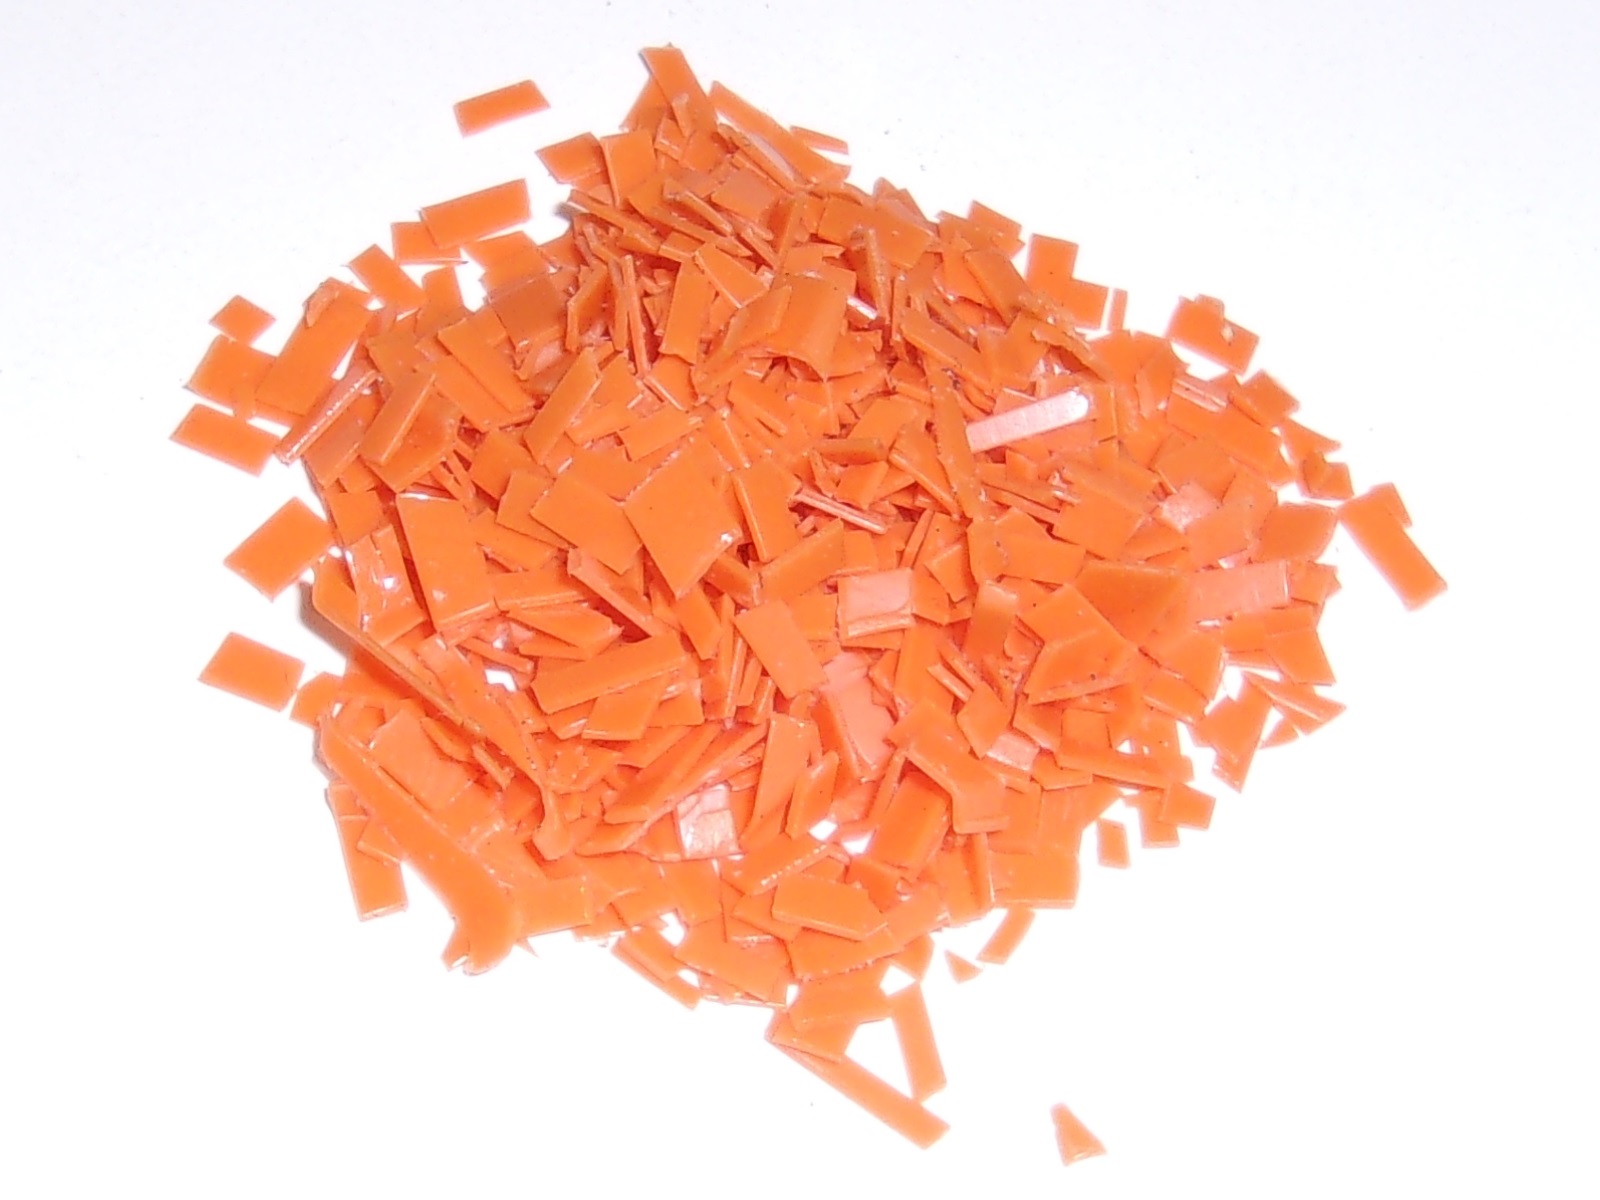
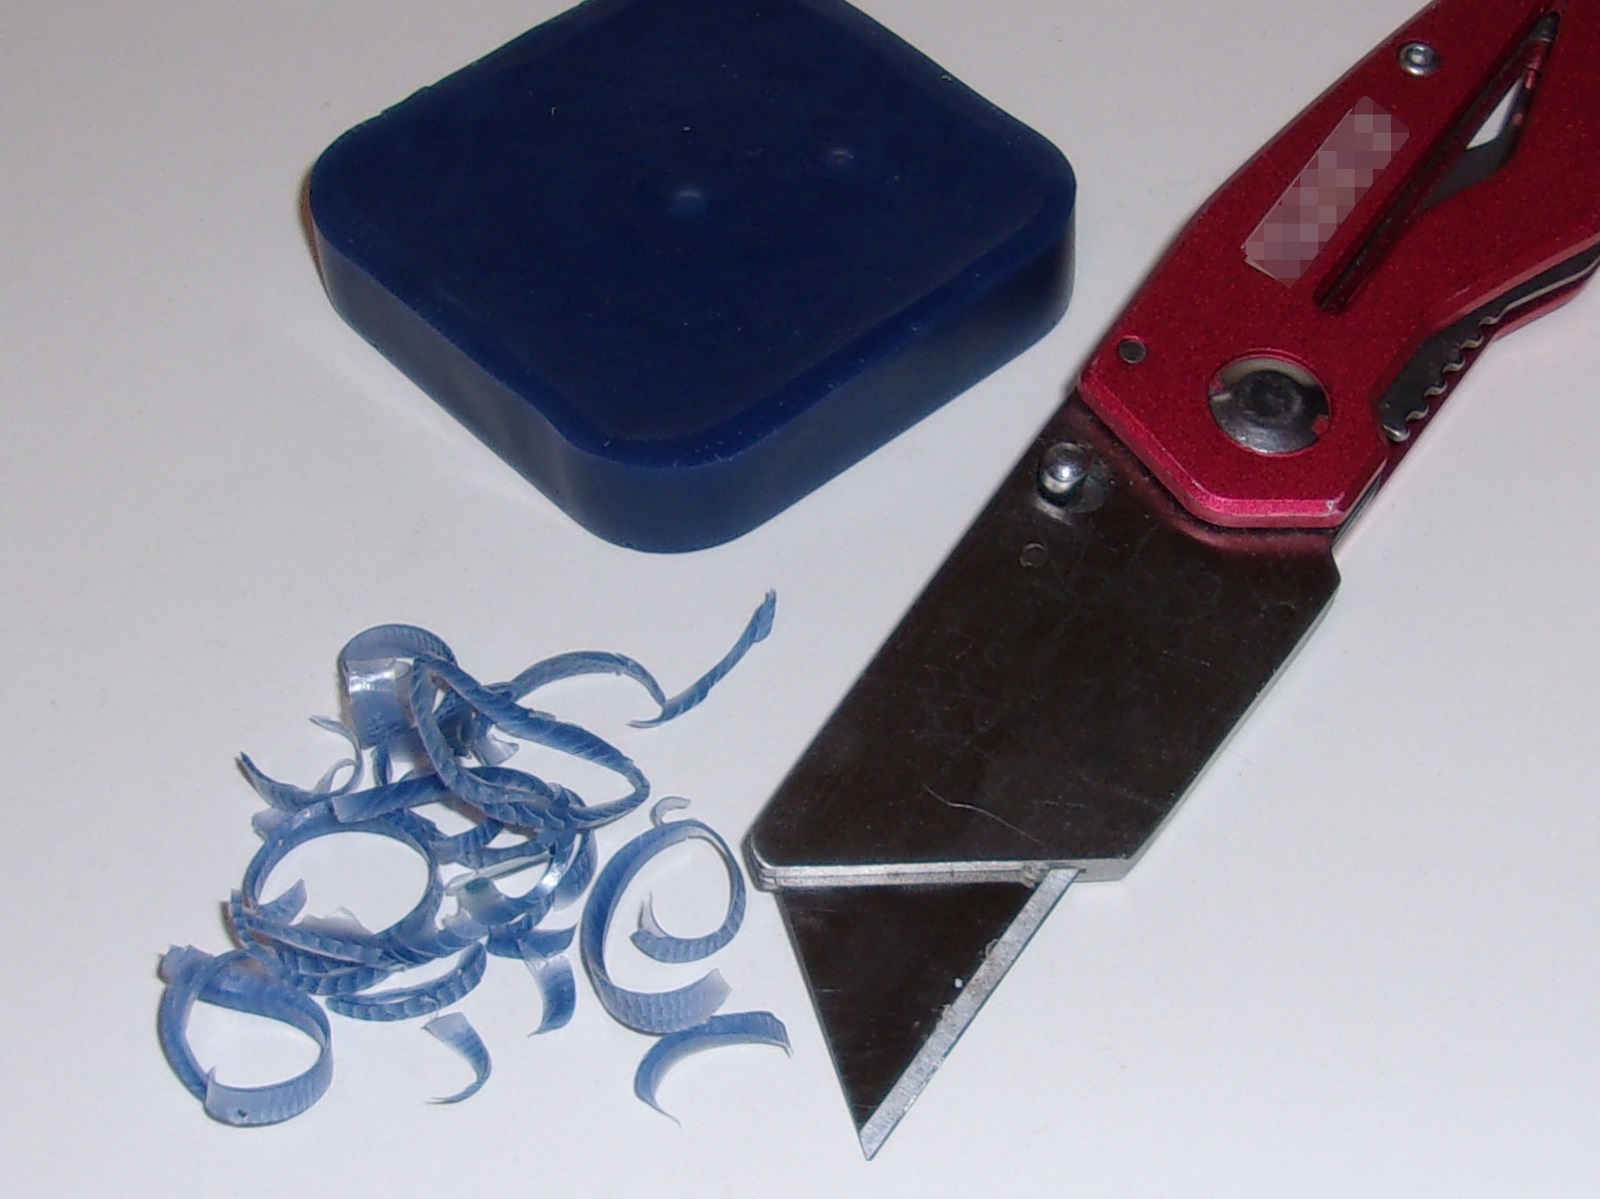
- Take the center portion of the lid and cut it into very fine ribbons.
- Cross-cut the ribbons to end up with diced pieces of plastic, roughly an eighth of an inch square, or smaller if possible.
Shredding the plastic
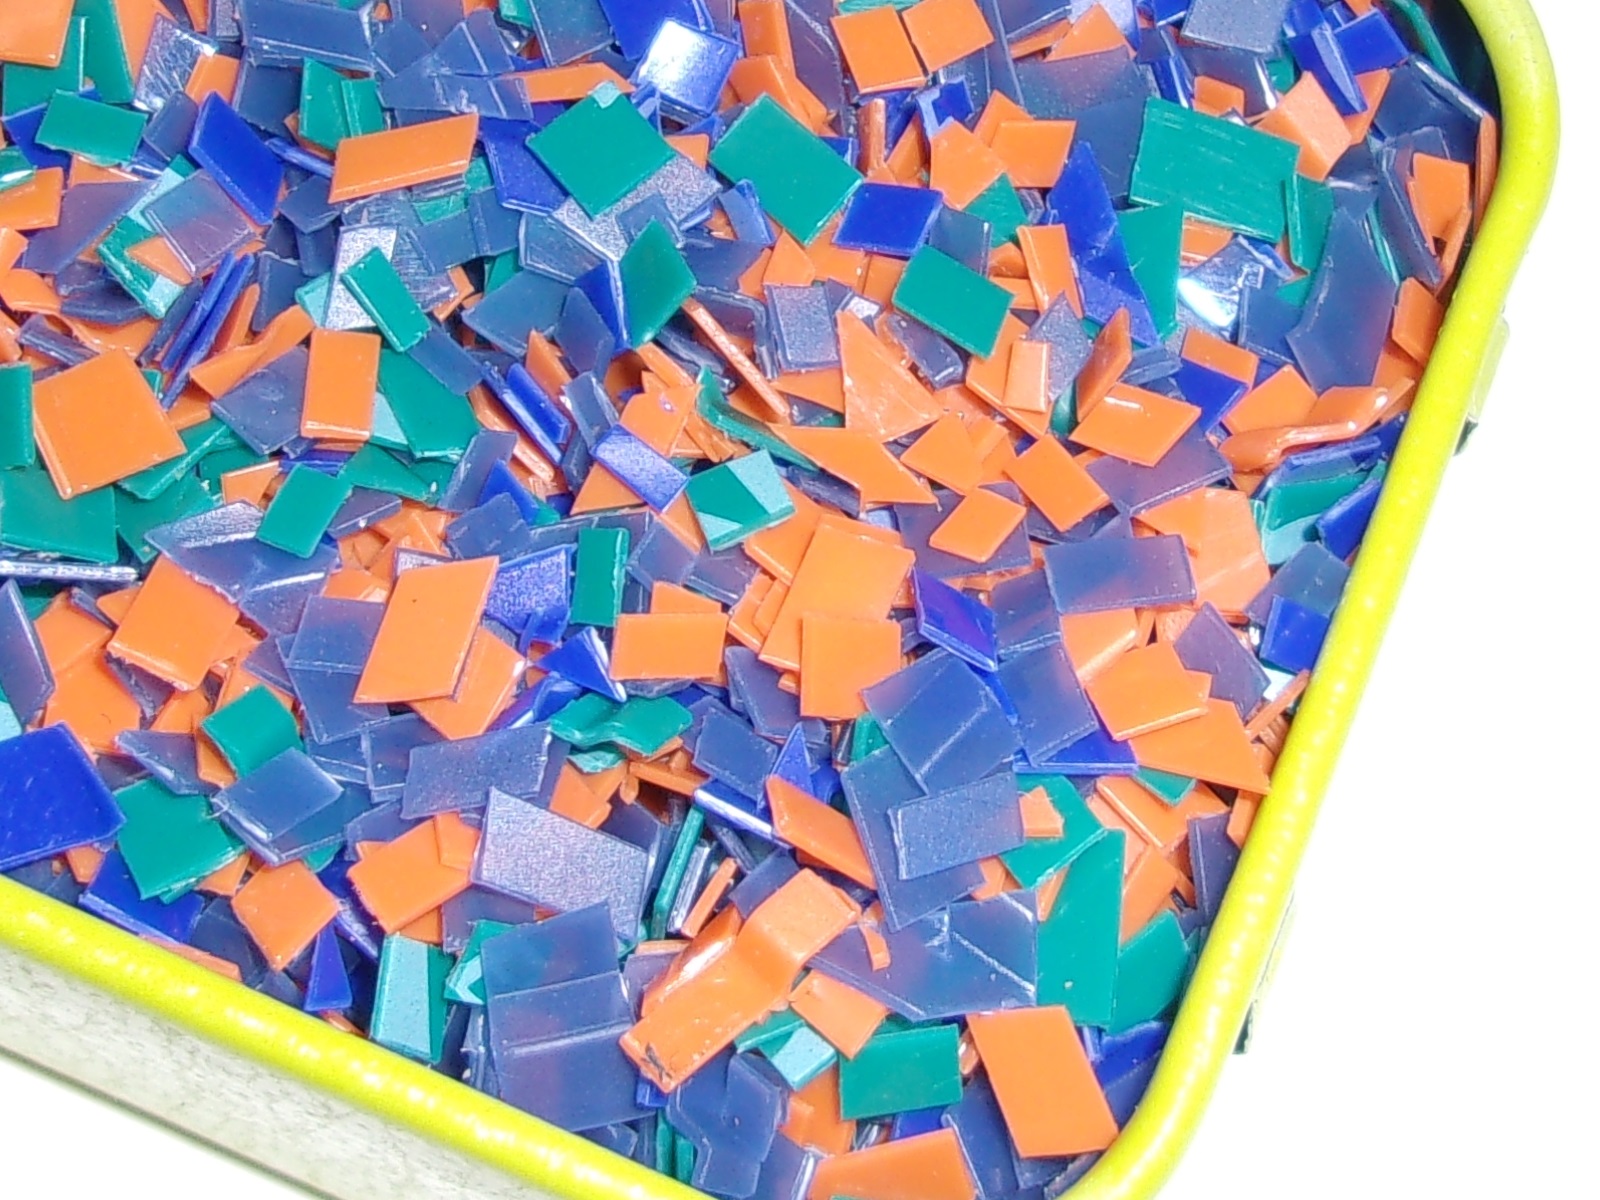
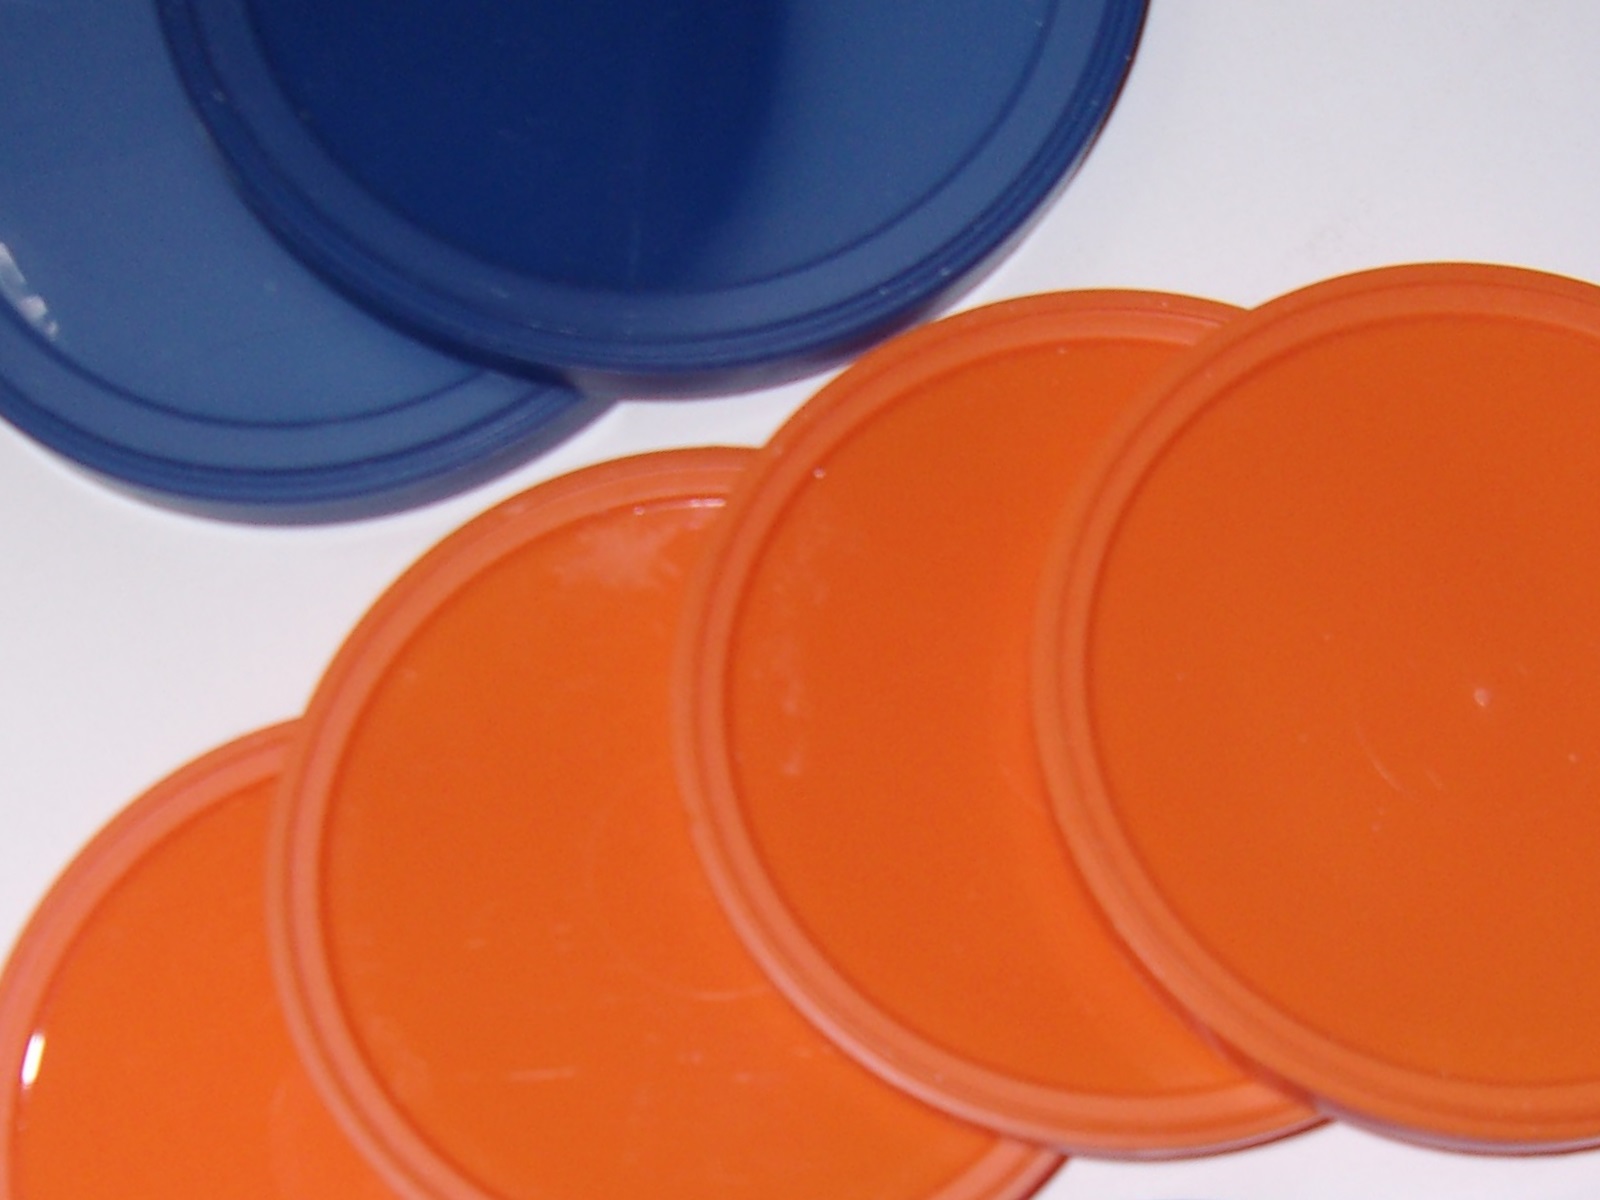
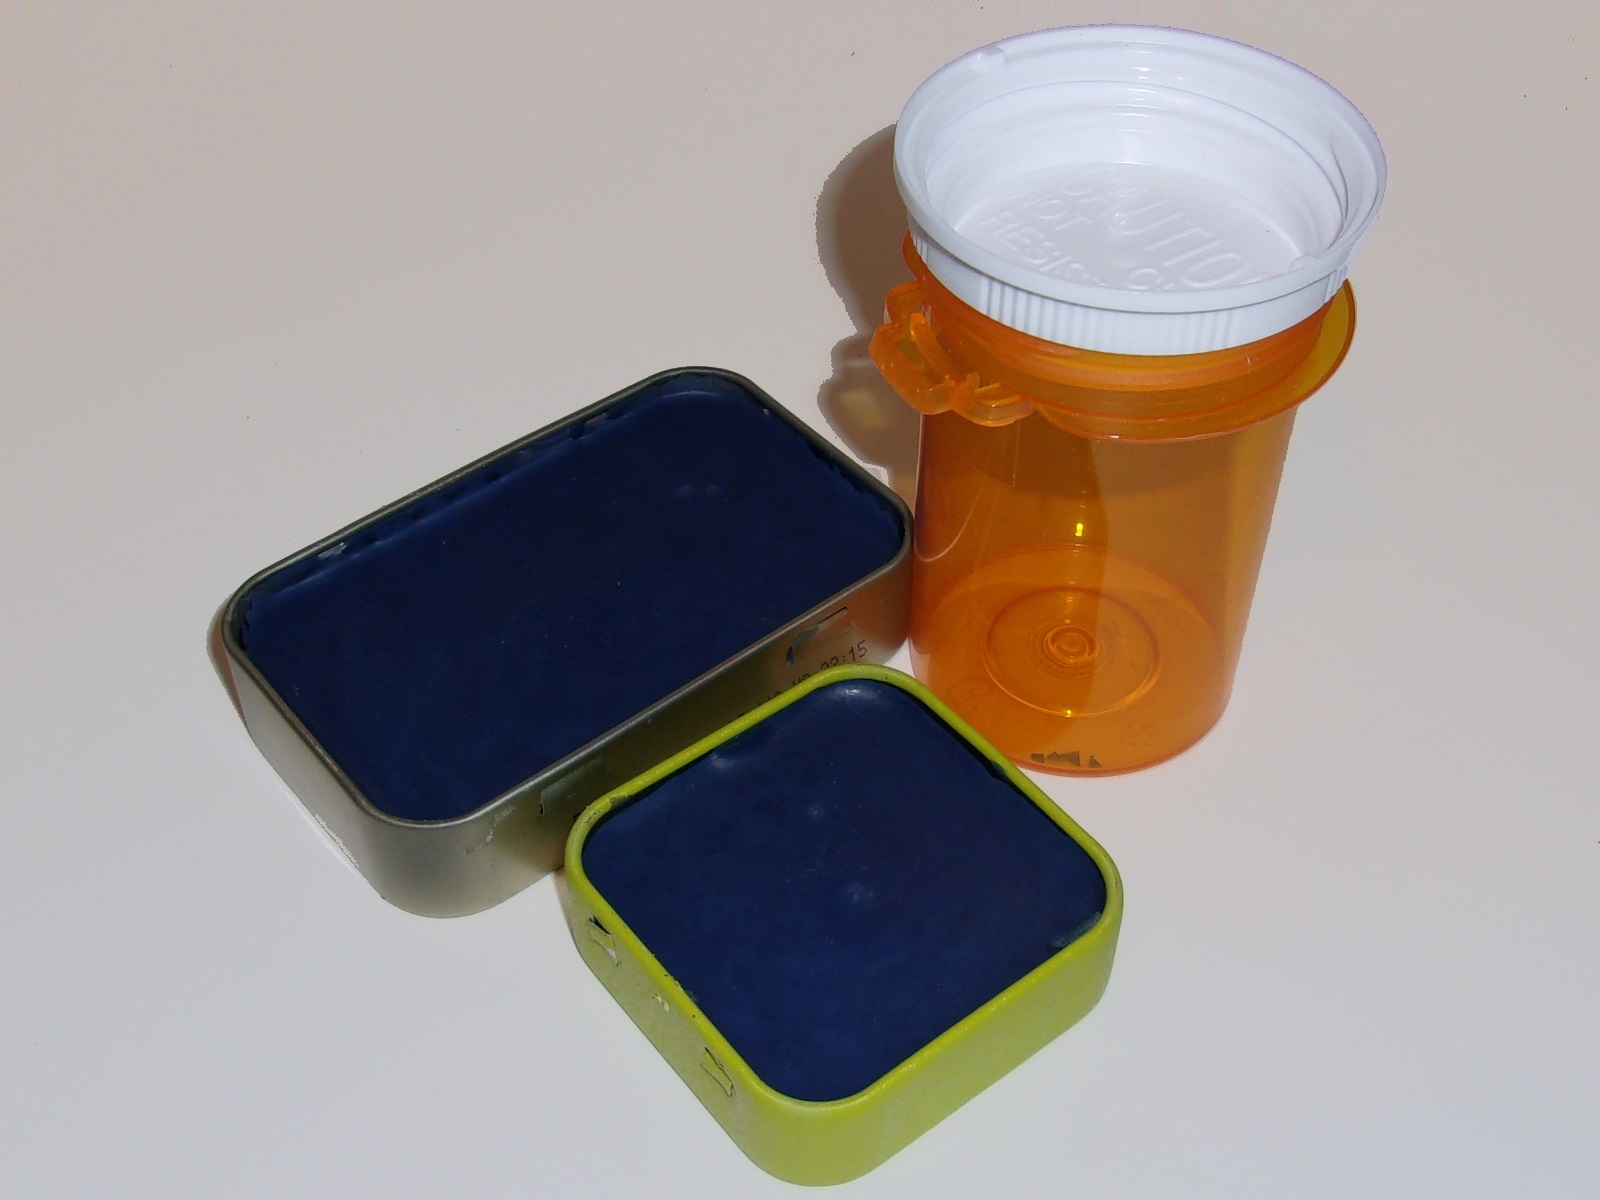
- Multi-color almond container lids.
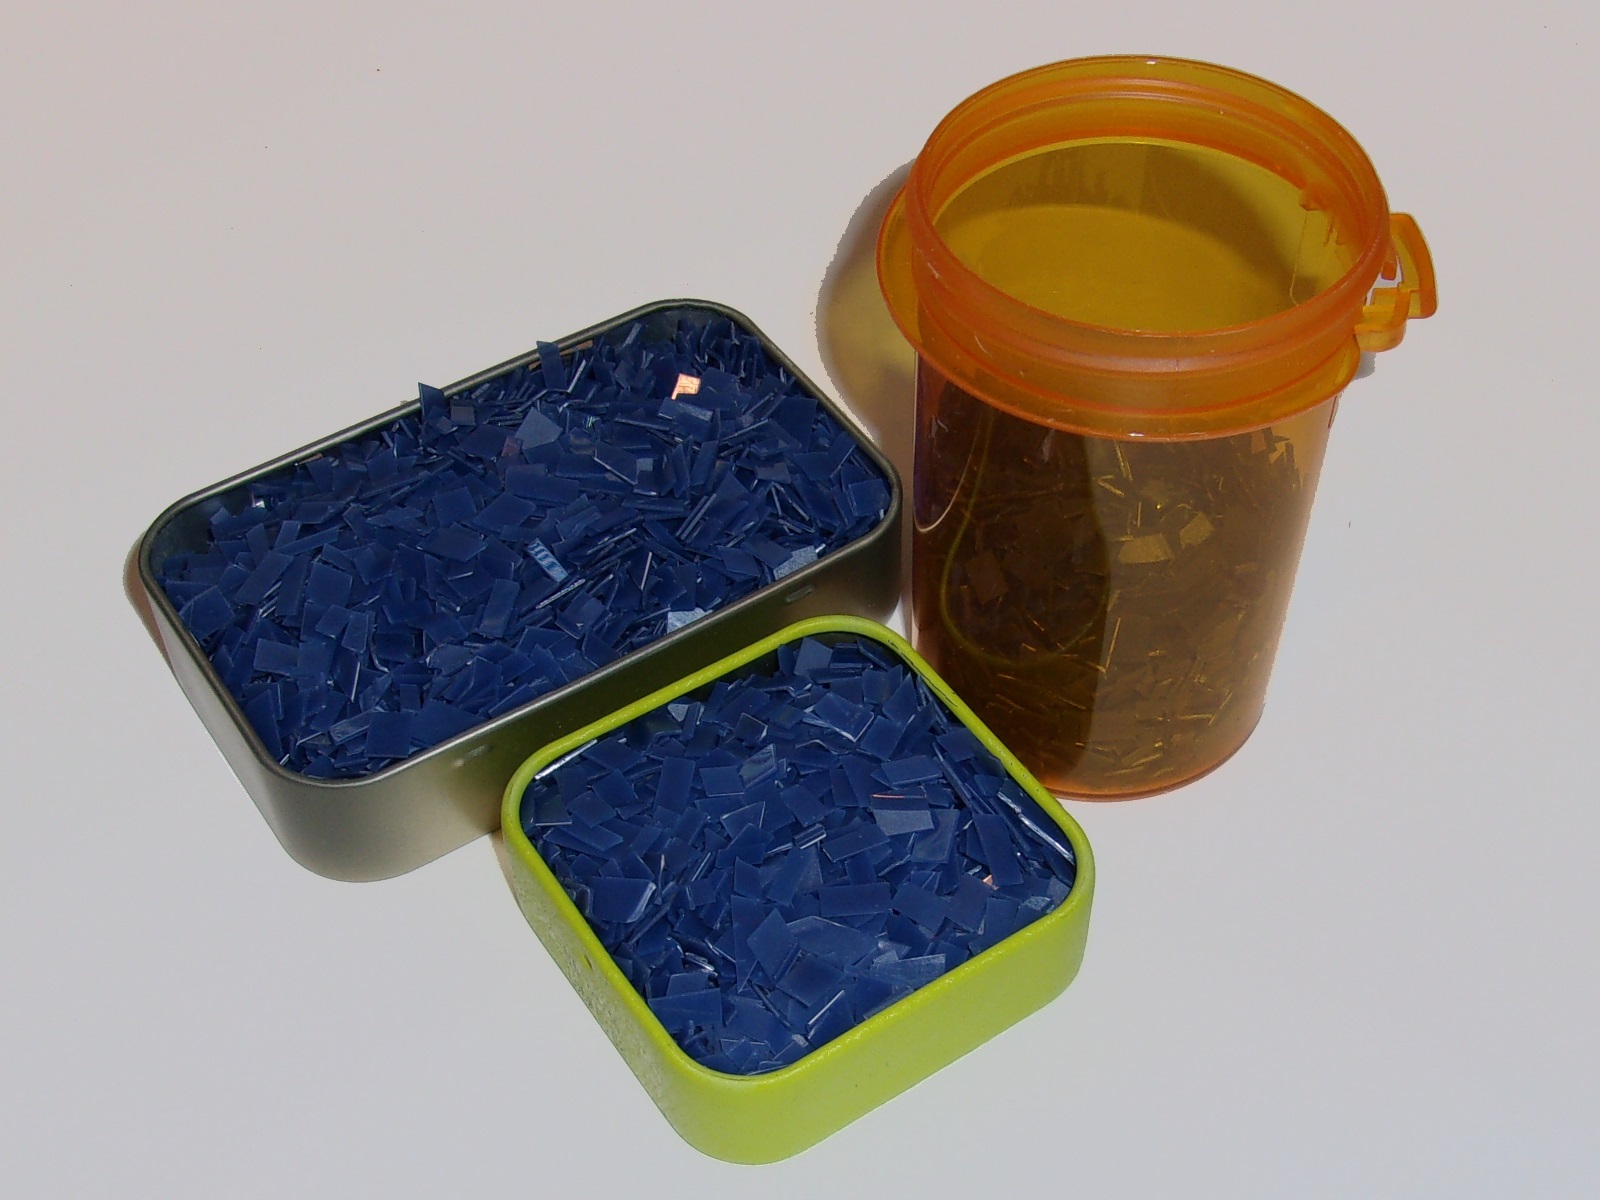
- White plastic salvaged from a laundry detergent bottle.
- Blue Chips made from peanut can lids.
All of these were processed separately, and the following photos show the results from these different batches of HDPE. You can ignore the prescription bottle, I’m just using it to hold extra materials.
Melting the plastic
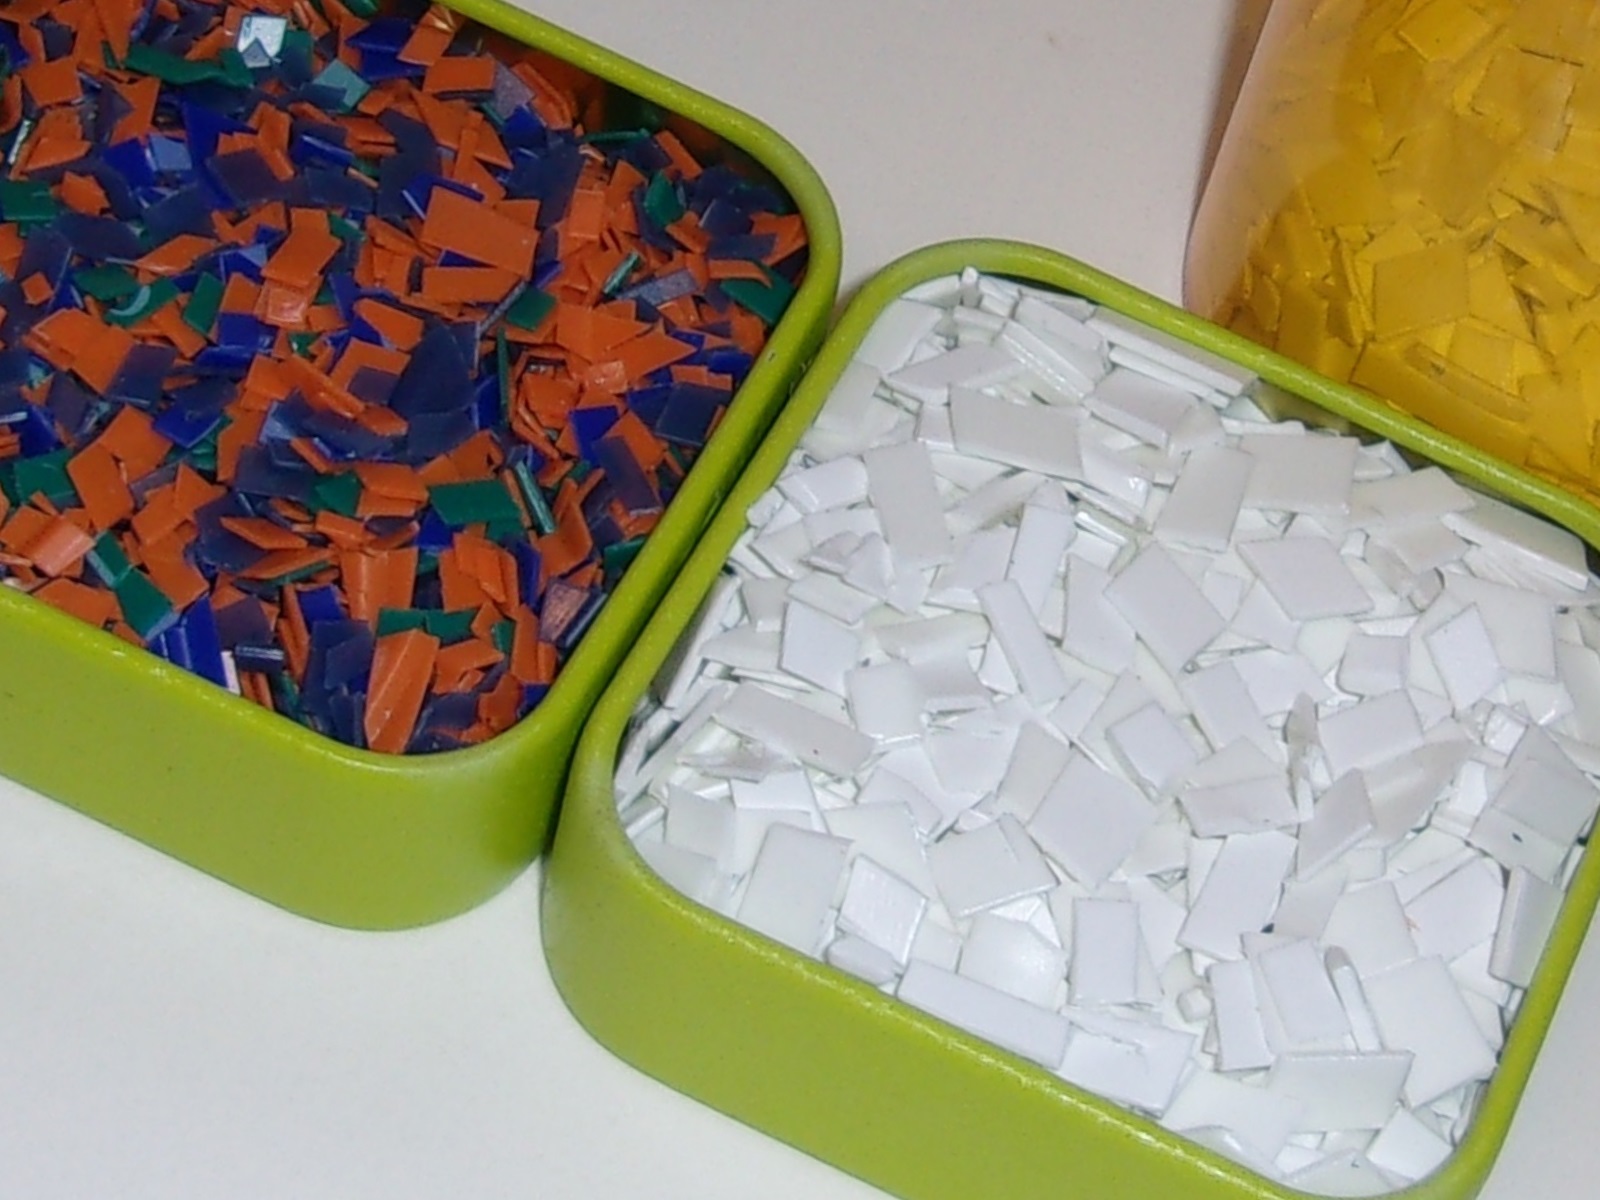
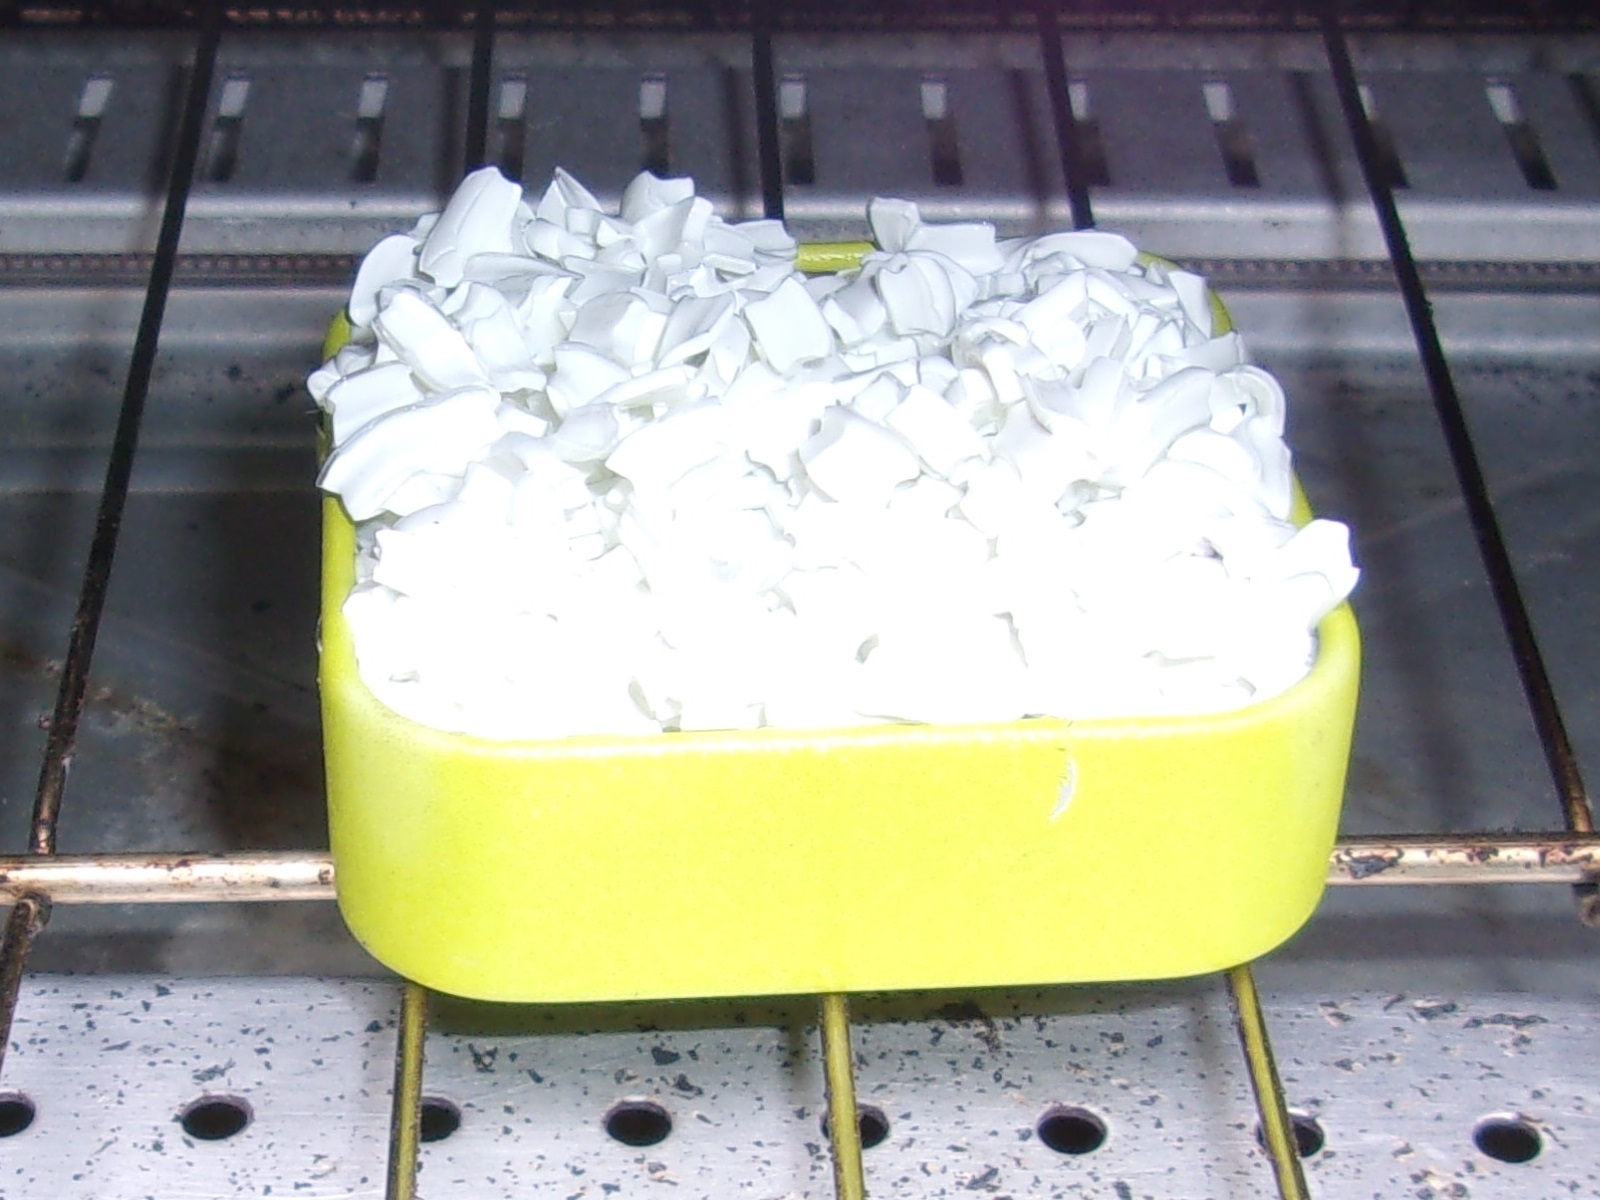
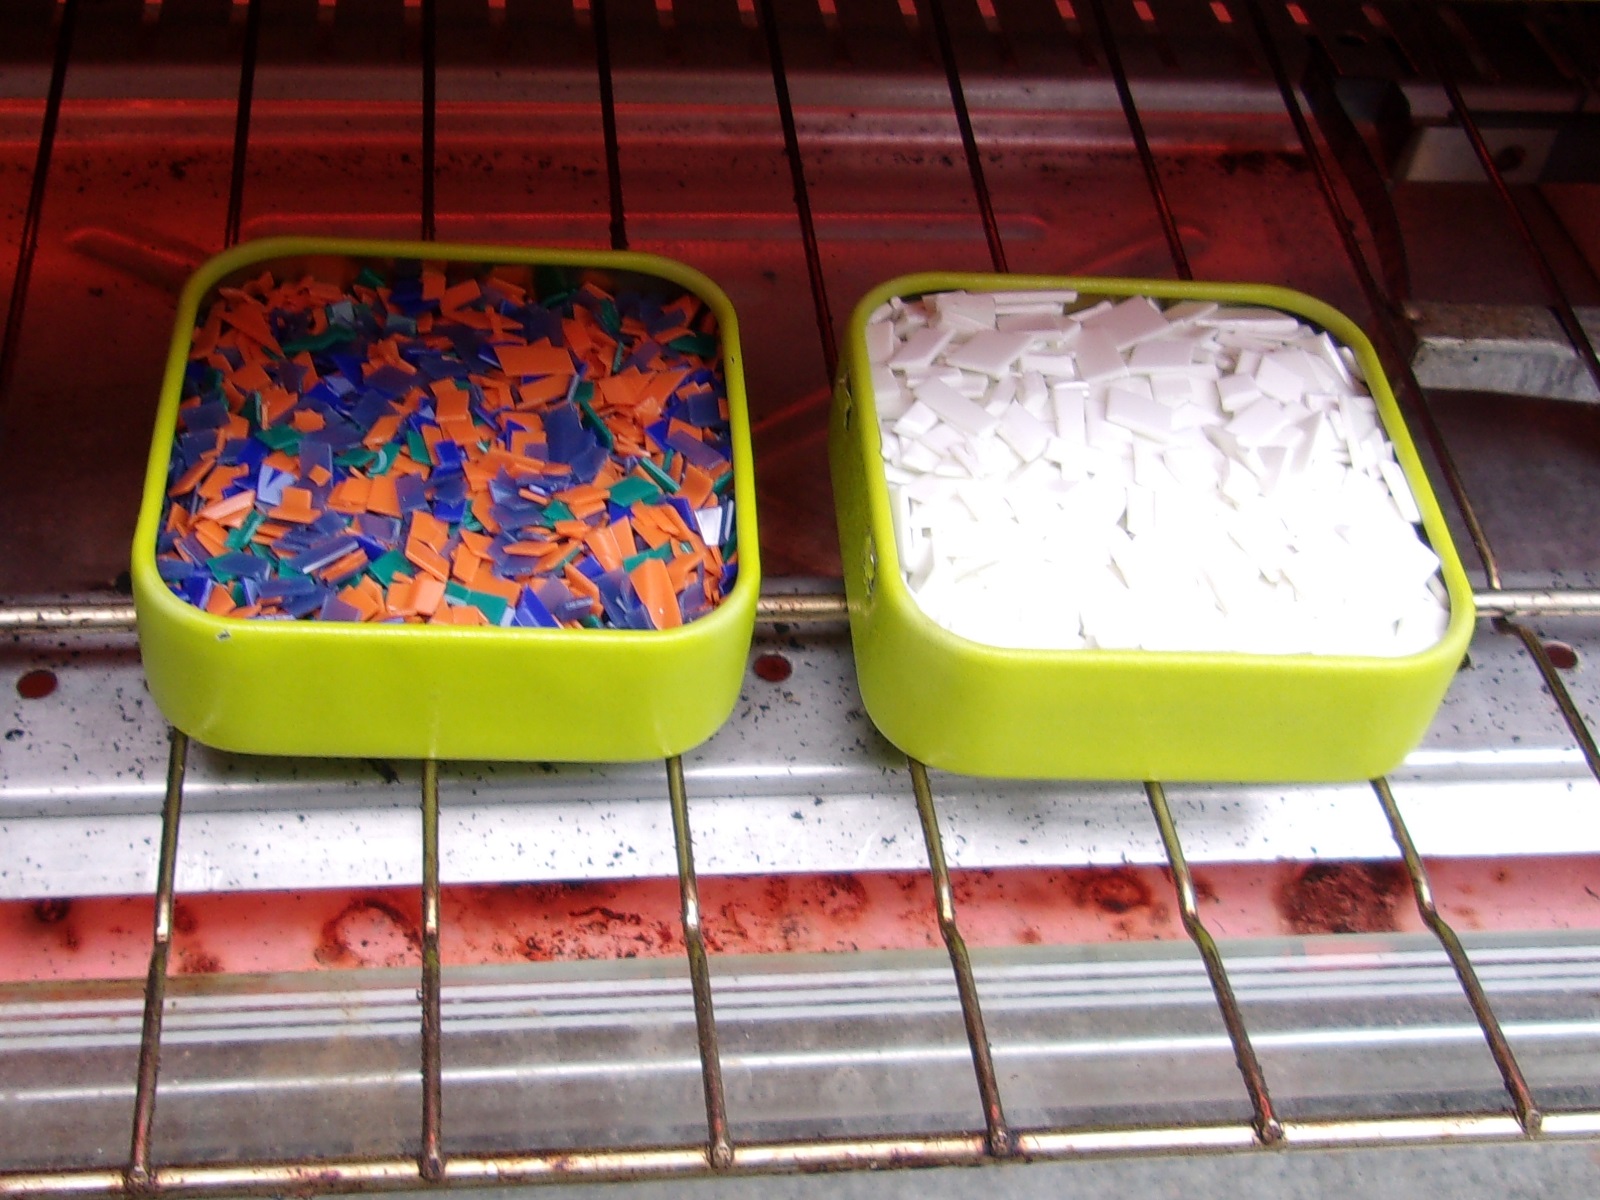 I was trying to recycle the lids from the almond containers in the multi colored batch on the left, and on the right is the plastic from the detergent bottle. They both went into the oven at the same time, but rendered very different results.
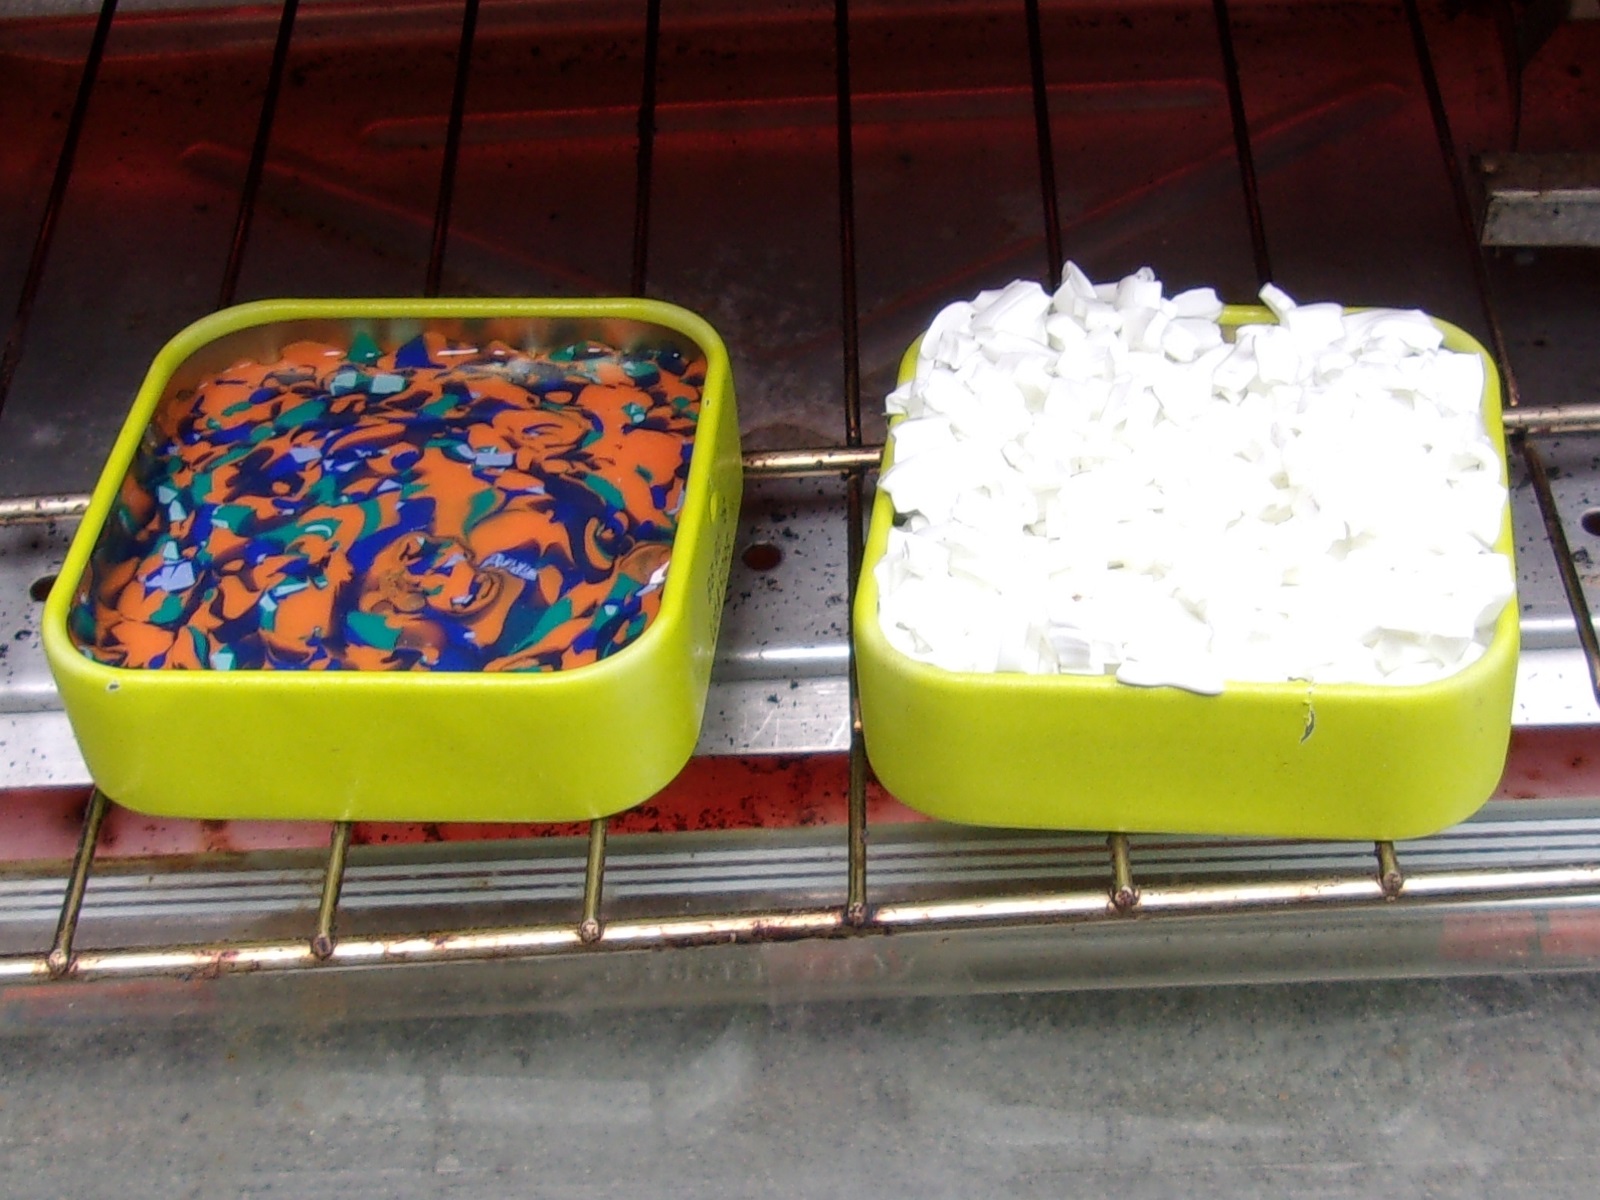
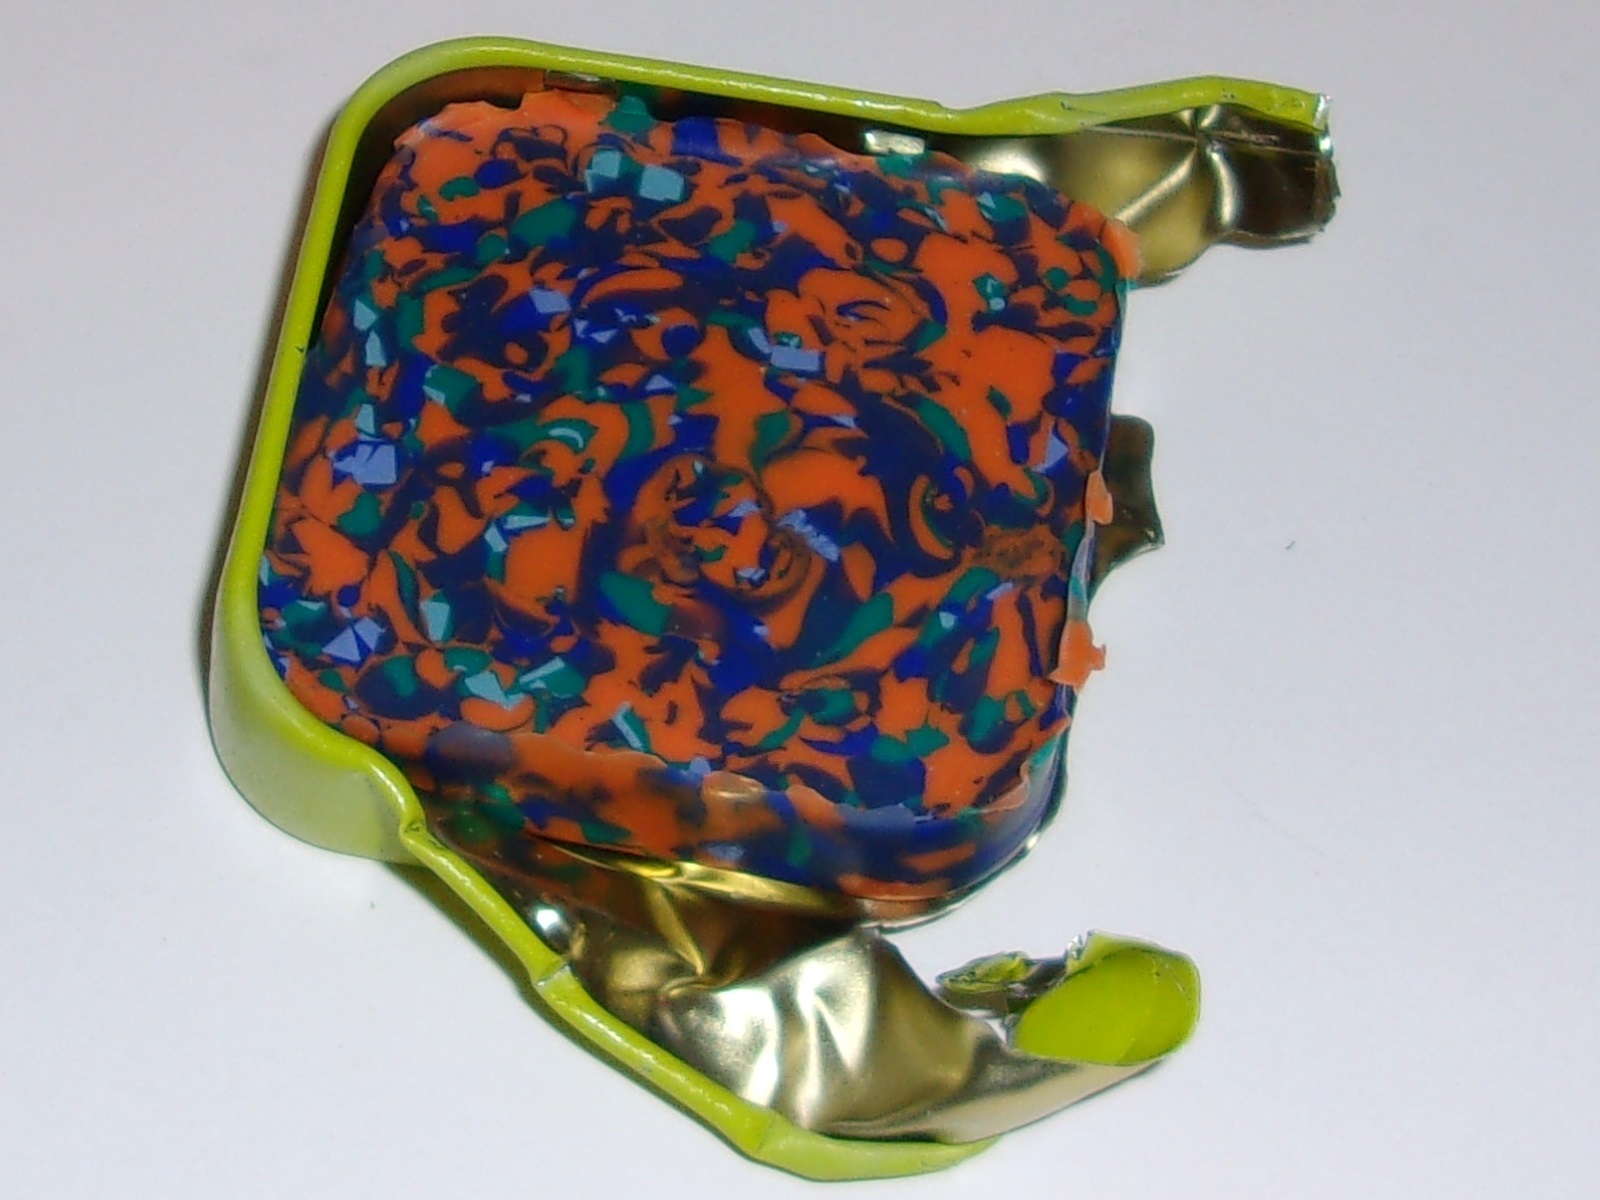
 The multi-colored almond lids melted down quickly and easily. You can see here, where it started the bubble. I probably need to back my temperature down just a little, or possibly shorten the melt time.
Time and temperature:
10min @ ~312°f approx
 The two batches shown here were in the oven for the same amount of time. About 10 minutes at 312
The multi-color plastic melted down smoothly, and was removed from the oven.
On the other hand, the plastic from the detergent bottle doesn’t seem to have changed, except that it’s swelling out of the container. I’ll go into more detail about the white HDPE later in this article.
Freshly remanufactured HDPE.
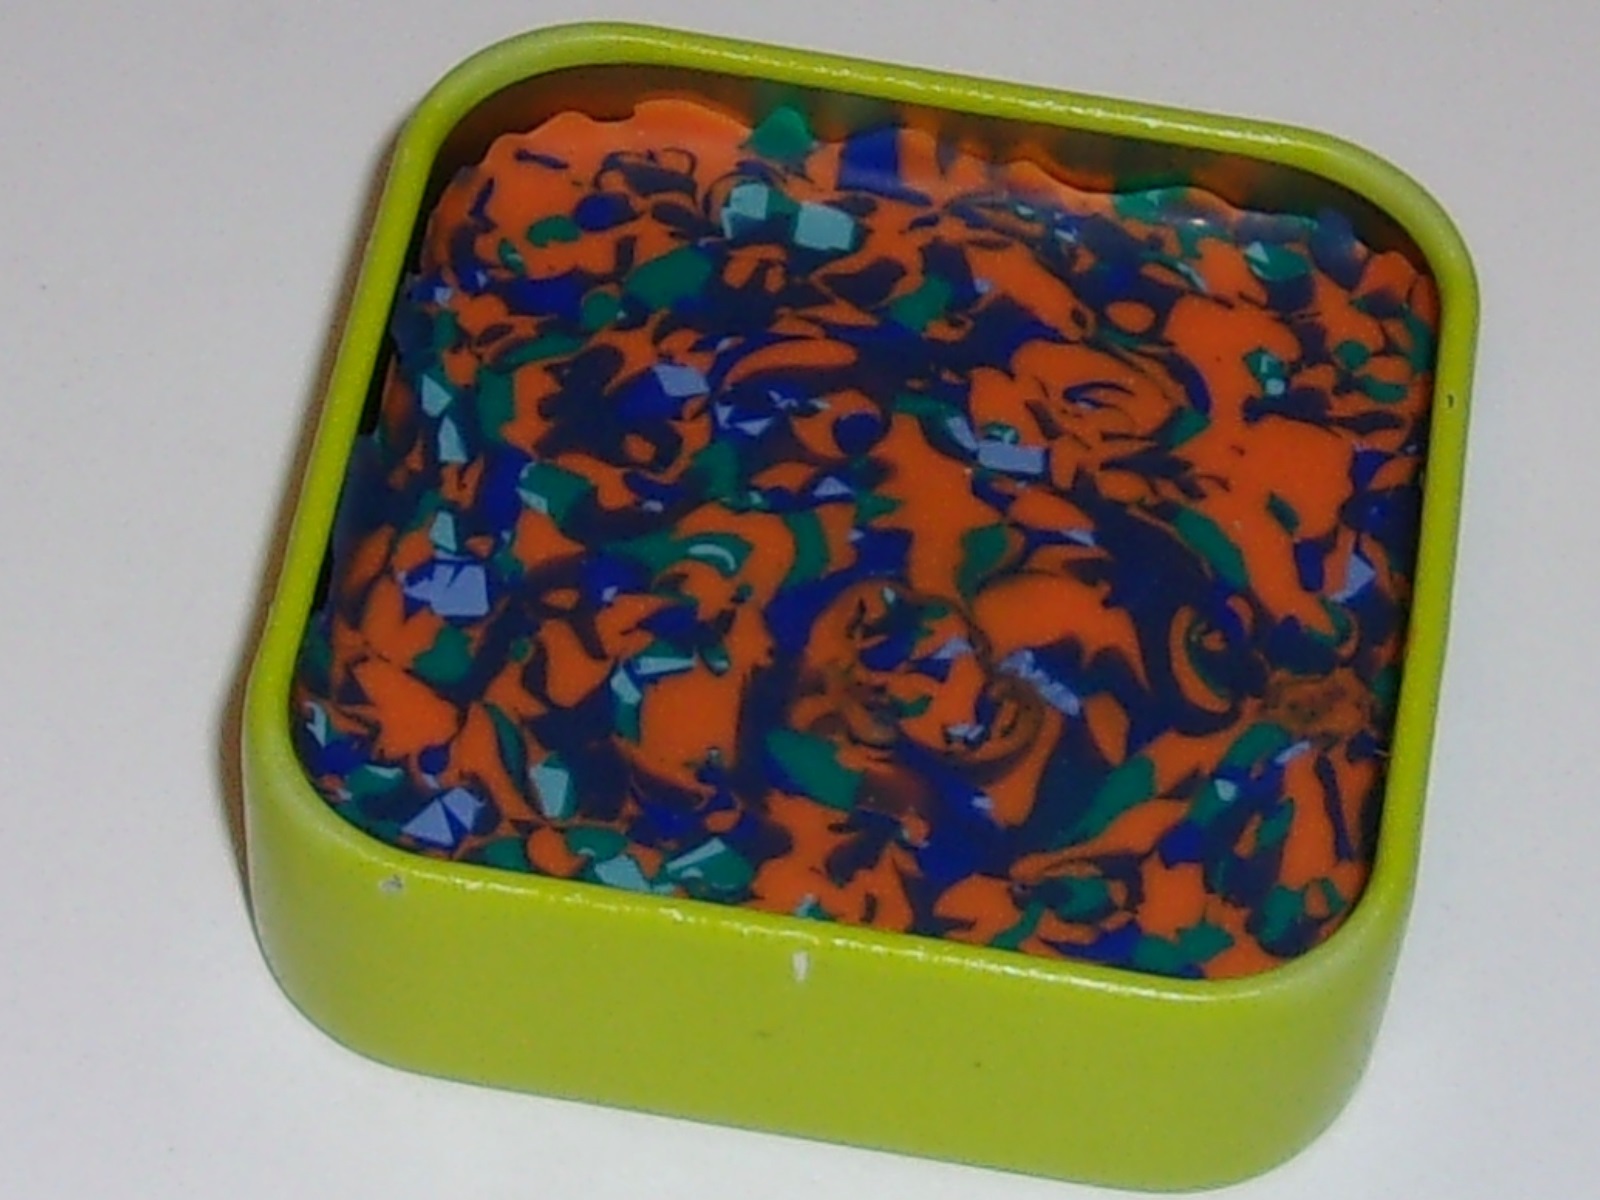
Materials salvaged from the almond (multi), and peanut (blue) can lids
As you can see, the multi-color batch settled during the melting process.
The containers with the blue plastic in them were melted, and then more plastic was added. So the blue batches seem fuller than the multi-colored batch.
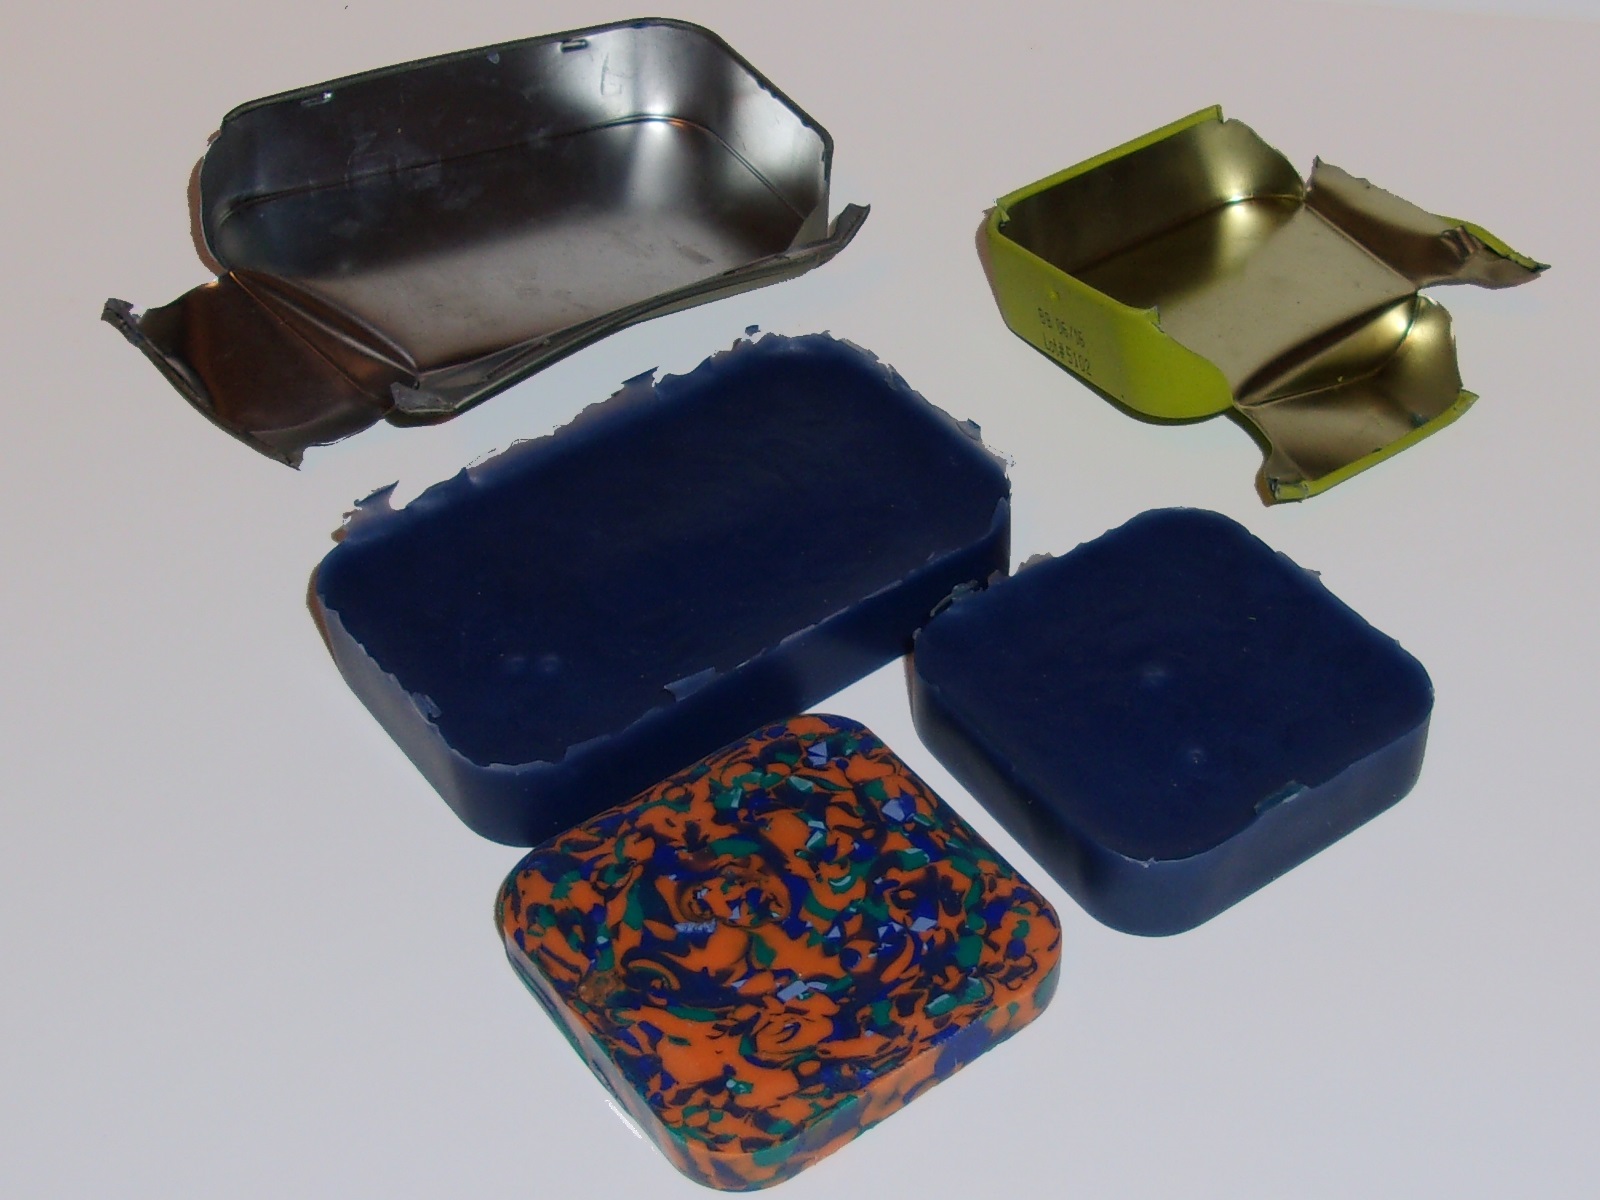
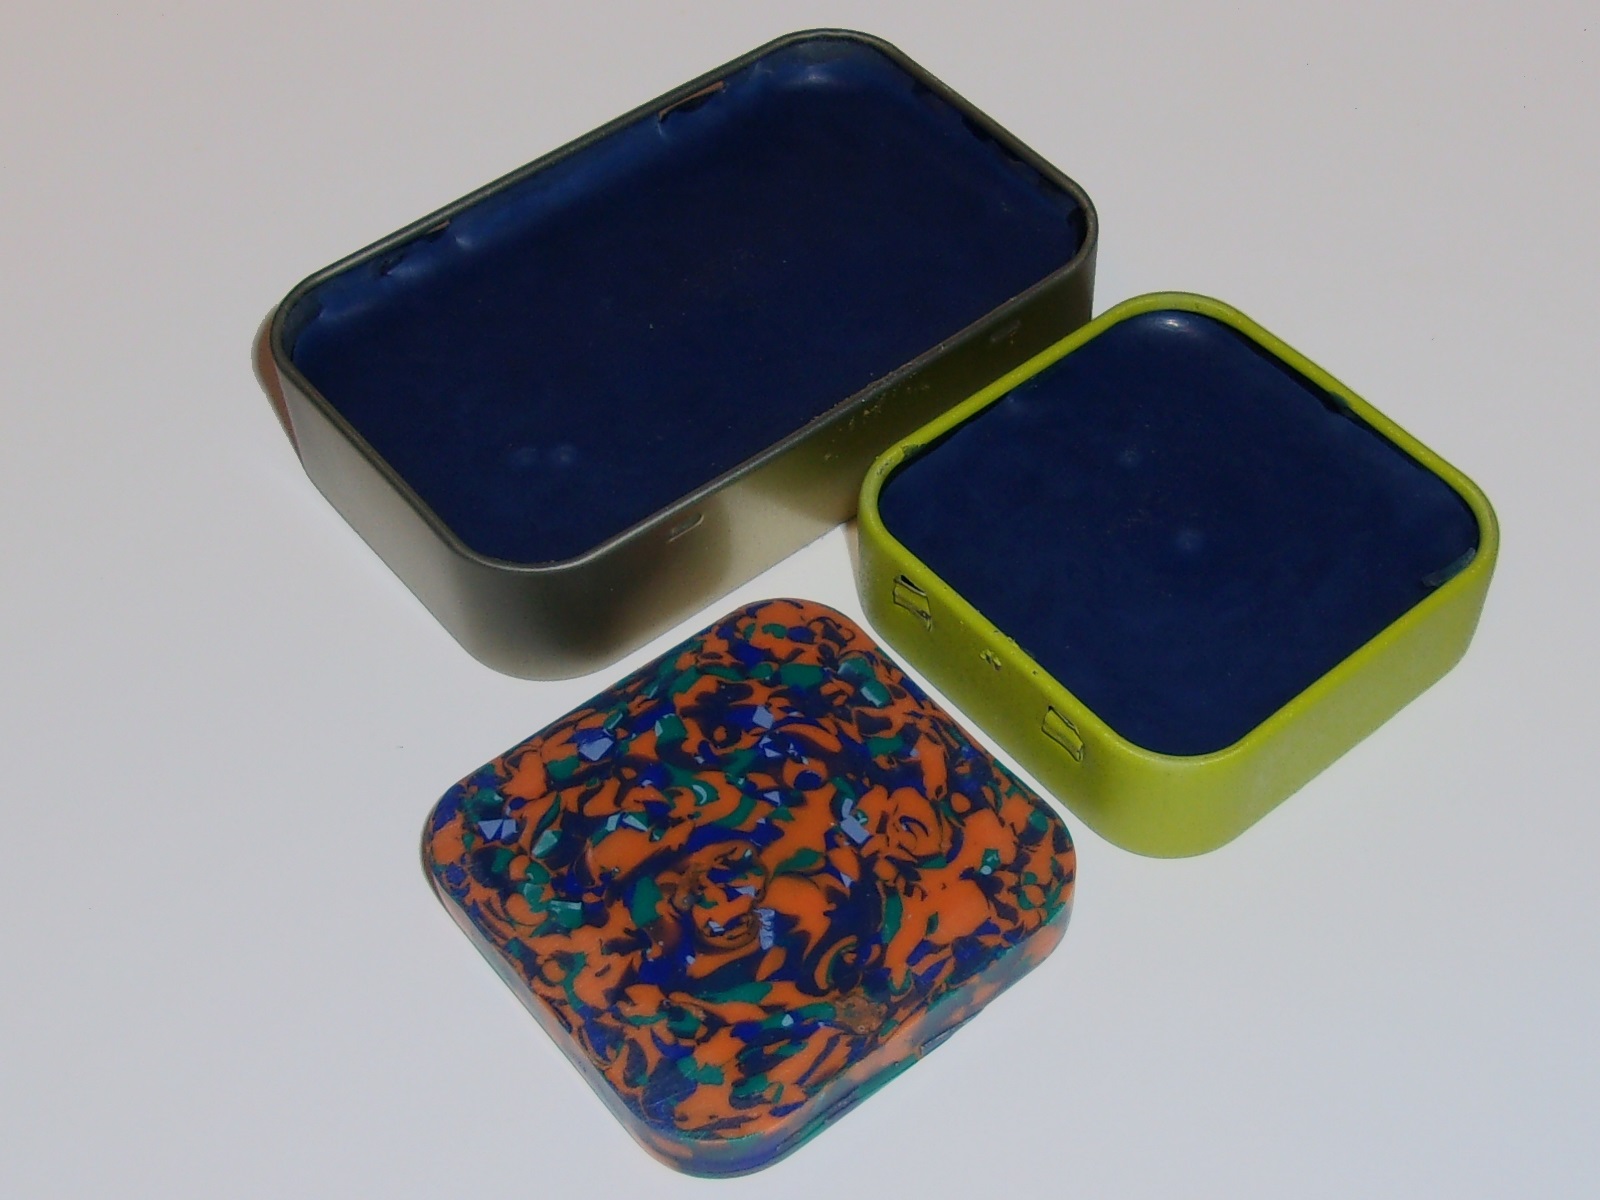
 So this is the result of the HDPE recycling that did work. These are not huge hunks of plastic, but they’re usable for making small parts, prototyping, Etc.
What we learn from failure.
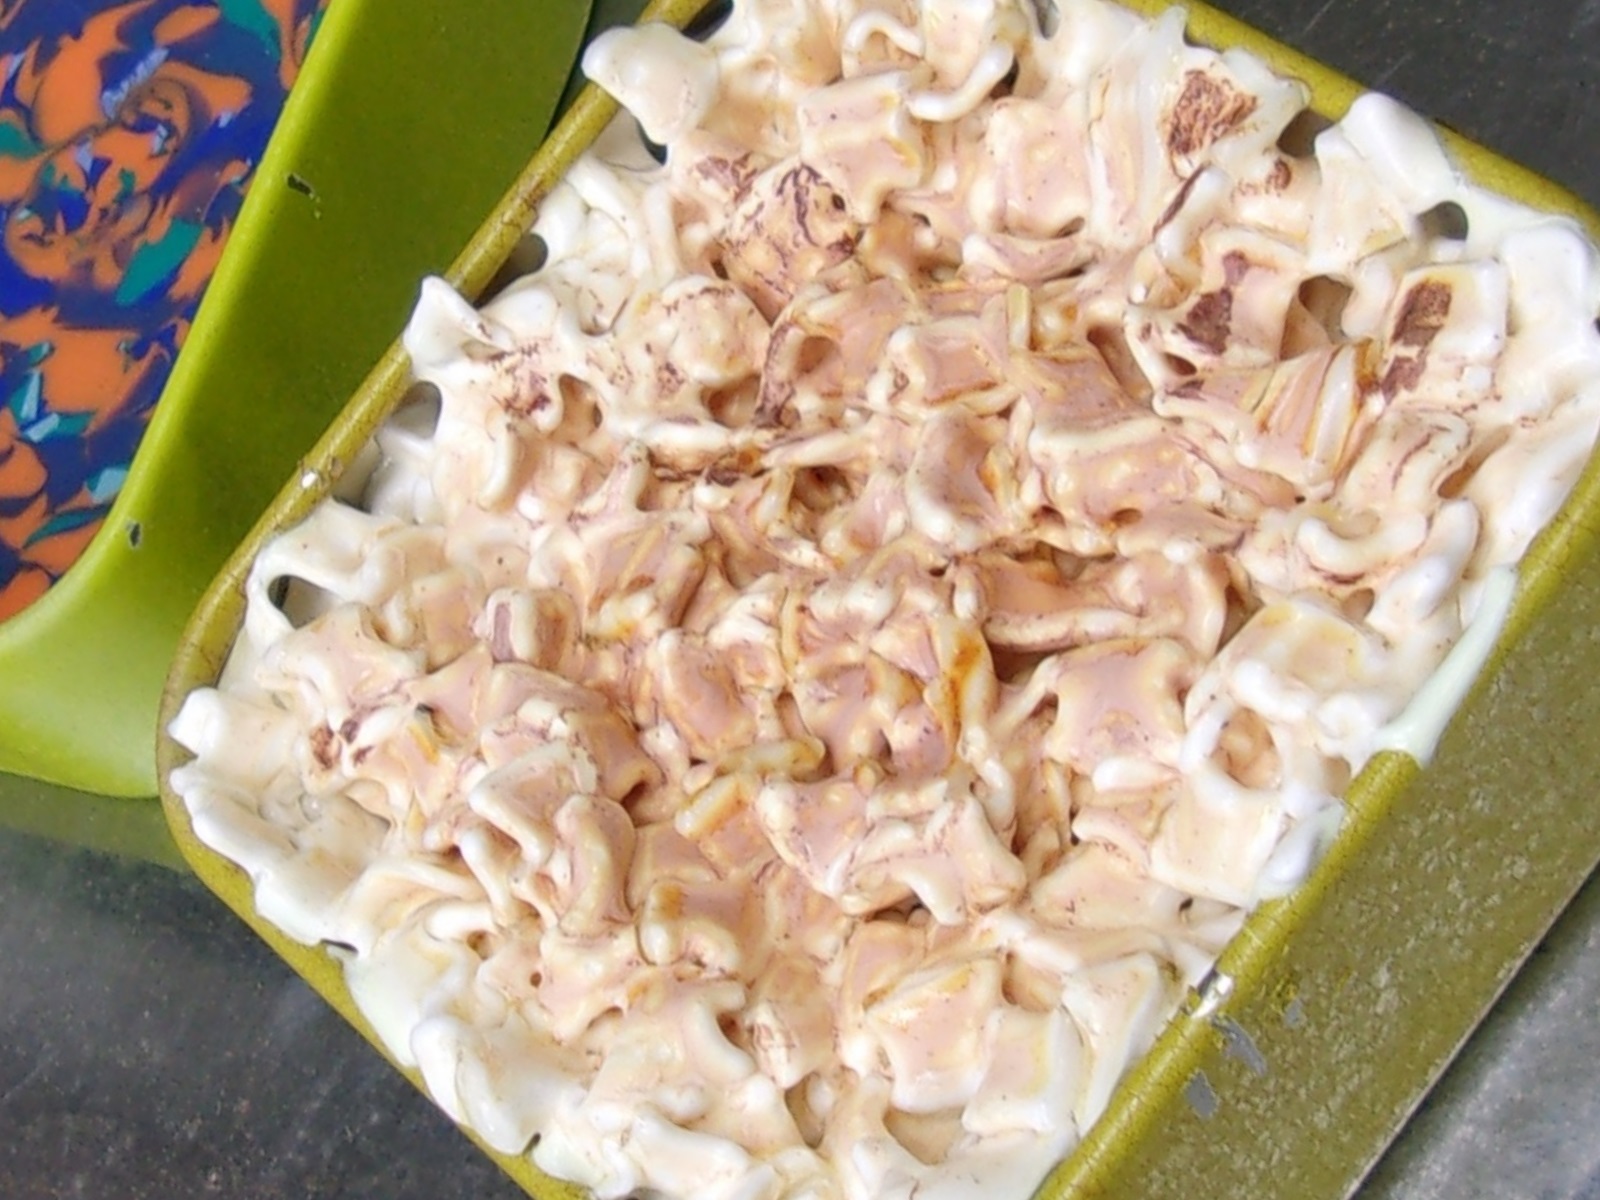
As you can see, the result was that the top of the plastic was literally toasted, but it did not smell like toast you would have for breakfast.
I’ve ended up with results similar to these when trying to melt down and recycle milk bottles. I simply can’t get it to meltdown into a solid bar. I have seen people online who press the plastic as it’s being melted, and they’ve ended up with better results. In this case I’m literally just melting it down and letting it fuse together, and that will not work with this type of HDPE.
As far as I know, the color of the plastic isn’t the issue. I’ve melted down white plastic from other sources without issue.
All temperatures are approximate and recorded in Fahrenheit.
- 10min @ ~312
° – white detergent bottle plastic and multi-color and blue plastic nut container lids. - 10min @ ~325
° – white detergent bottle plastic - 10min @ ~337
° – white detergent bottle plastic - 10min @ ~350
° – white detergent bottle plastic - 10min @ ~360
° – white detergent bottle plastic was toasted, but not melted down
Quick video showing the results of the project