Converting a cordless tool battery to use a cord – chapter 3
Figuring out how to best replace the internal battery structure
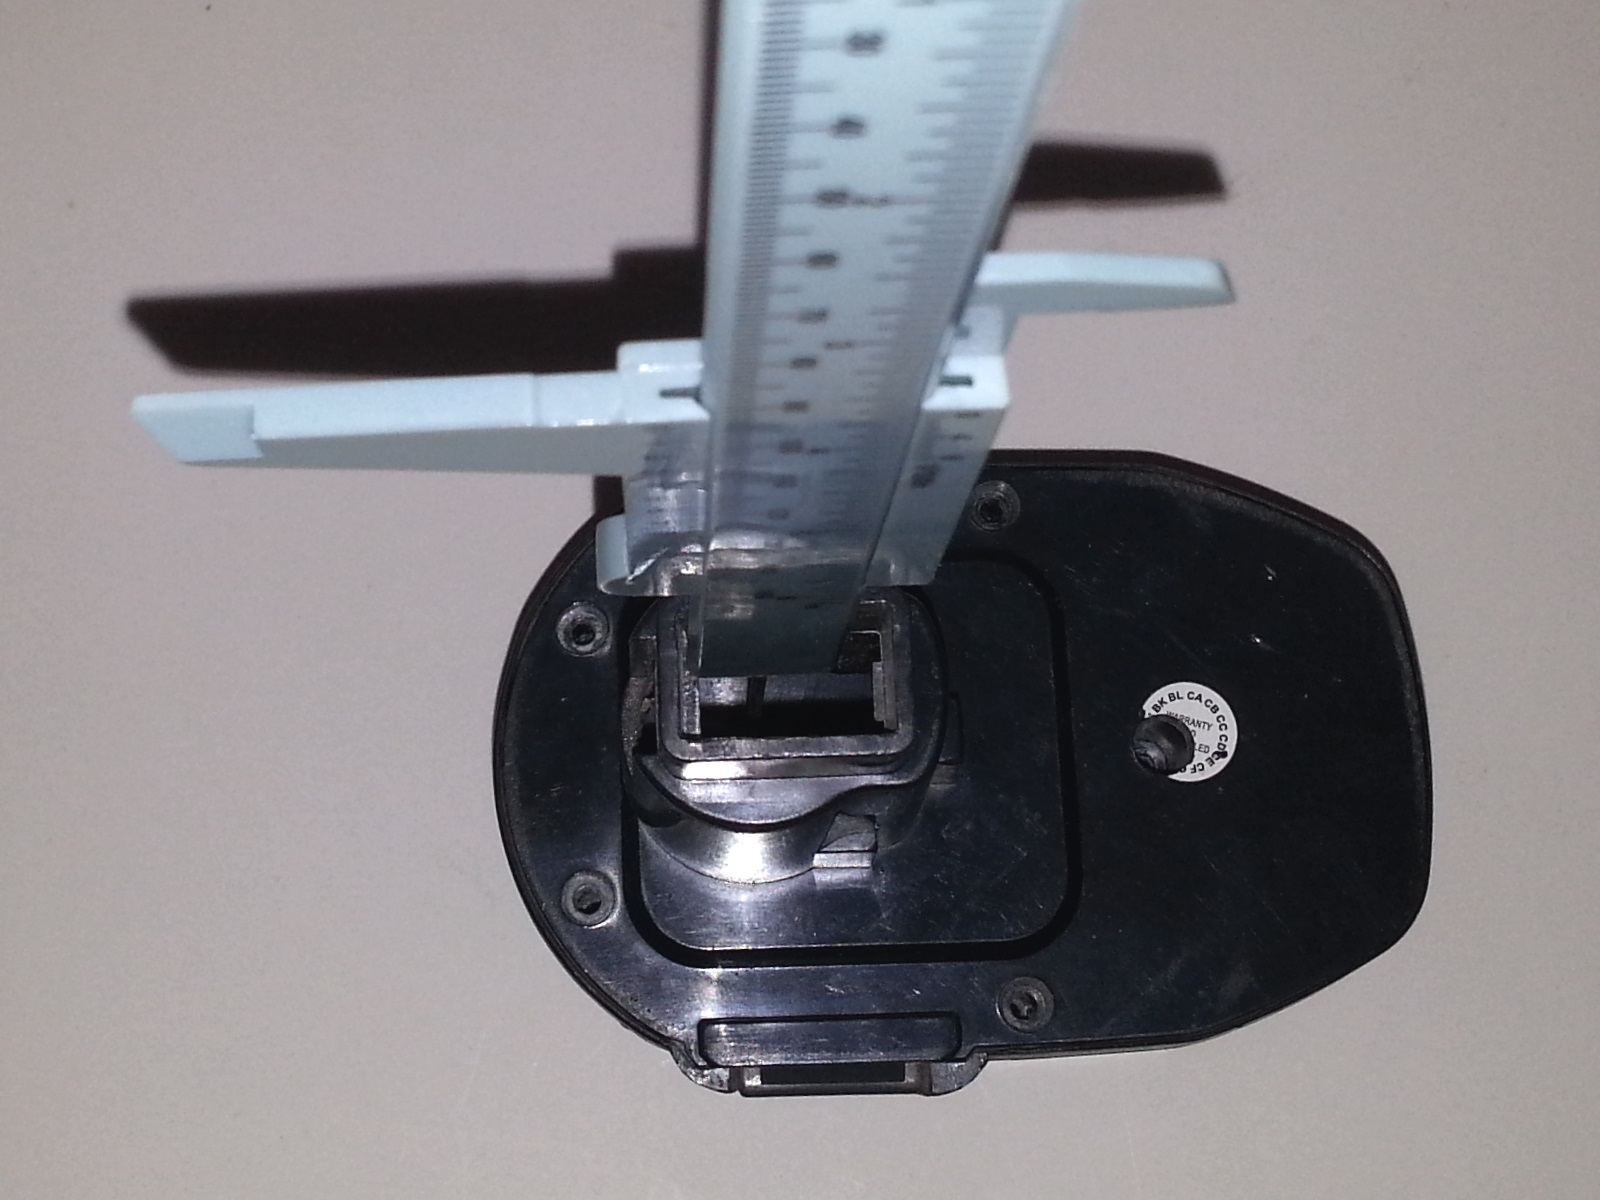
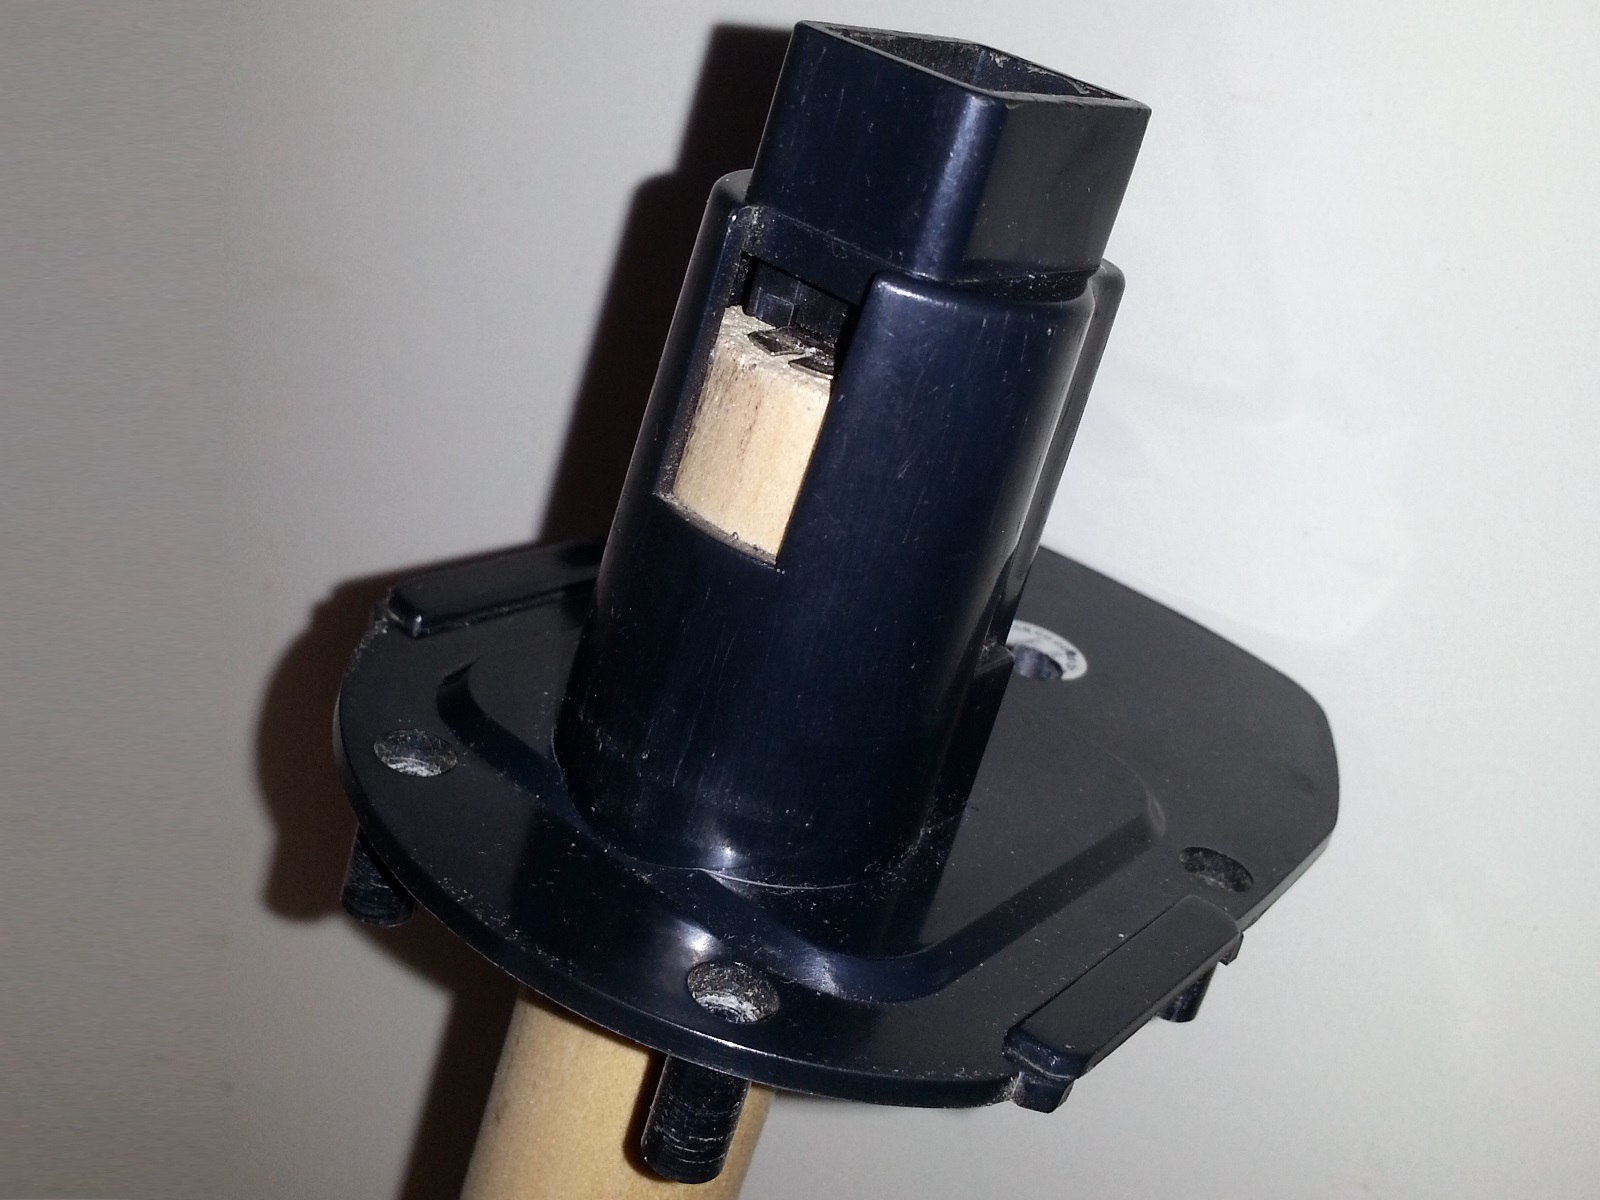
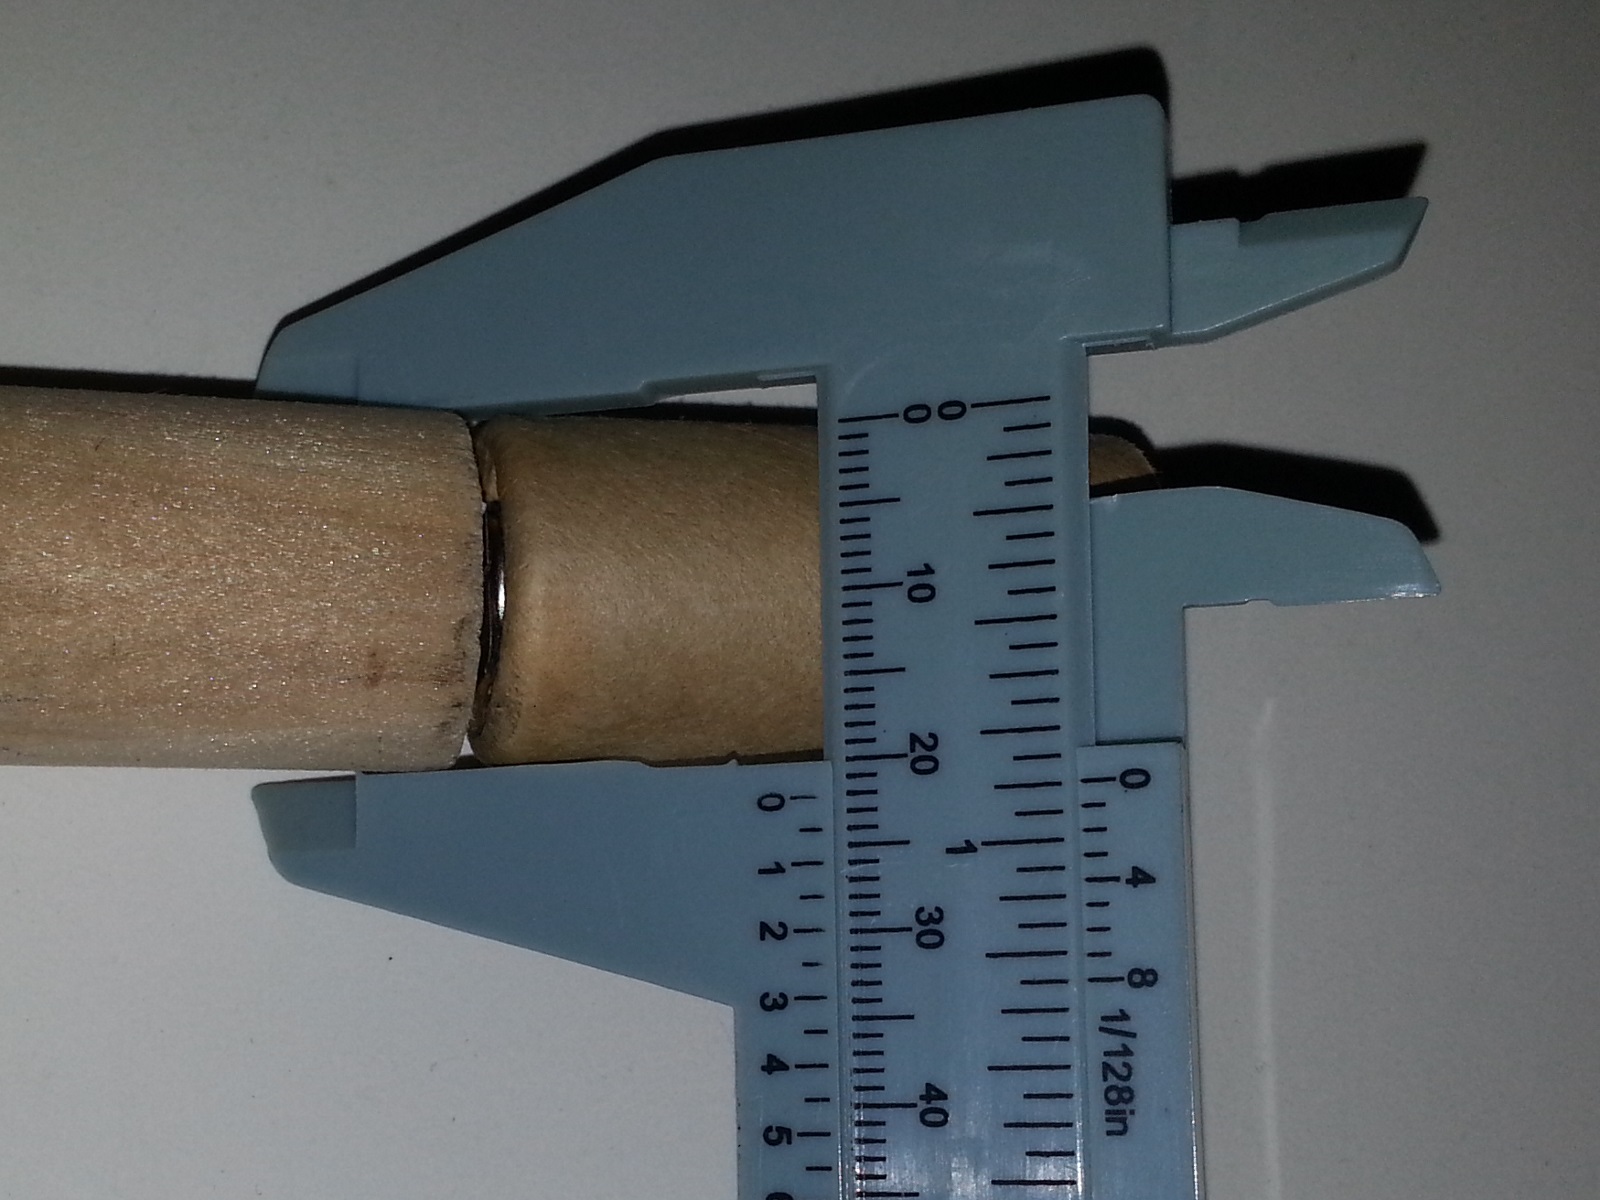 The individual battery cells in my battery pack are roughly 7/8 of an inch wide. I looked through my scrap bin and found I had a wooden dowel that was close if not exactly the same size. Don’t depend on my measurements, there’s a good chance that if you do this type of conversion, the battery cells in your battery will be a different size.
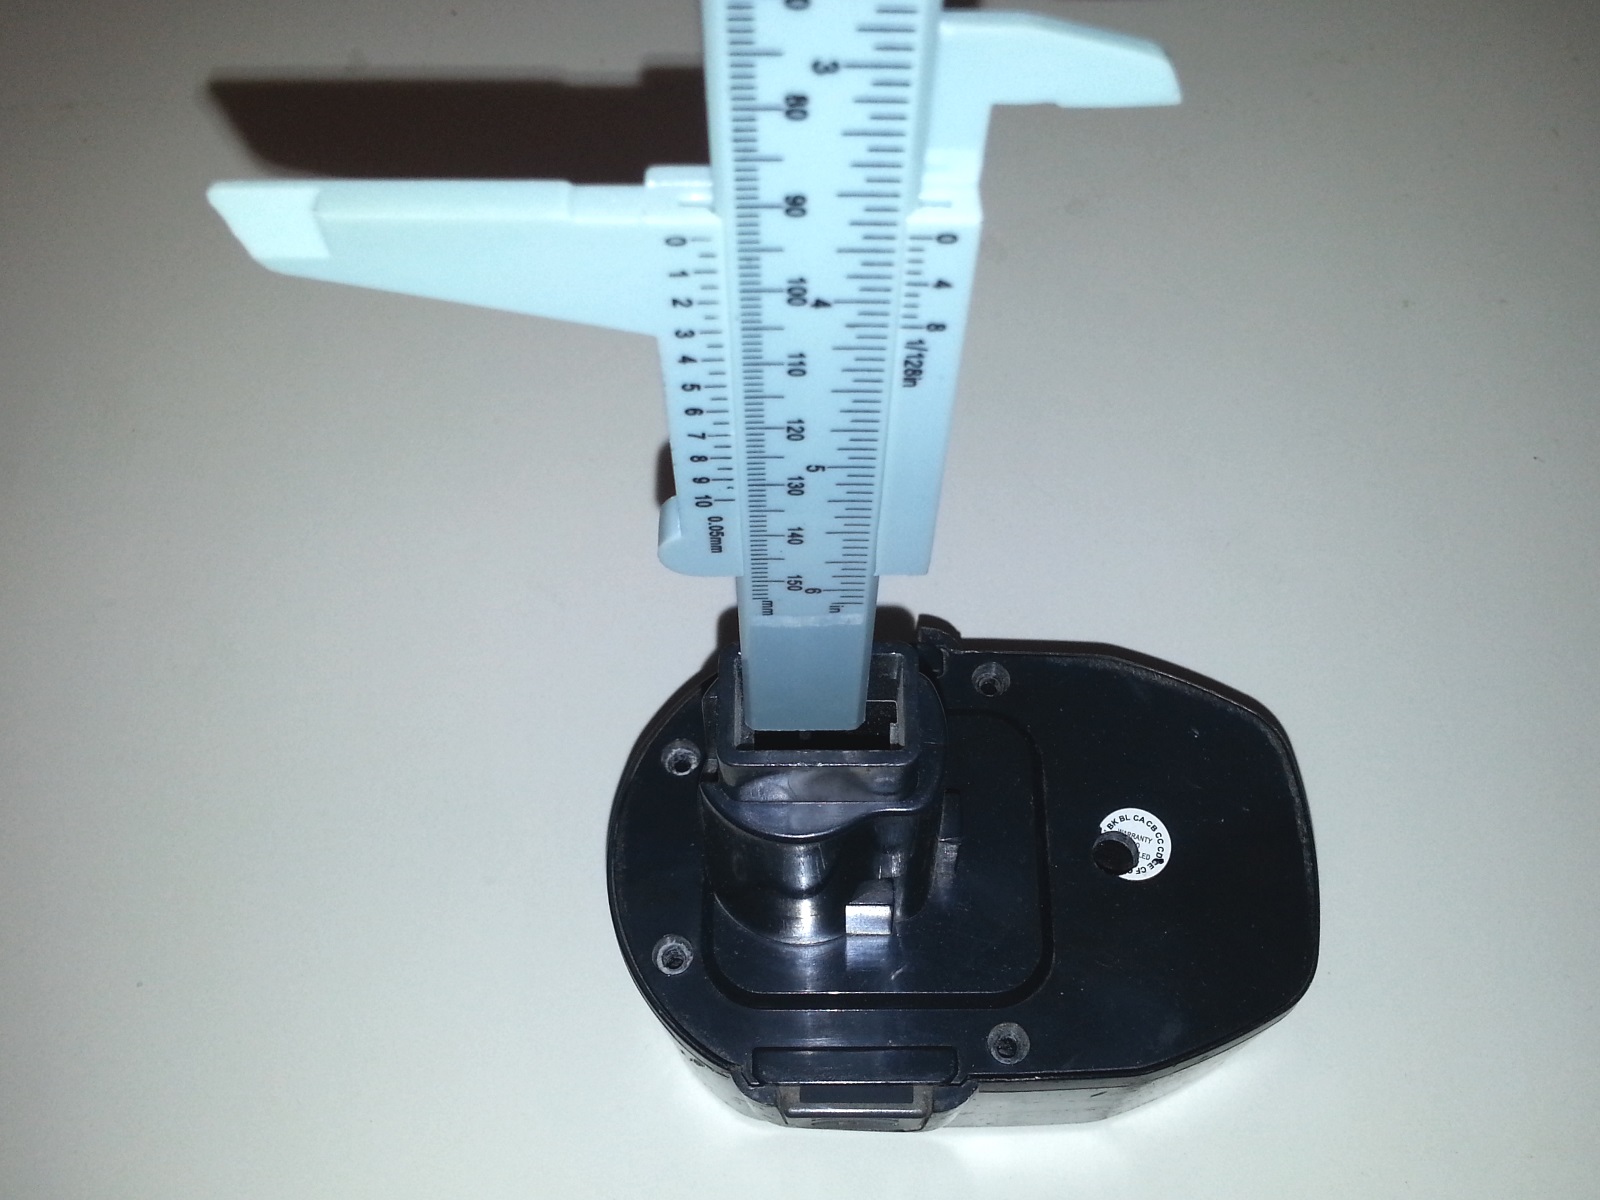
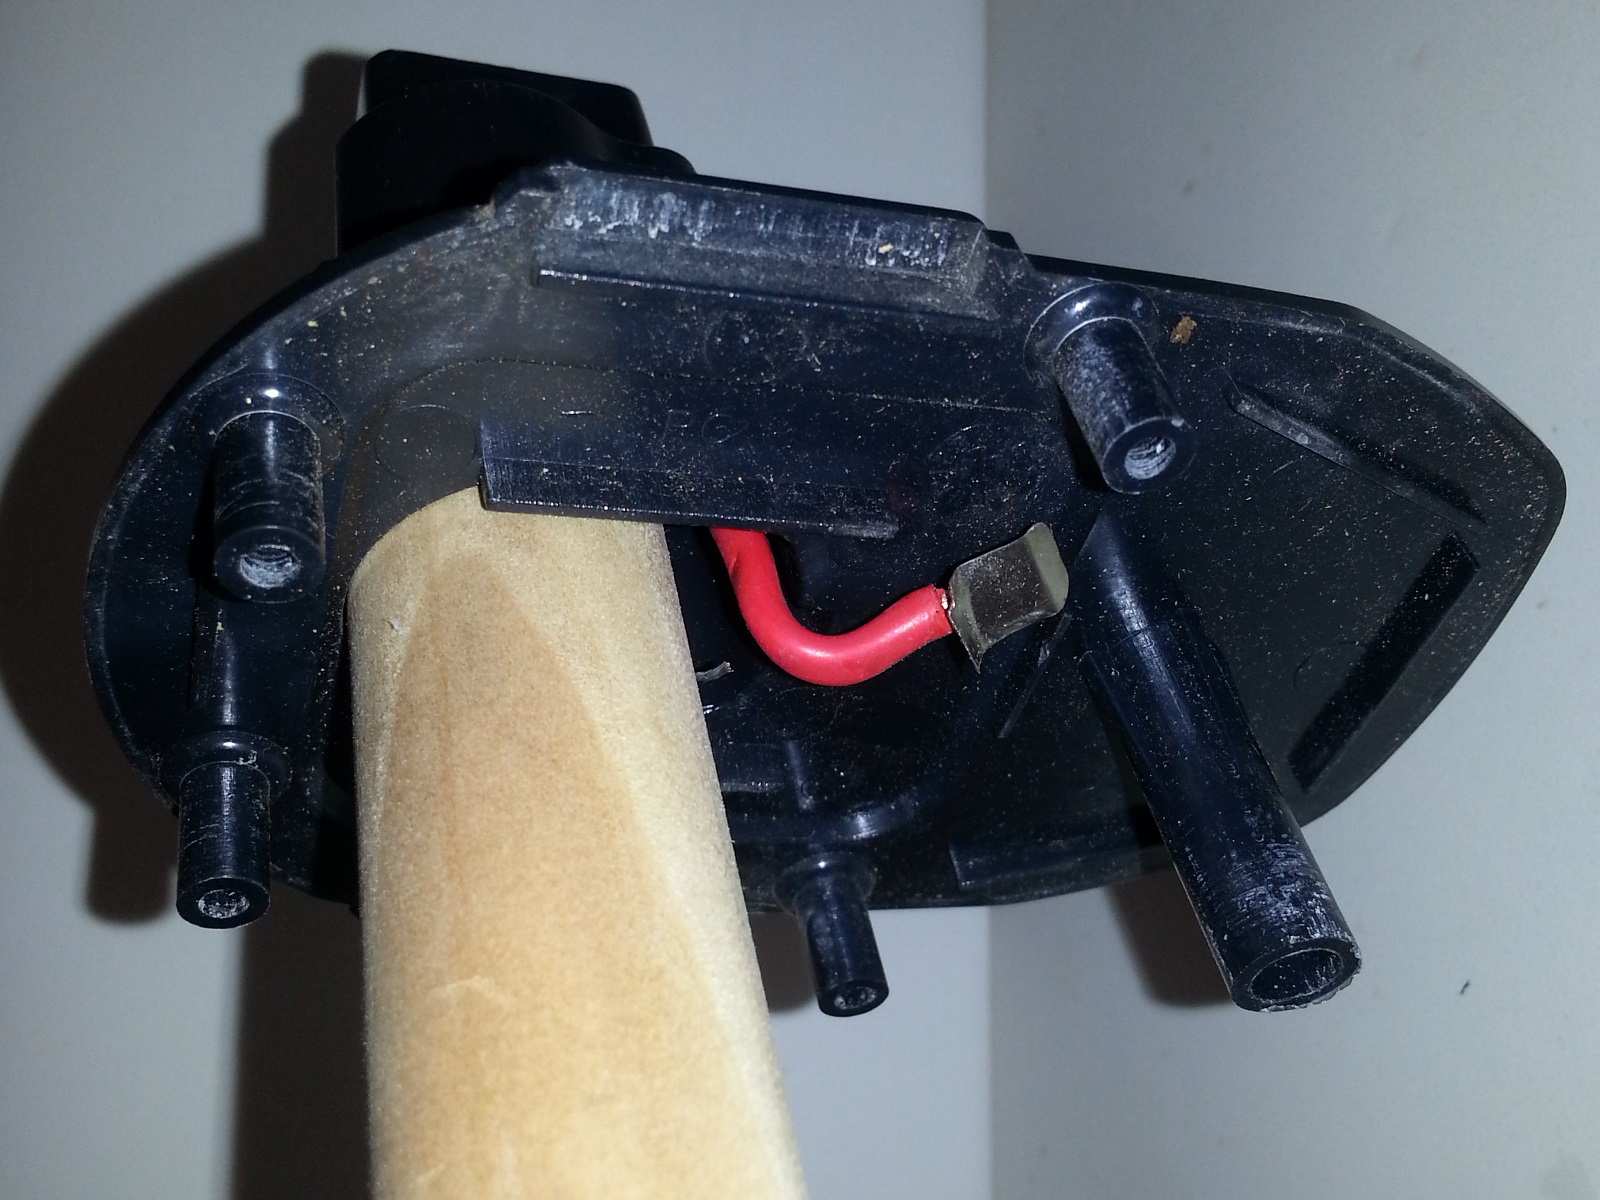
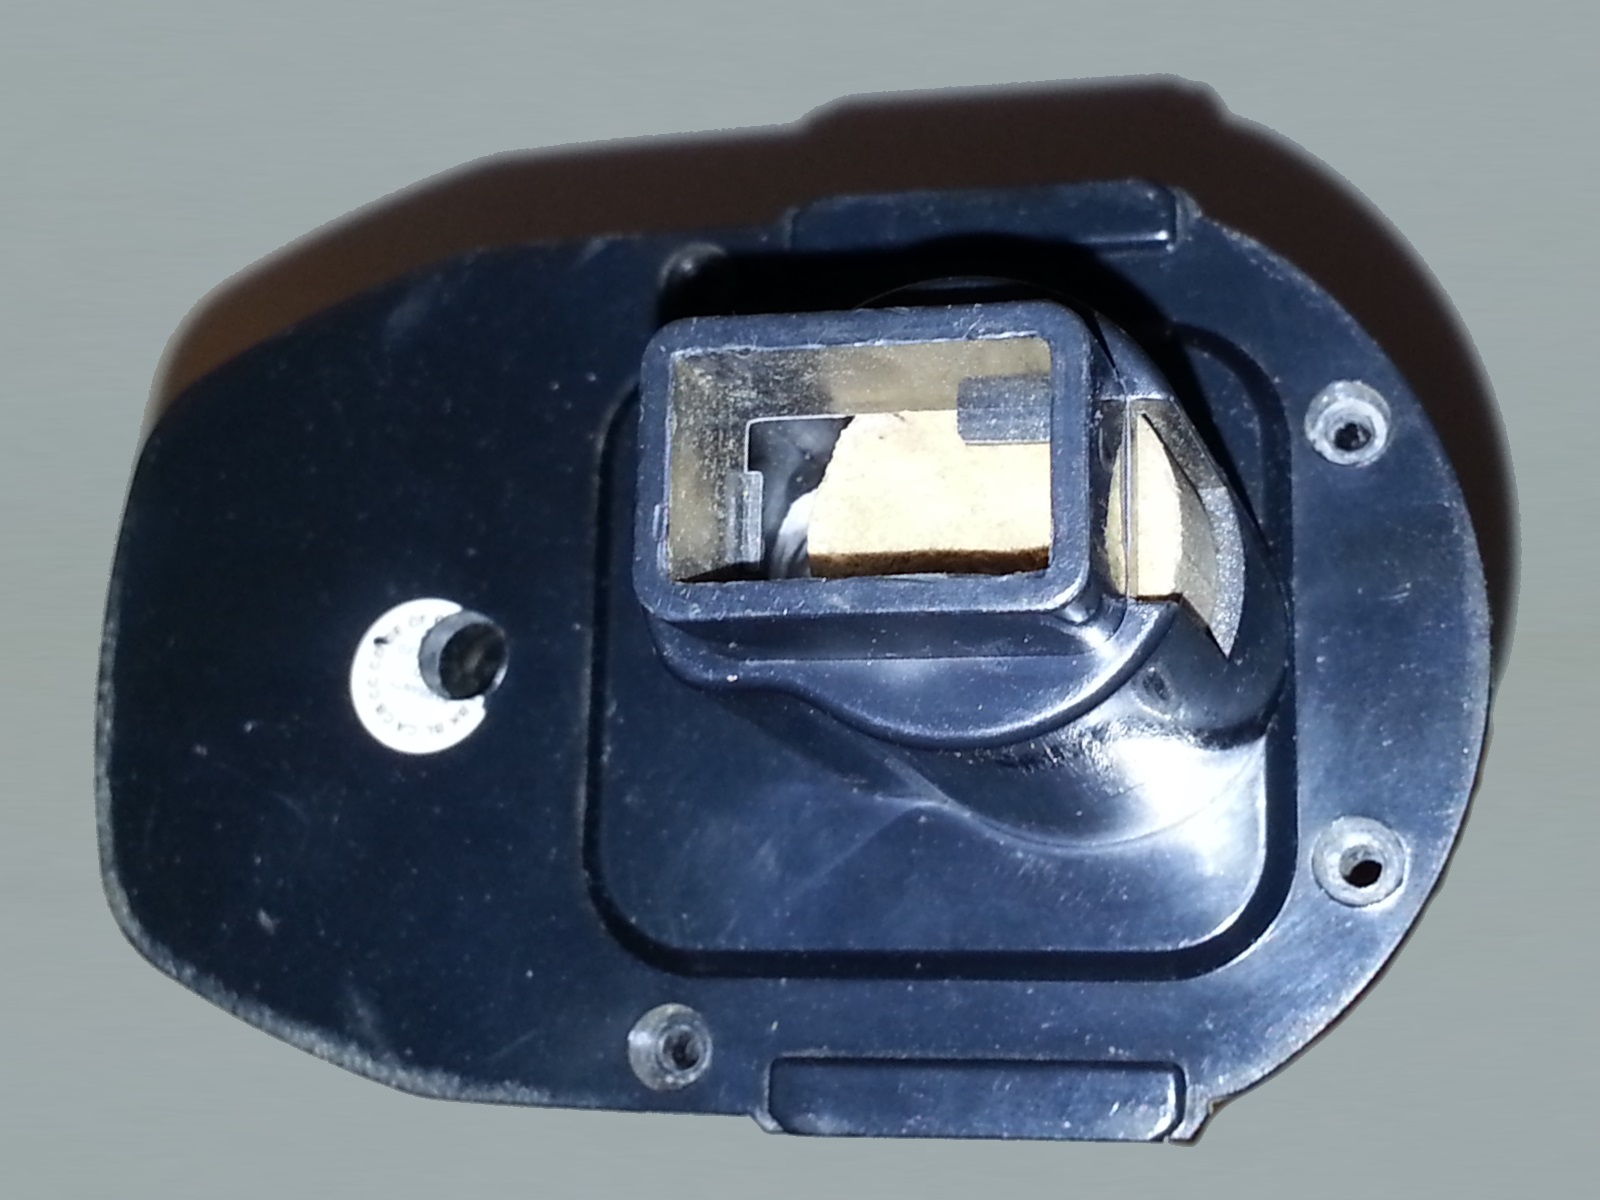 Since I’m removing the internal components of the battery pack I need to replace the contents with something to hold the electrodes in the correct position for use. The stem of the battery is roughly twice the height of the main battery pack so I will be running the dowel from the top of this down to the bottom of the shell.
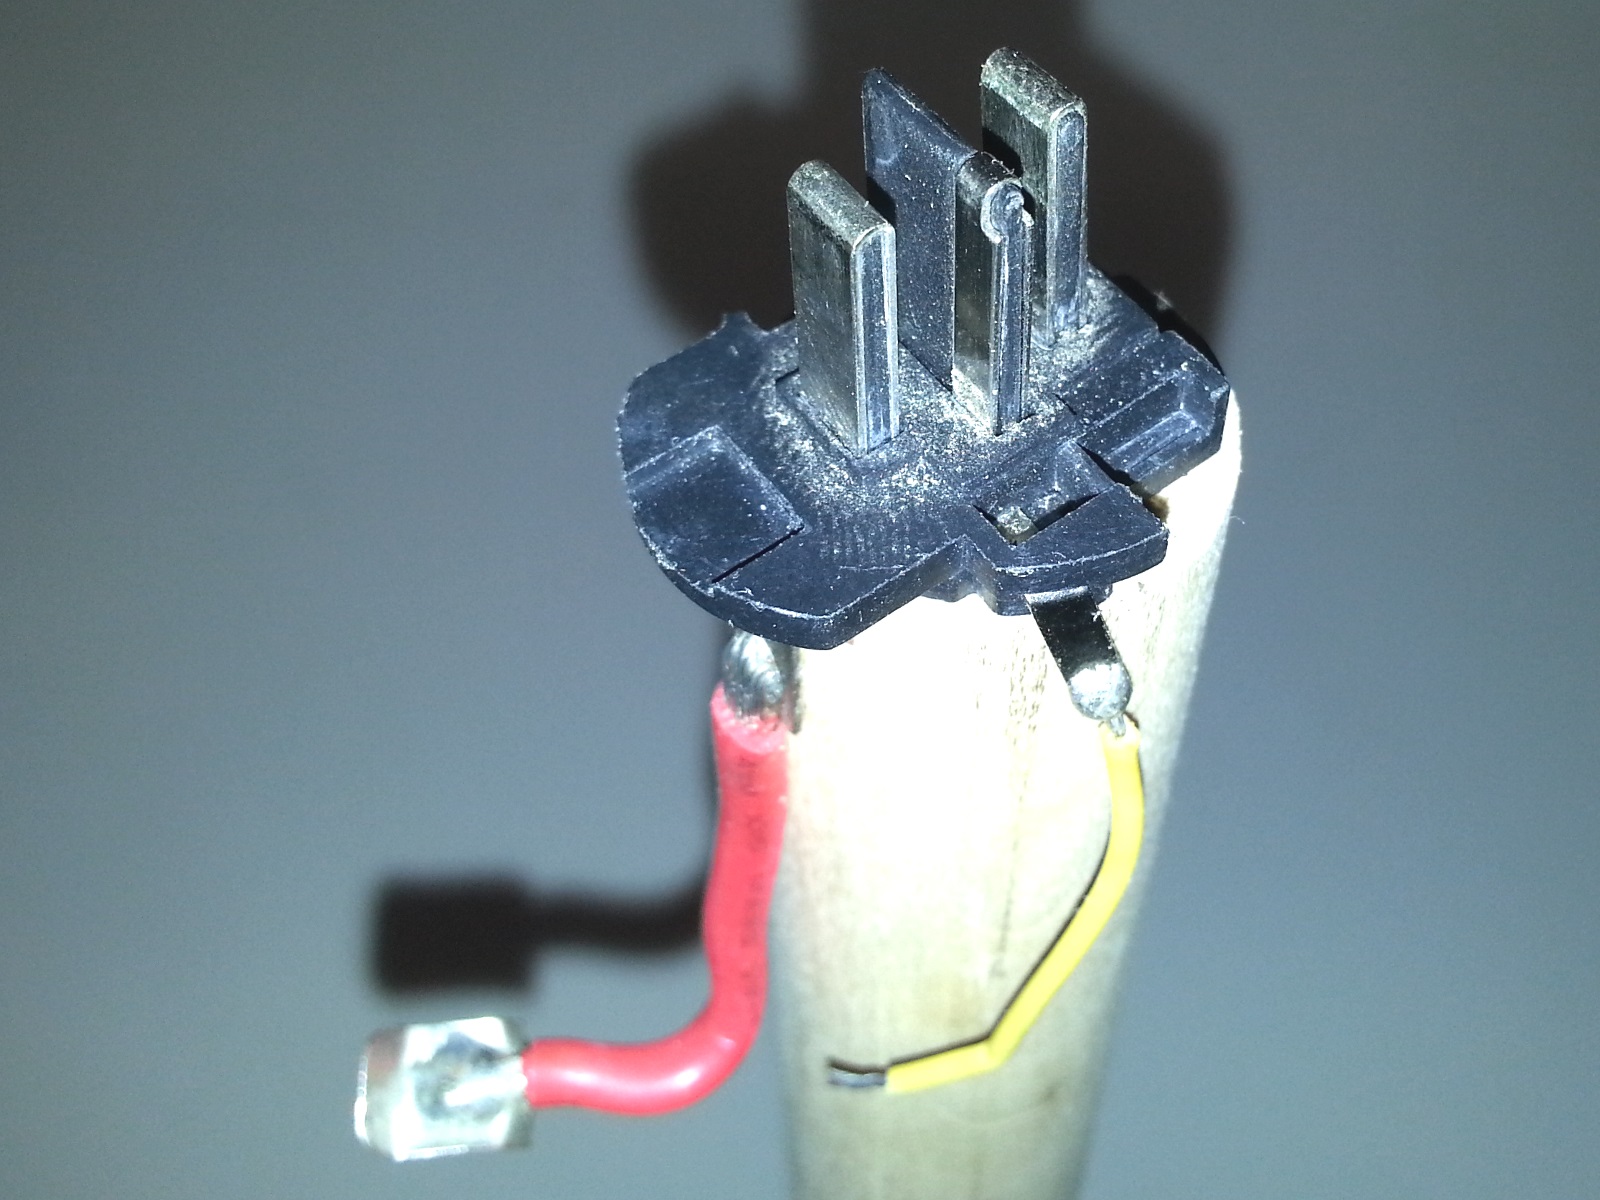
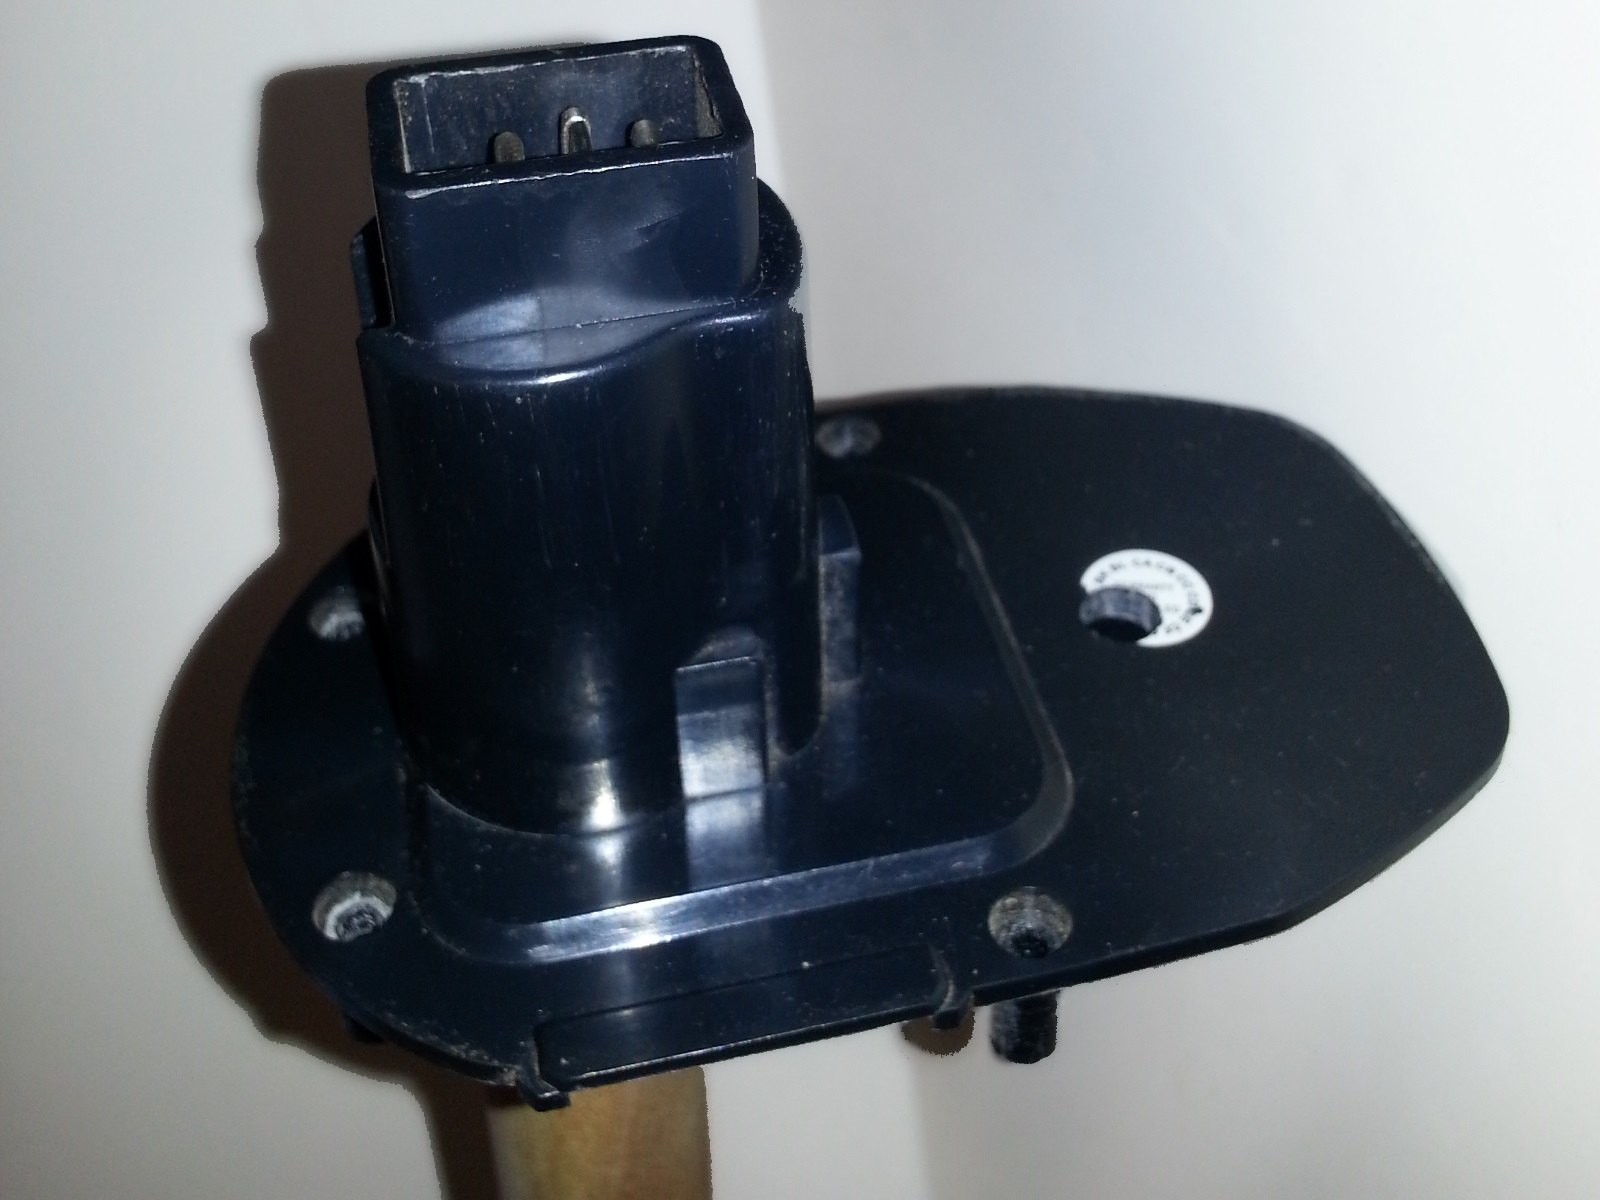
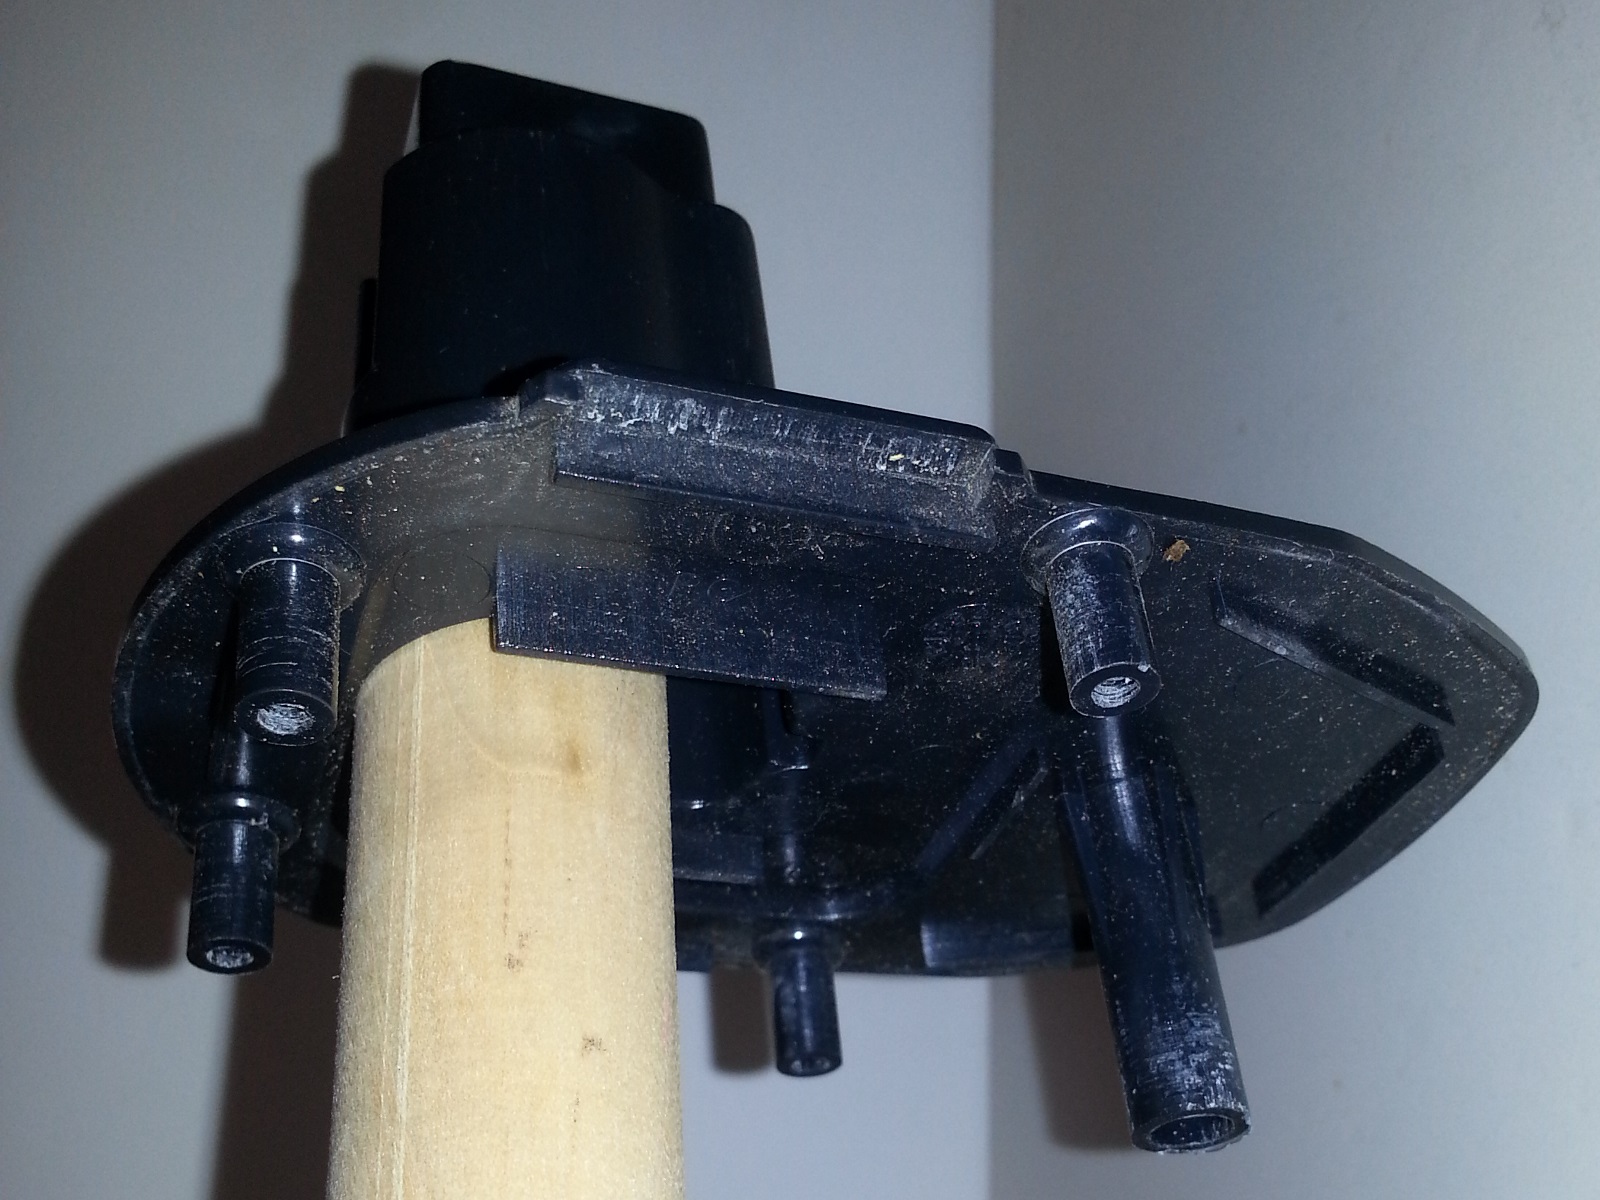 A bottom up view of the dowel placement and how the dowel will go into the stem of the battery pack. The electrodes will sit on top of this dowel.
Checking my measurements
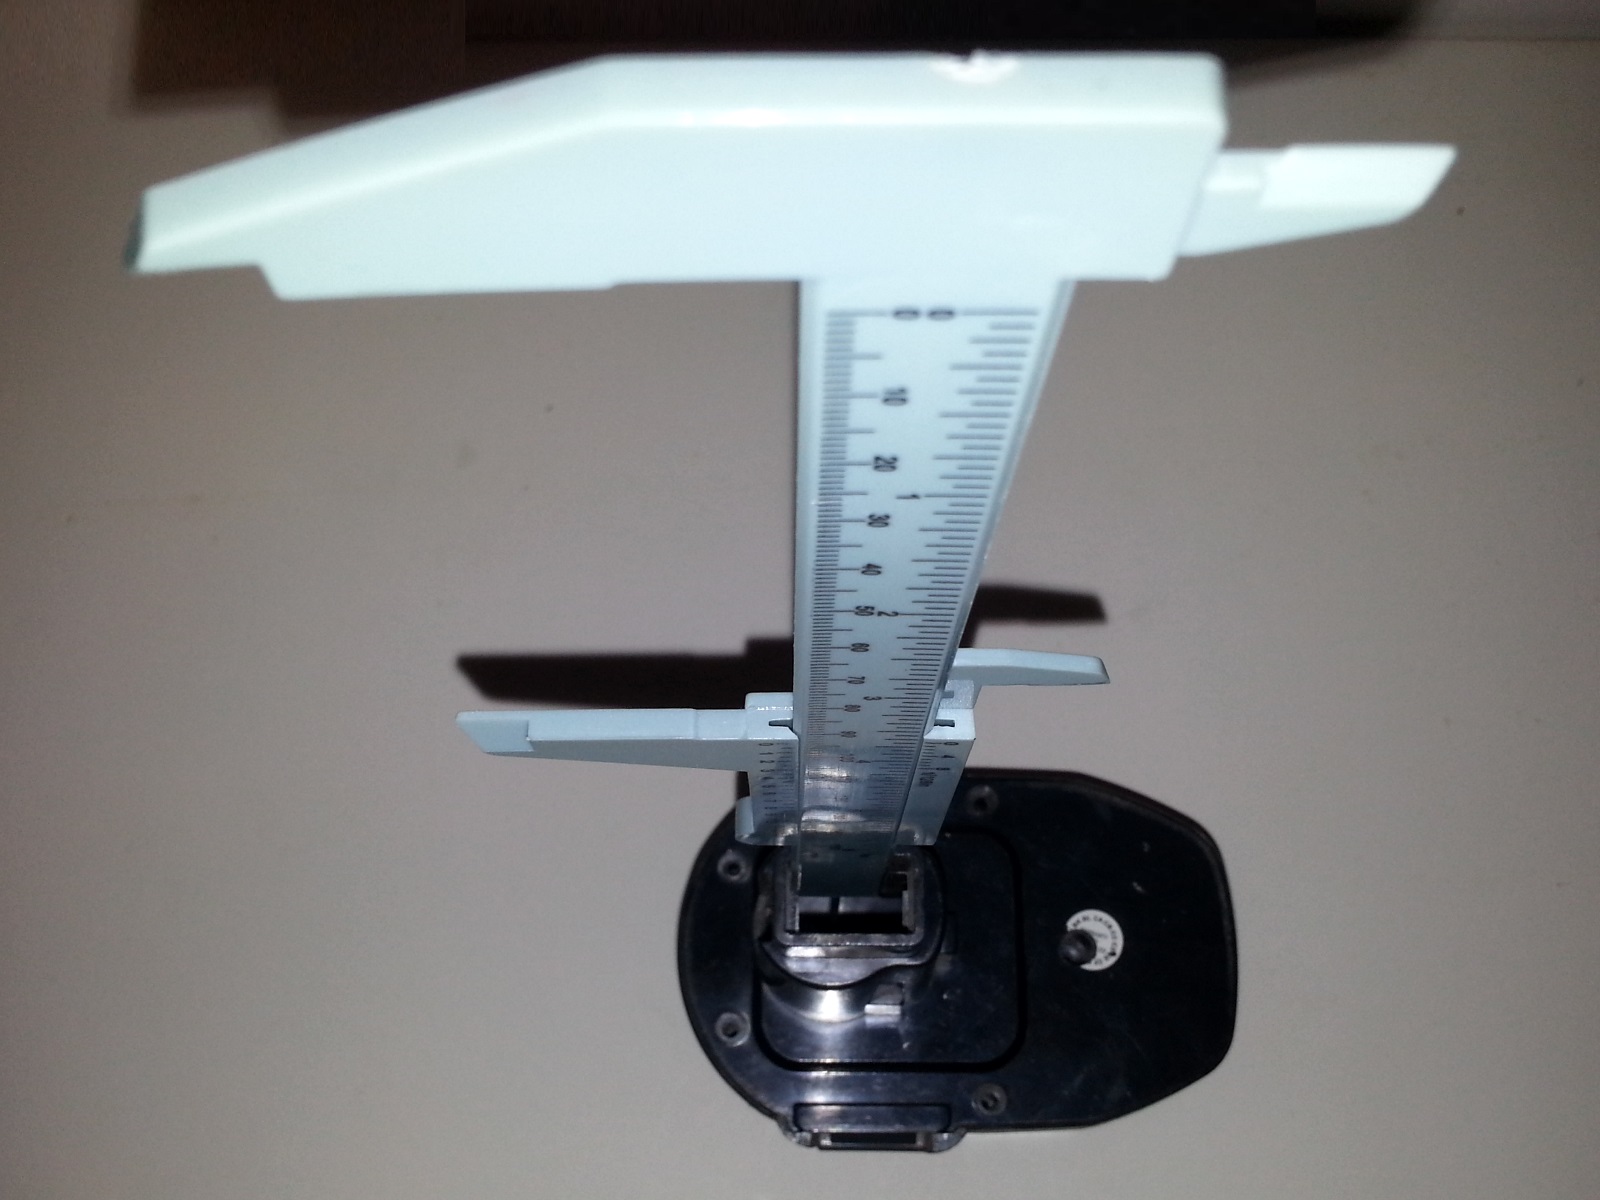
 I have the electrodes resting on top of the dowel so I can check their position. I’ll need to screw or glue the electrodes to the dowel.
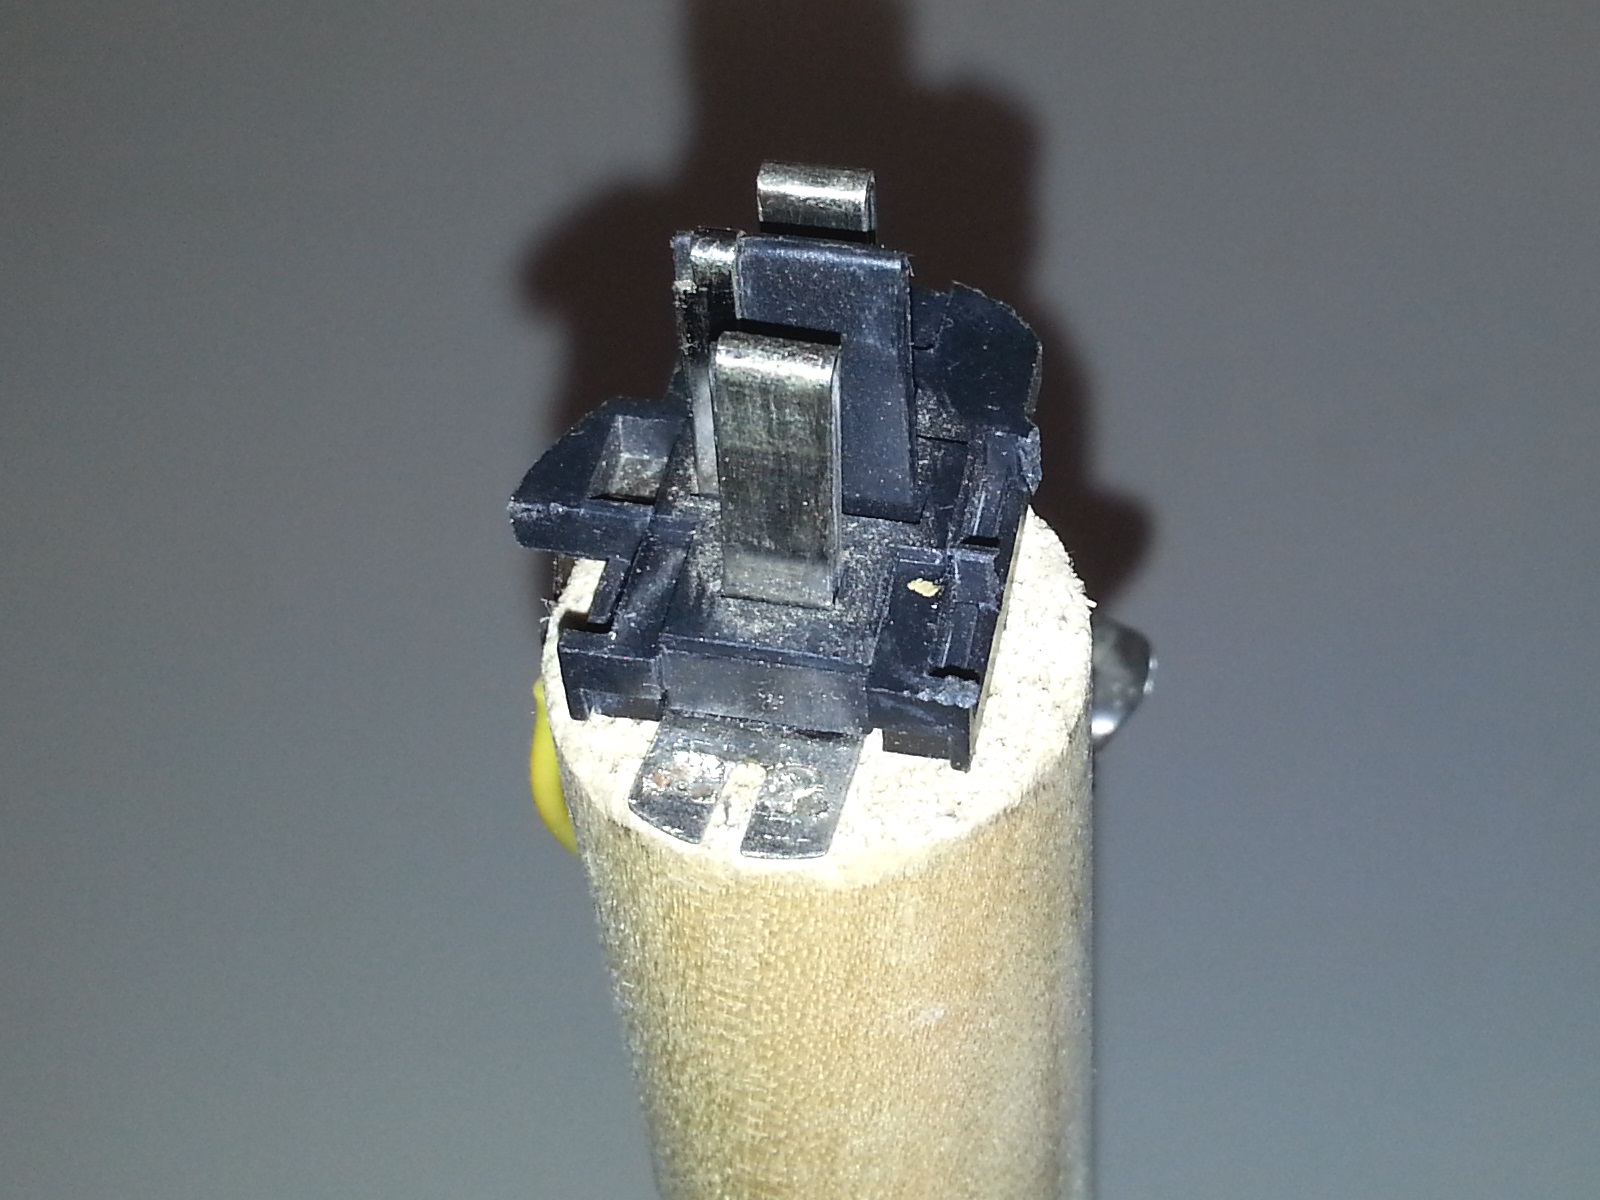 …and this of course is just another view of the electrode sitting on top of the dowel.
 Measuring the two batteries along with the spacer that was originally in the battery pack. It’s the black plastic piece between the two batteries set lengthwise.
Index – Converting a 14.4v Battery to Corded DC Power Supply
- Converting a cordless tool battery to use a cord – chapter 1
- Converting a cordless tool battery to use a cord – chapter 2
- Converting a cordless tool battery to use a cord – chapter 3
- Stay tuned for – chapter 4