Articulated Arm Camera Mount – chapter 2
Mounting the arm to the ceiling
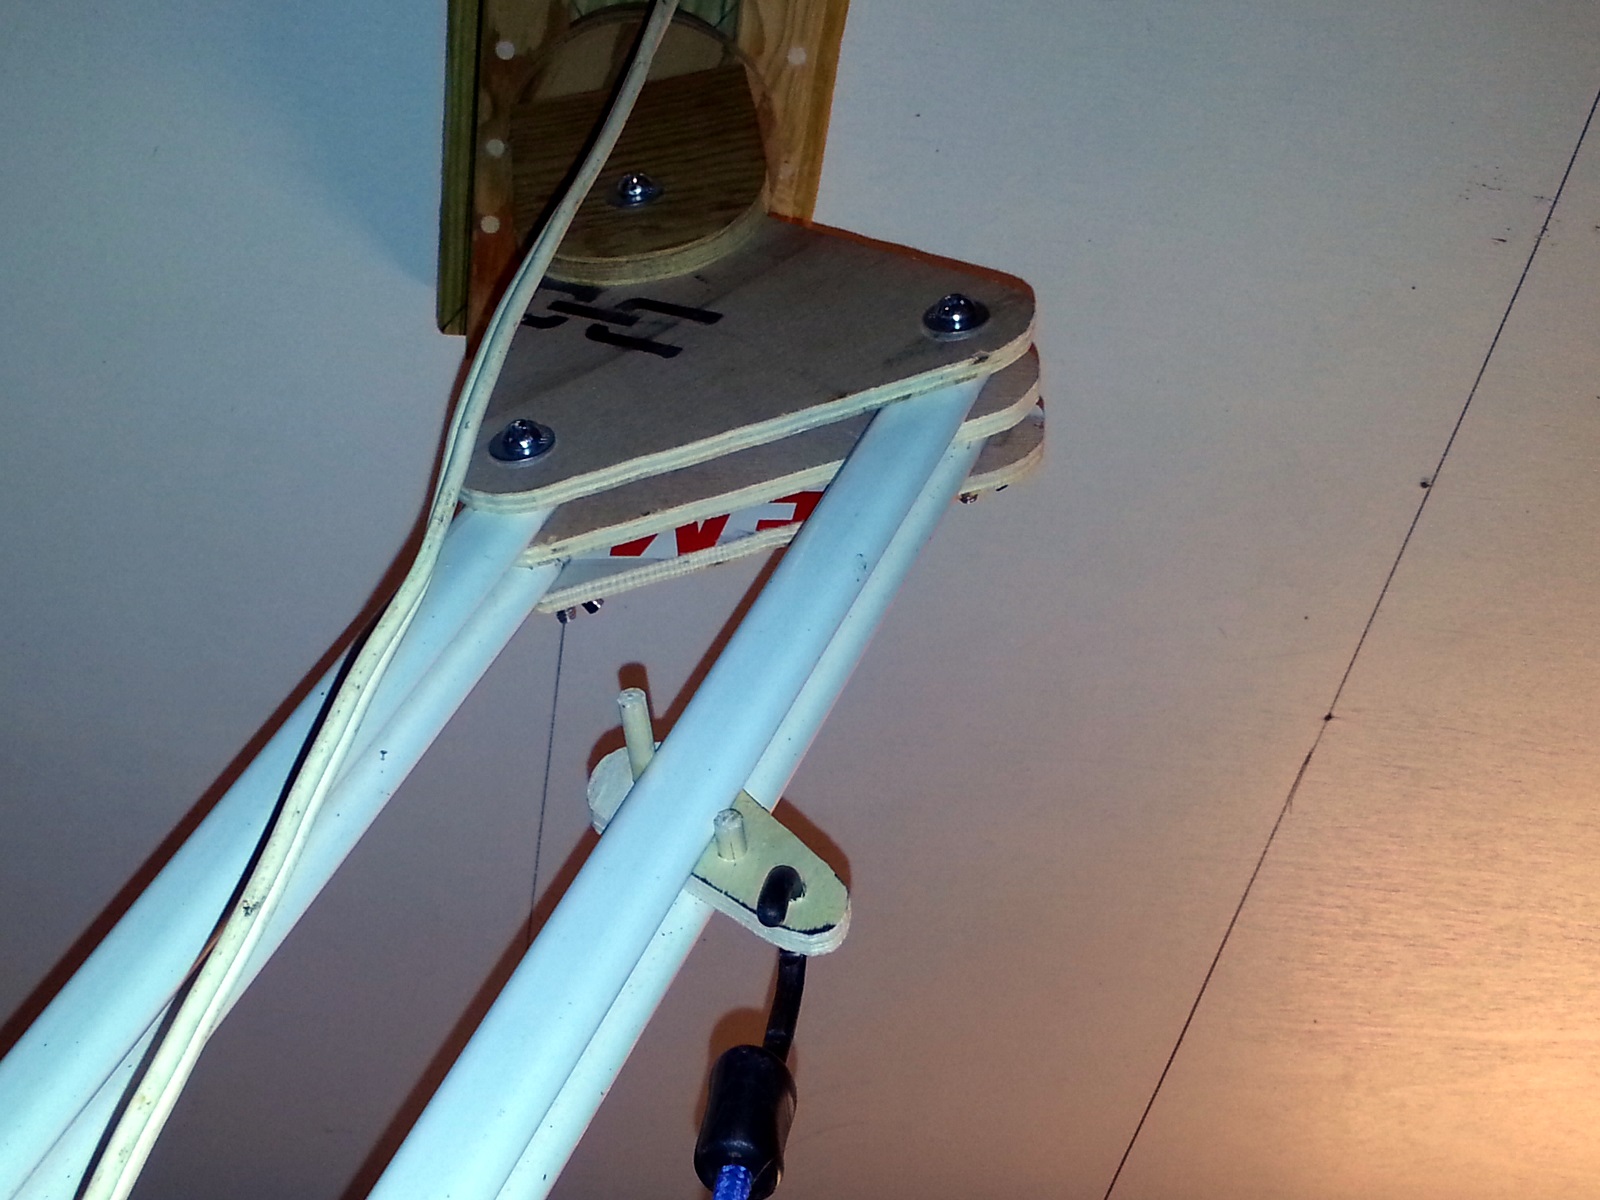
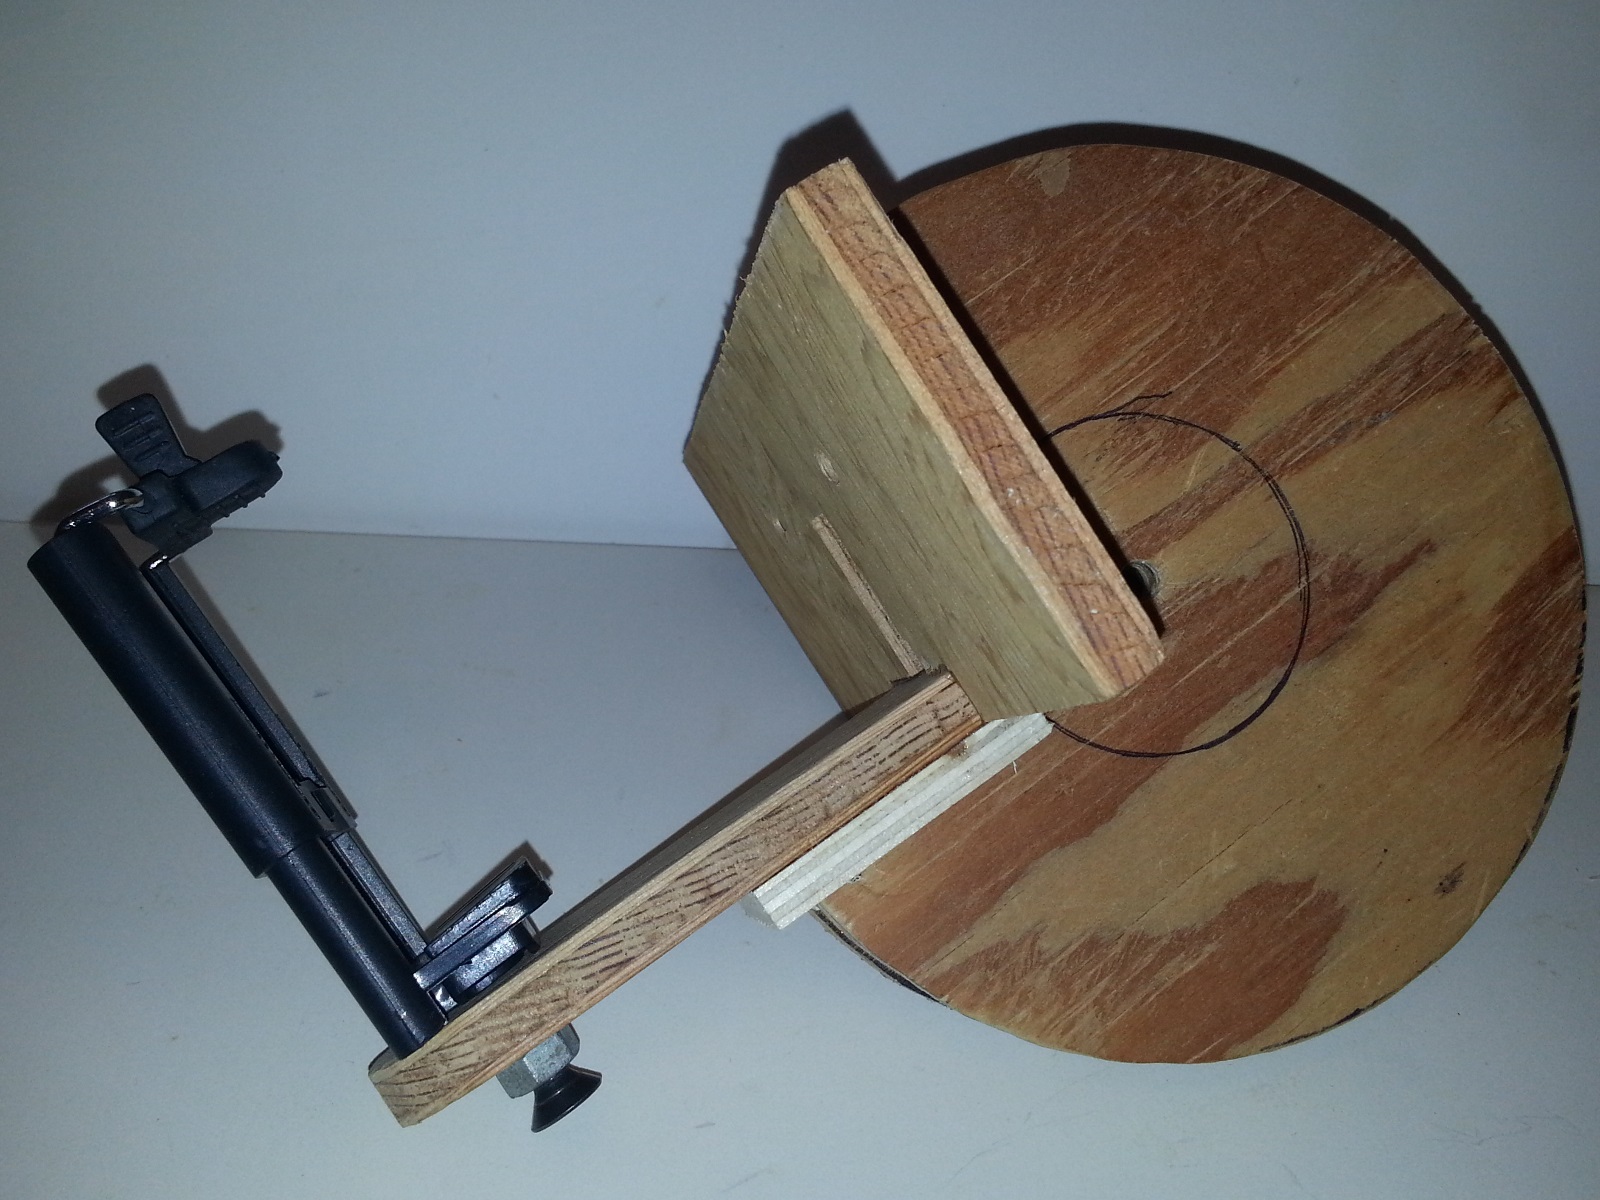
 After testing the new hardware everything seemed to work pretty well, so I started working on the ceiling attachment pad. The part that attaches to the pad required several versions to get a fairly stable mounting area. I managed to hang it from the ceiling and get a look at where everything was going to hold steady.
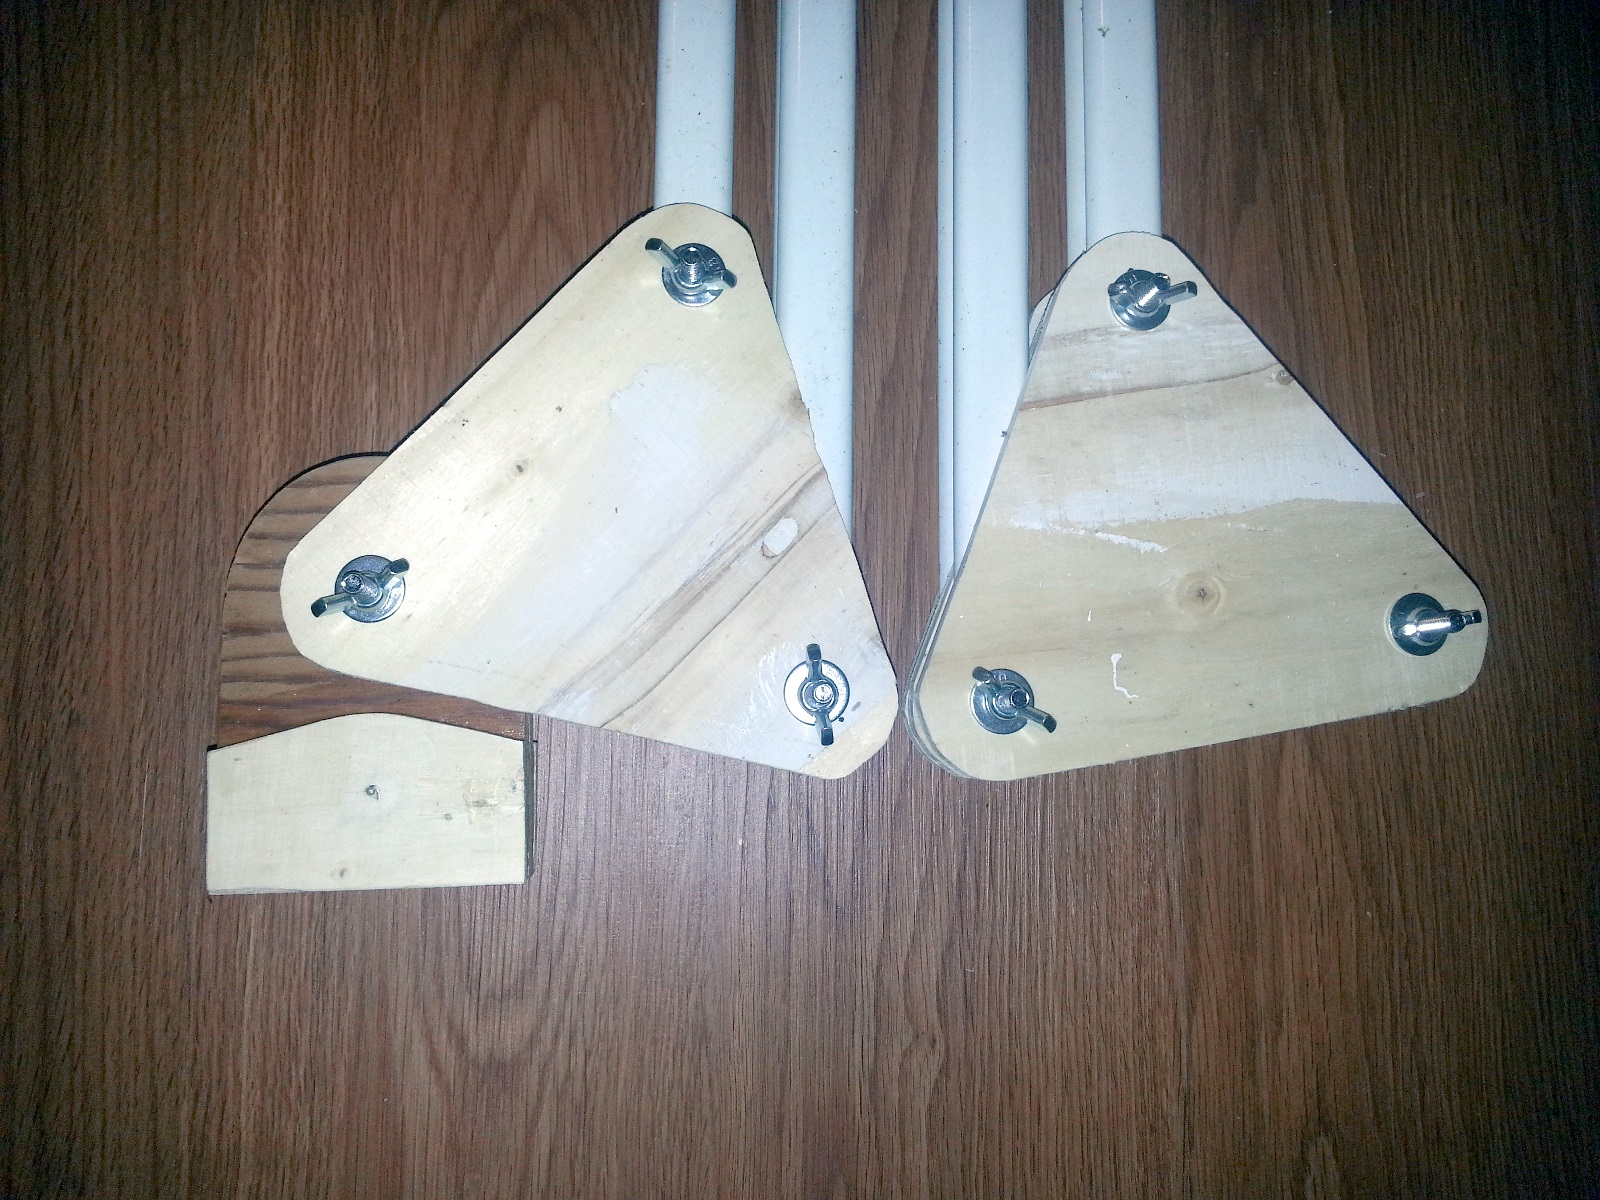

Adding Tension
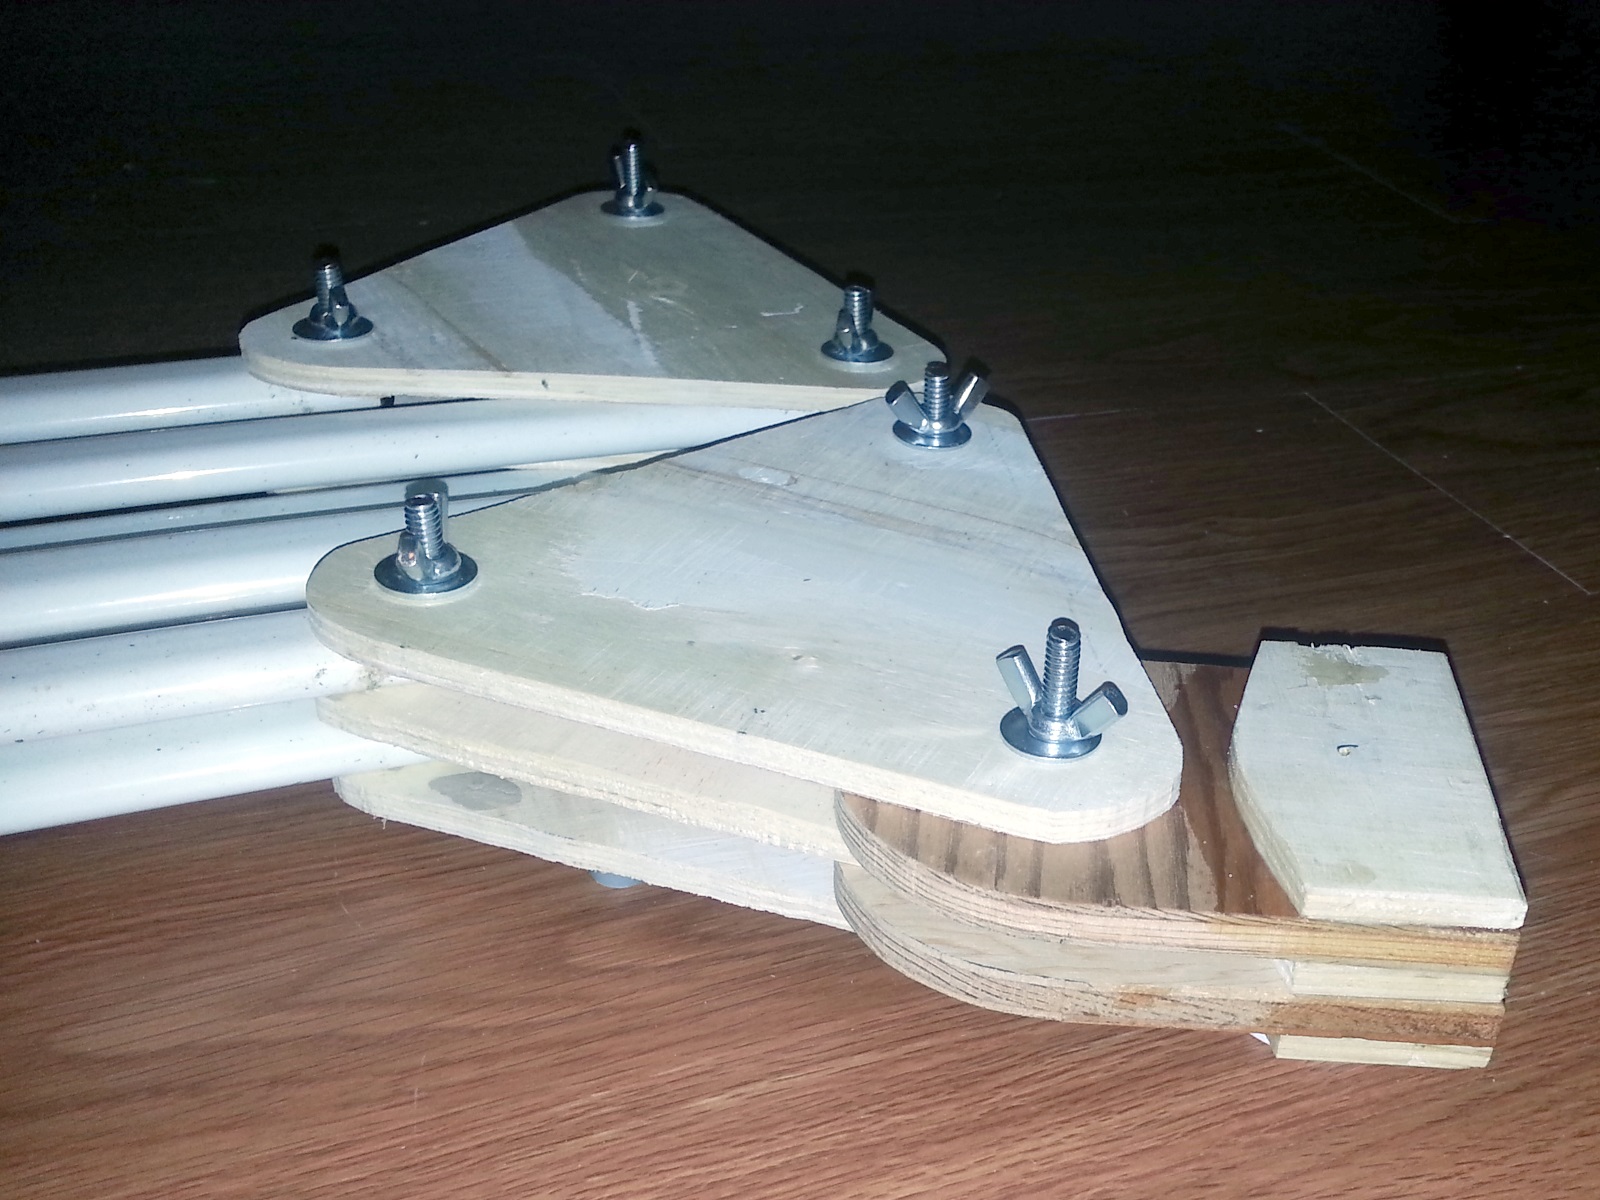
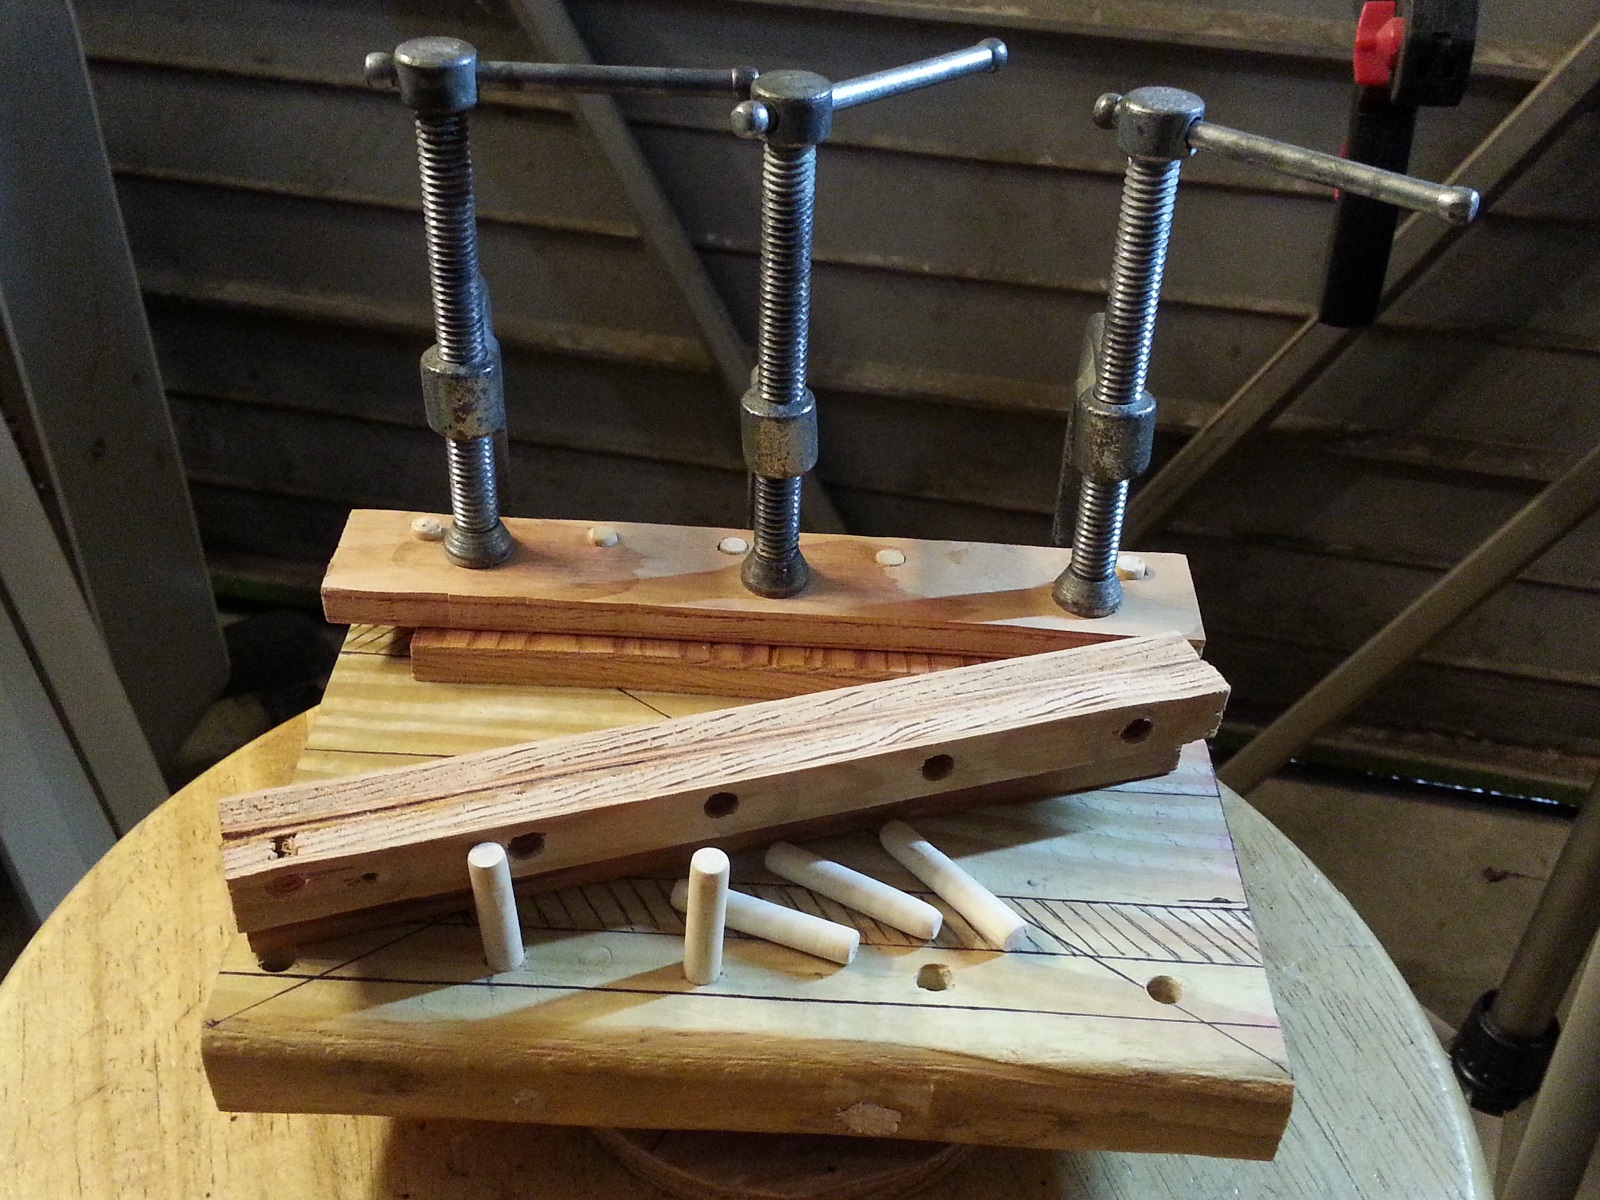
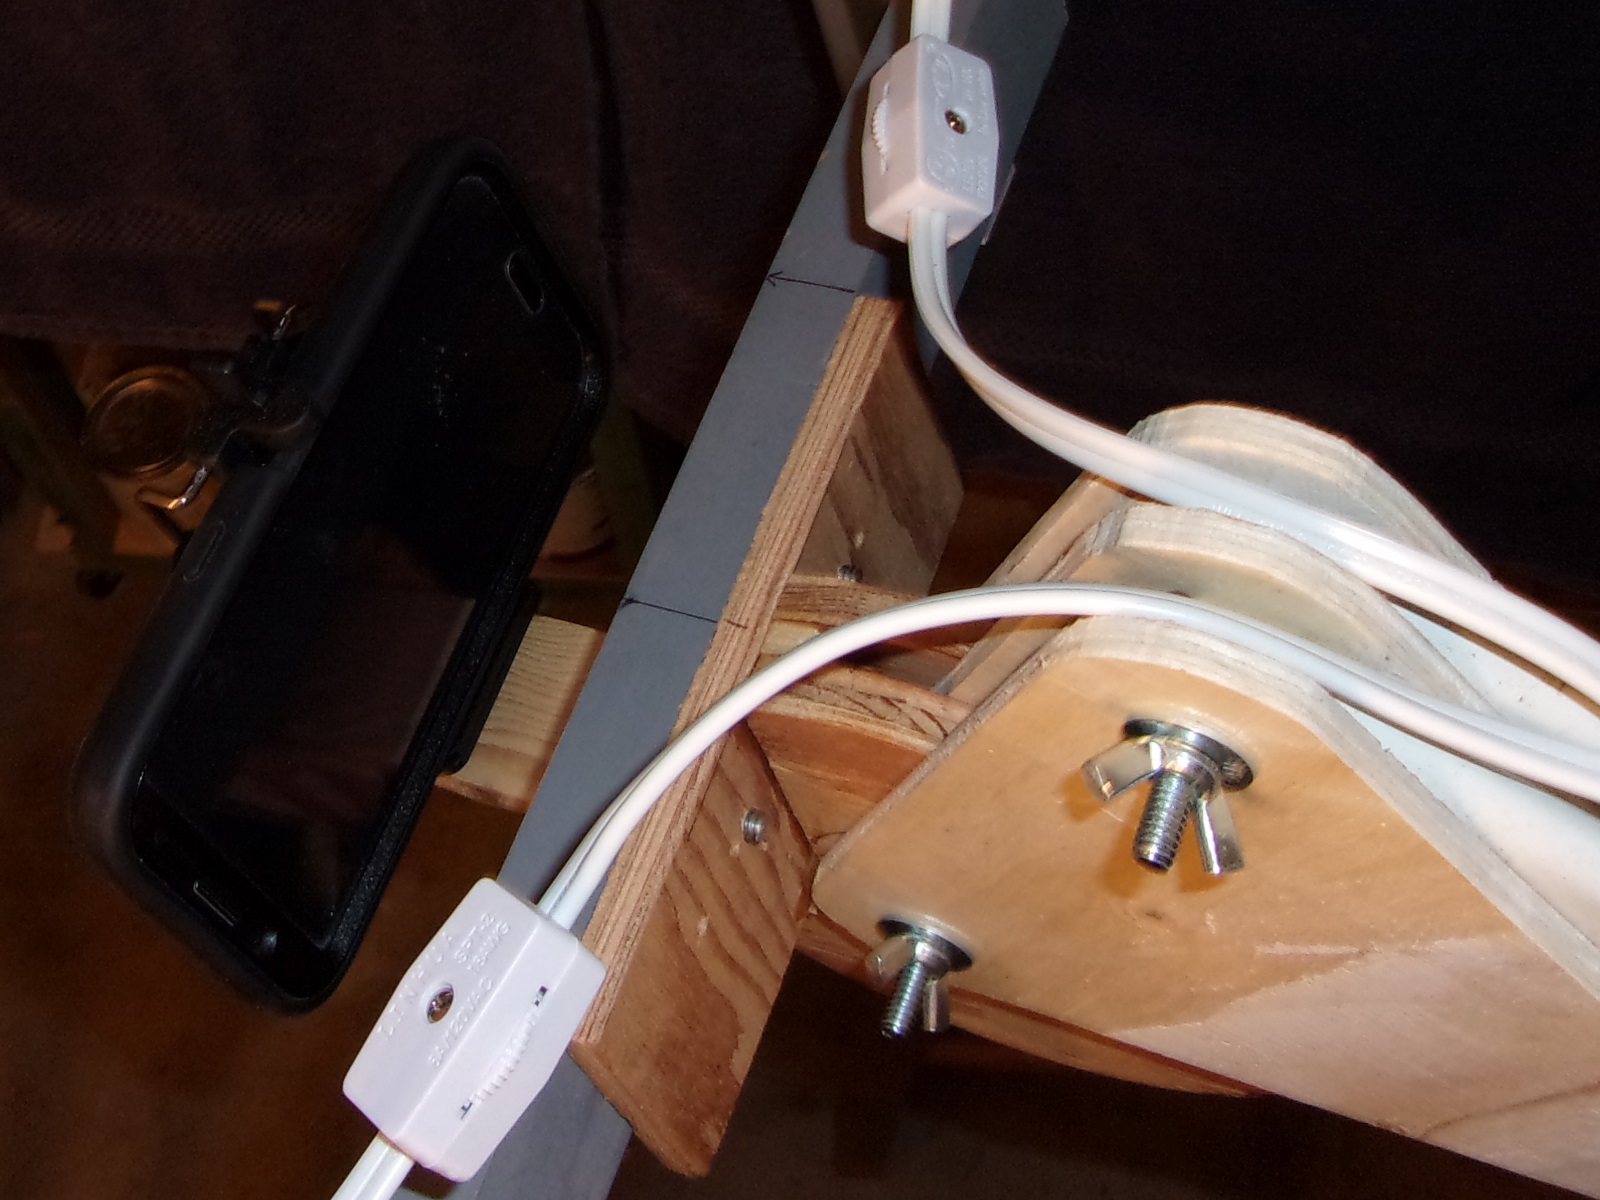
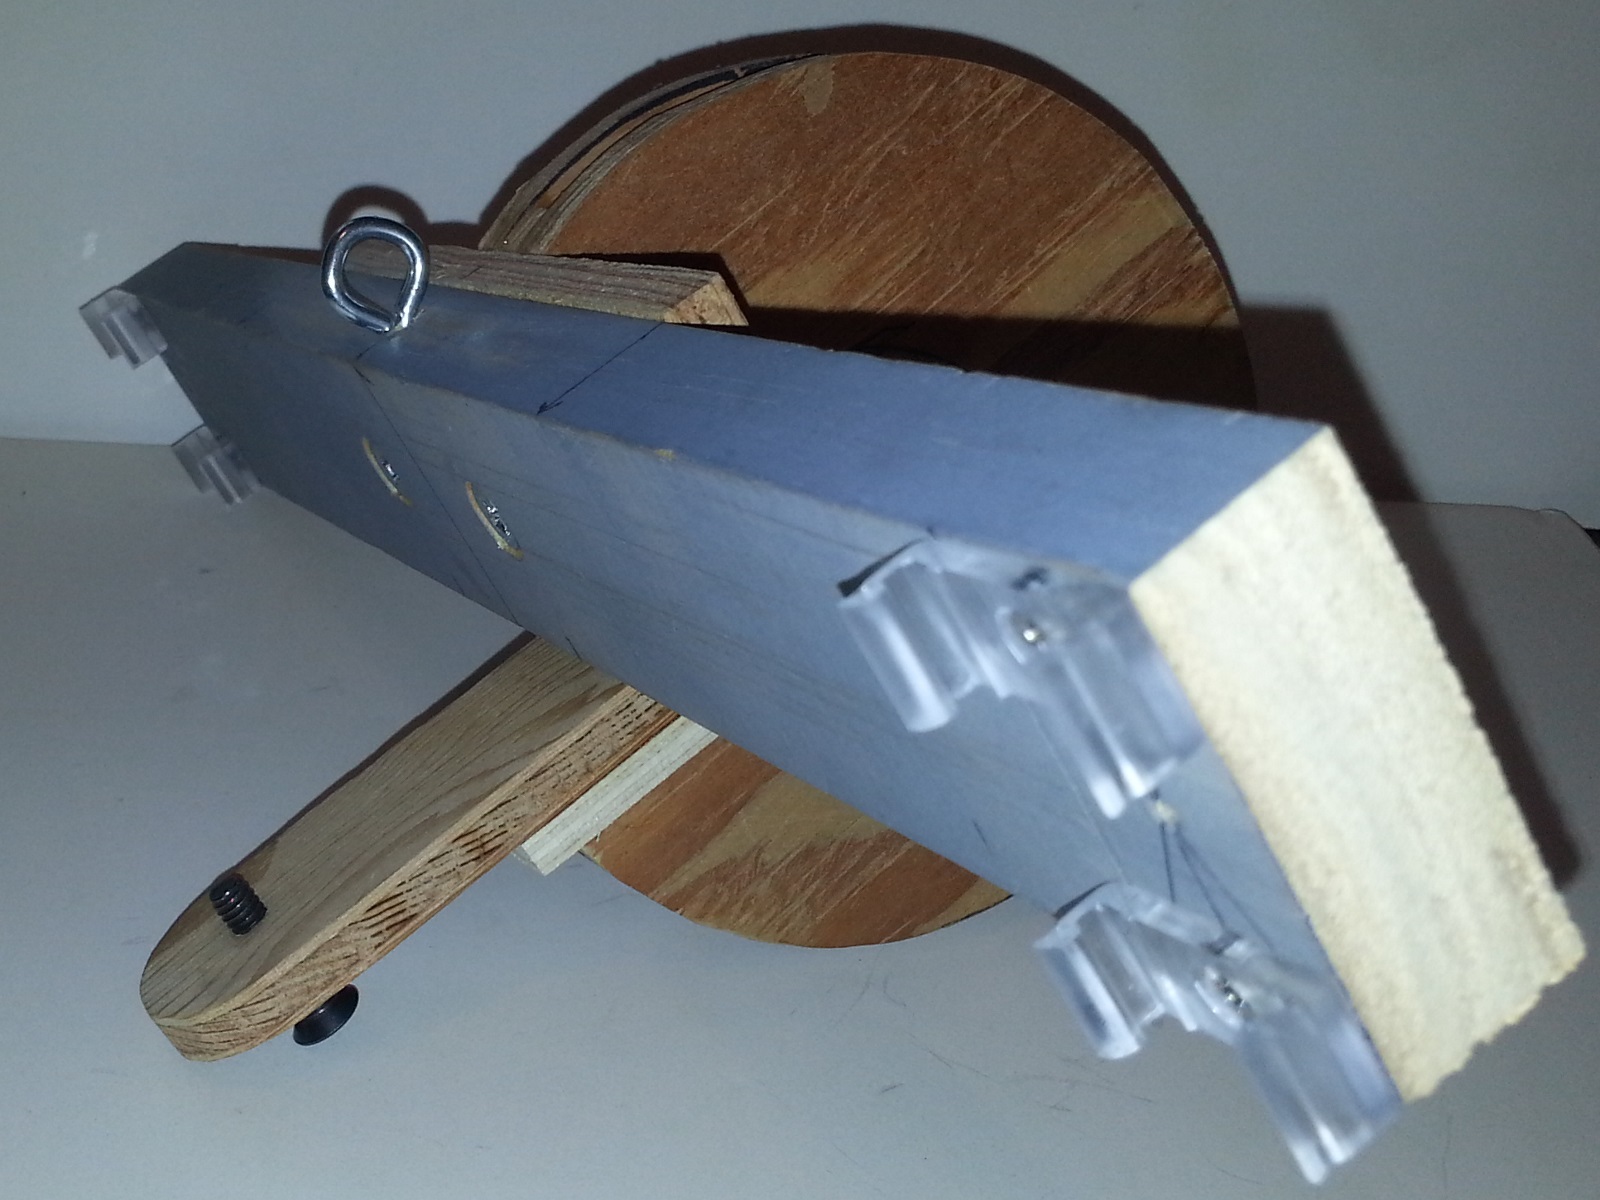
 Then started working on how to deal with the tensioners. I had thought about using springs but, had also been thinking of using regular old bungee cords. I figured bungees are inexpensive, I can set them to whatever length I want, and they are easy to move around because they have a hook on each end. So my next task is to figure out how to attach the bungee cords to the arms. I came up with a lever trapping system with an eye on the end of it to hook the bungee cord through. I think it worked out pretty well or at least so far I’m very happy with it.
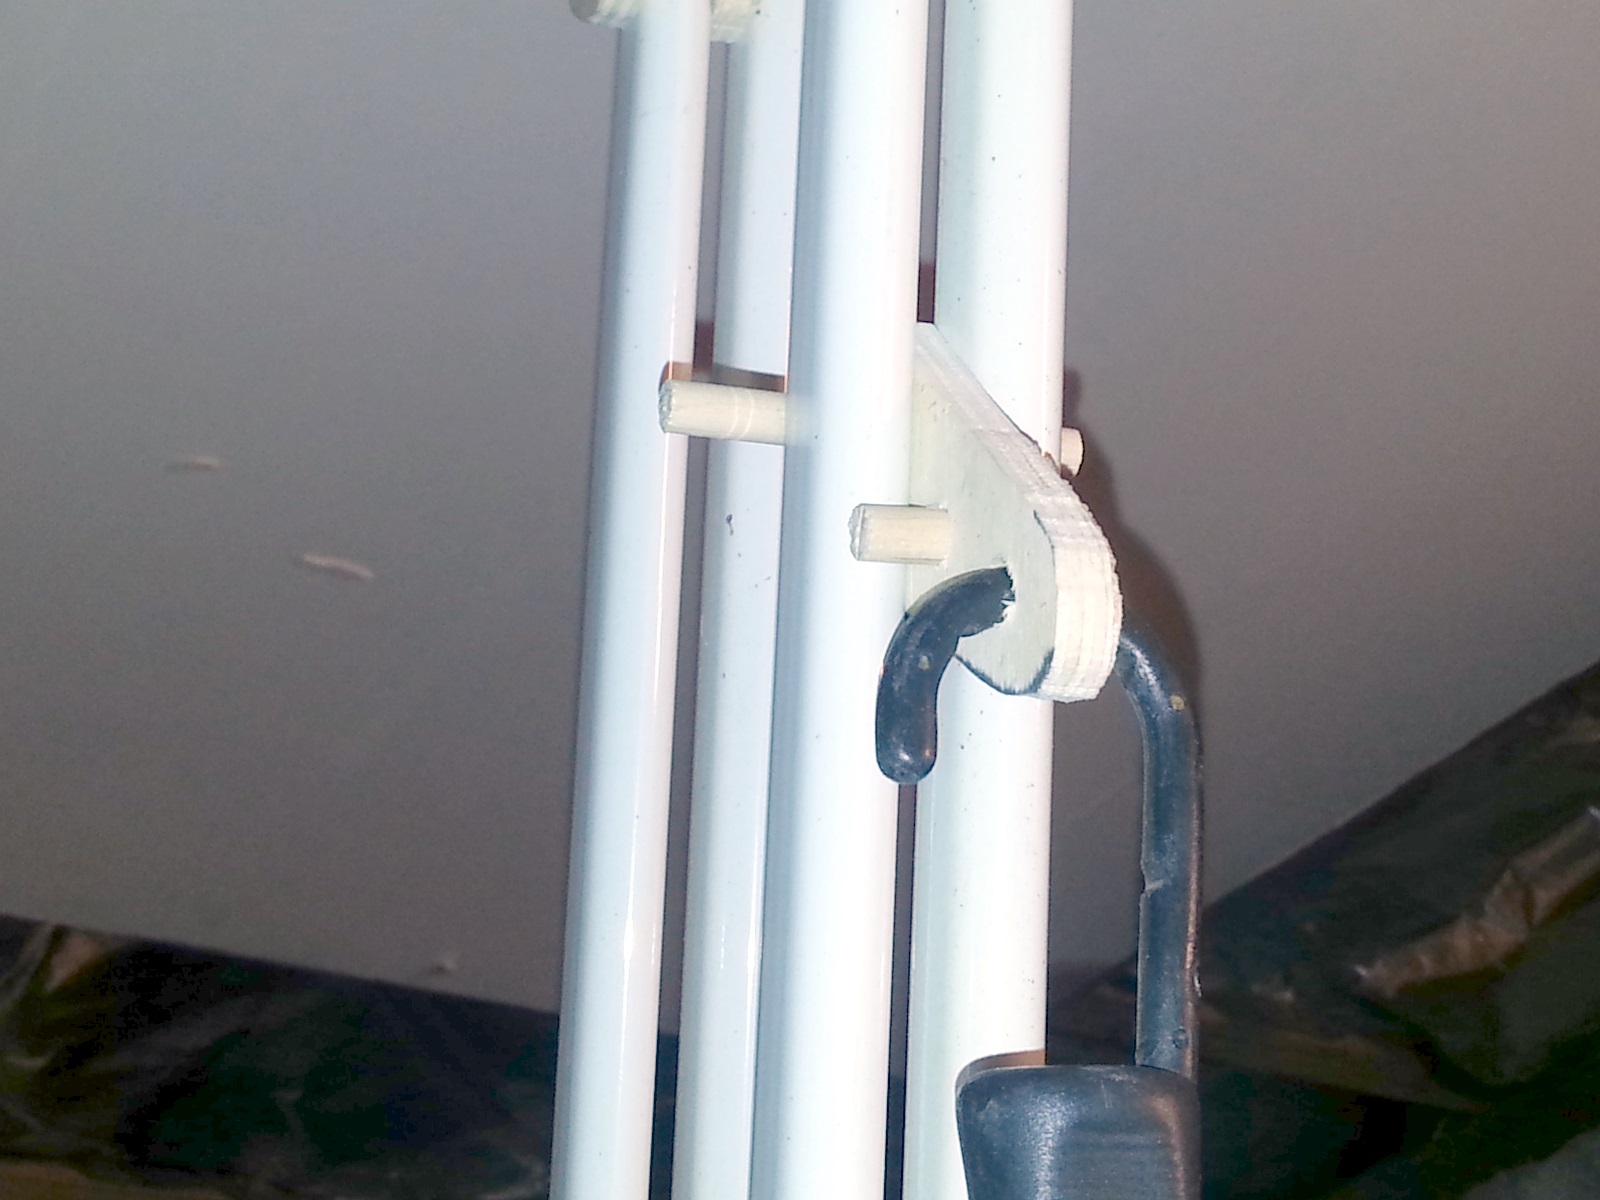
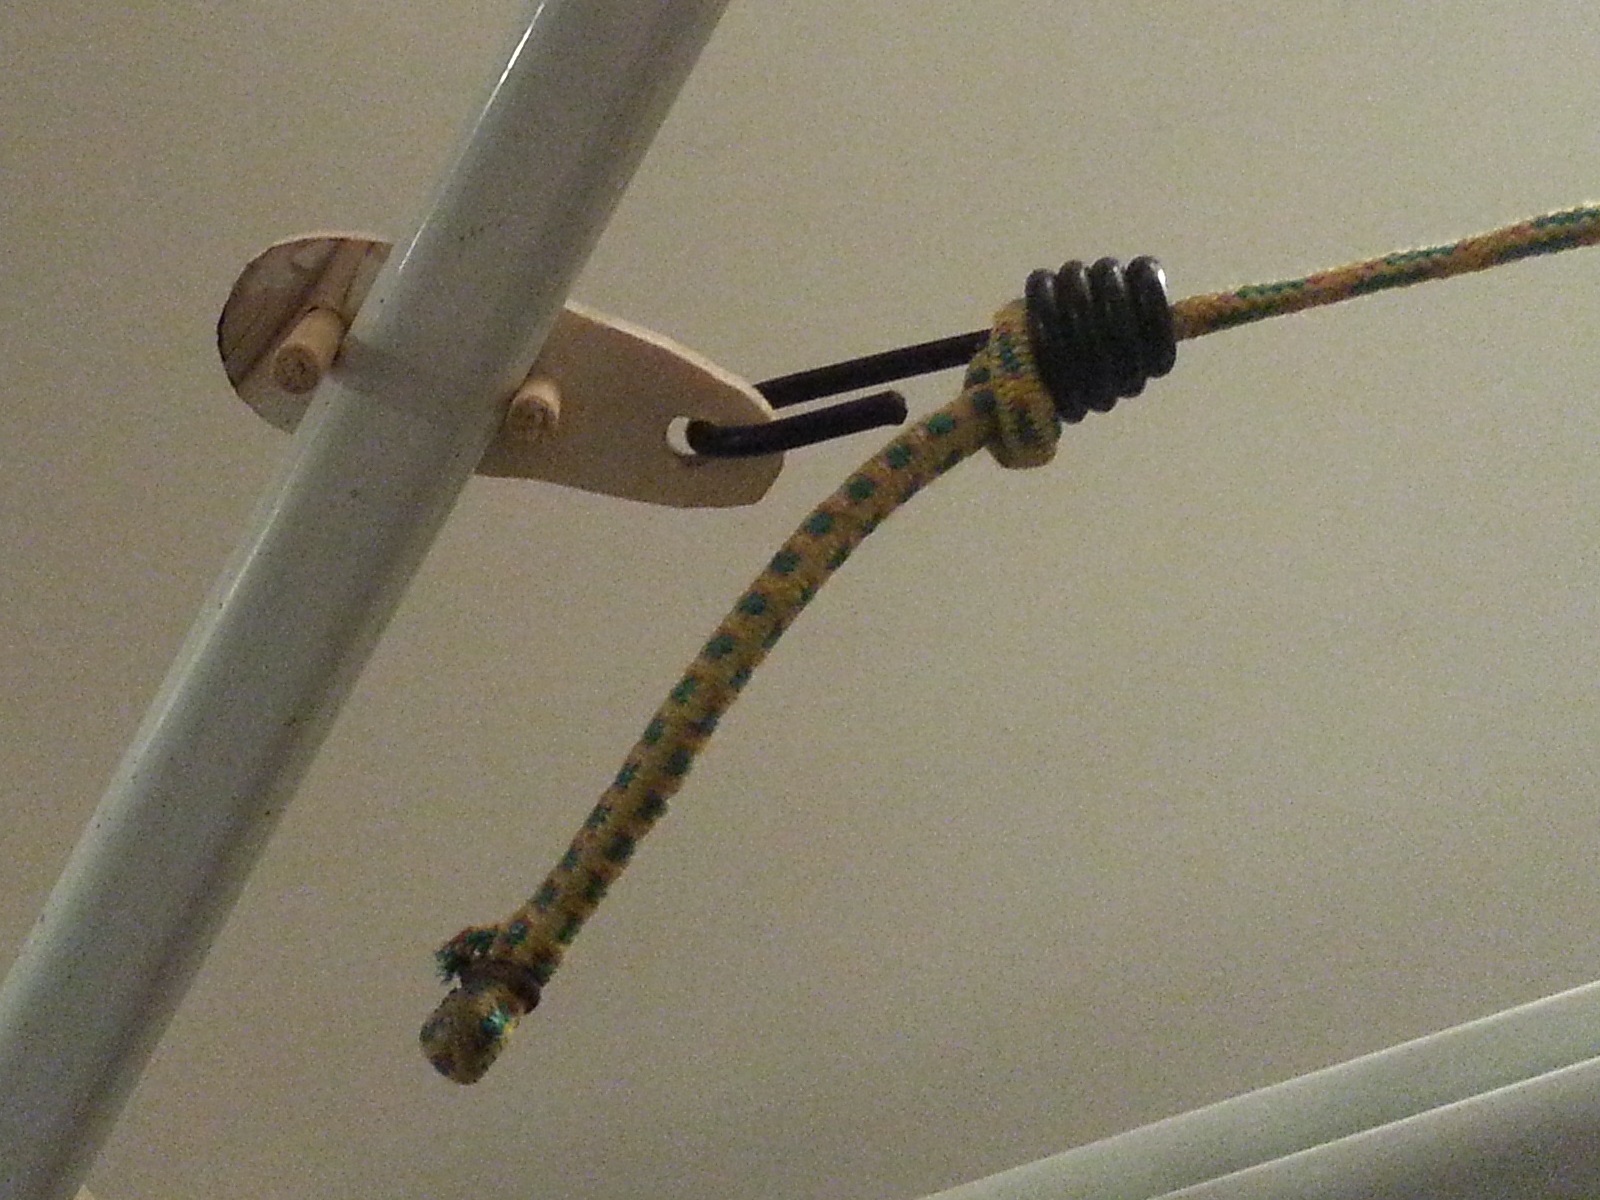
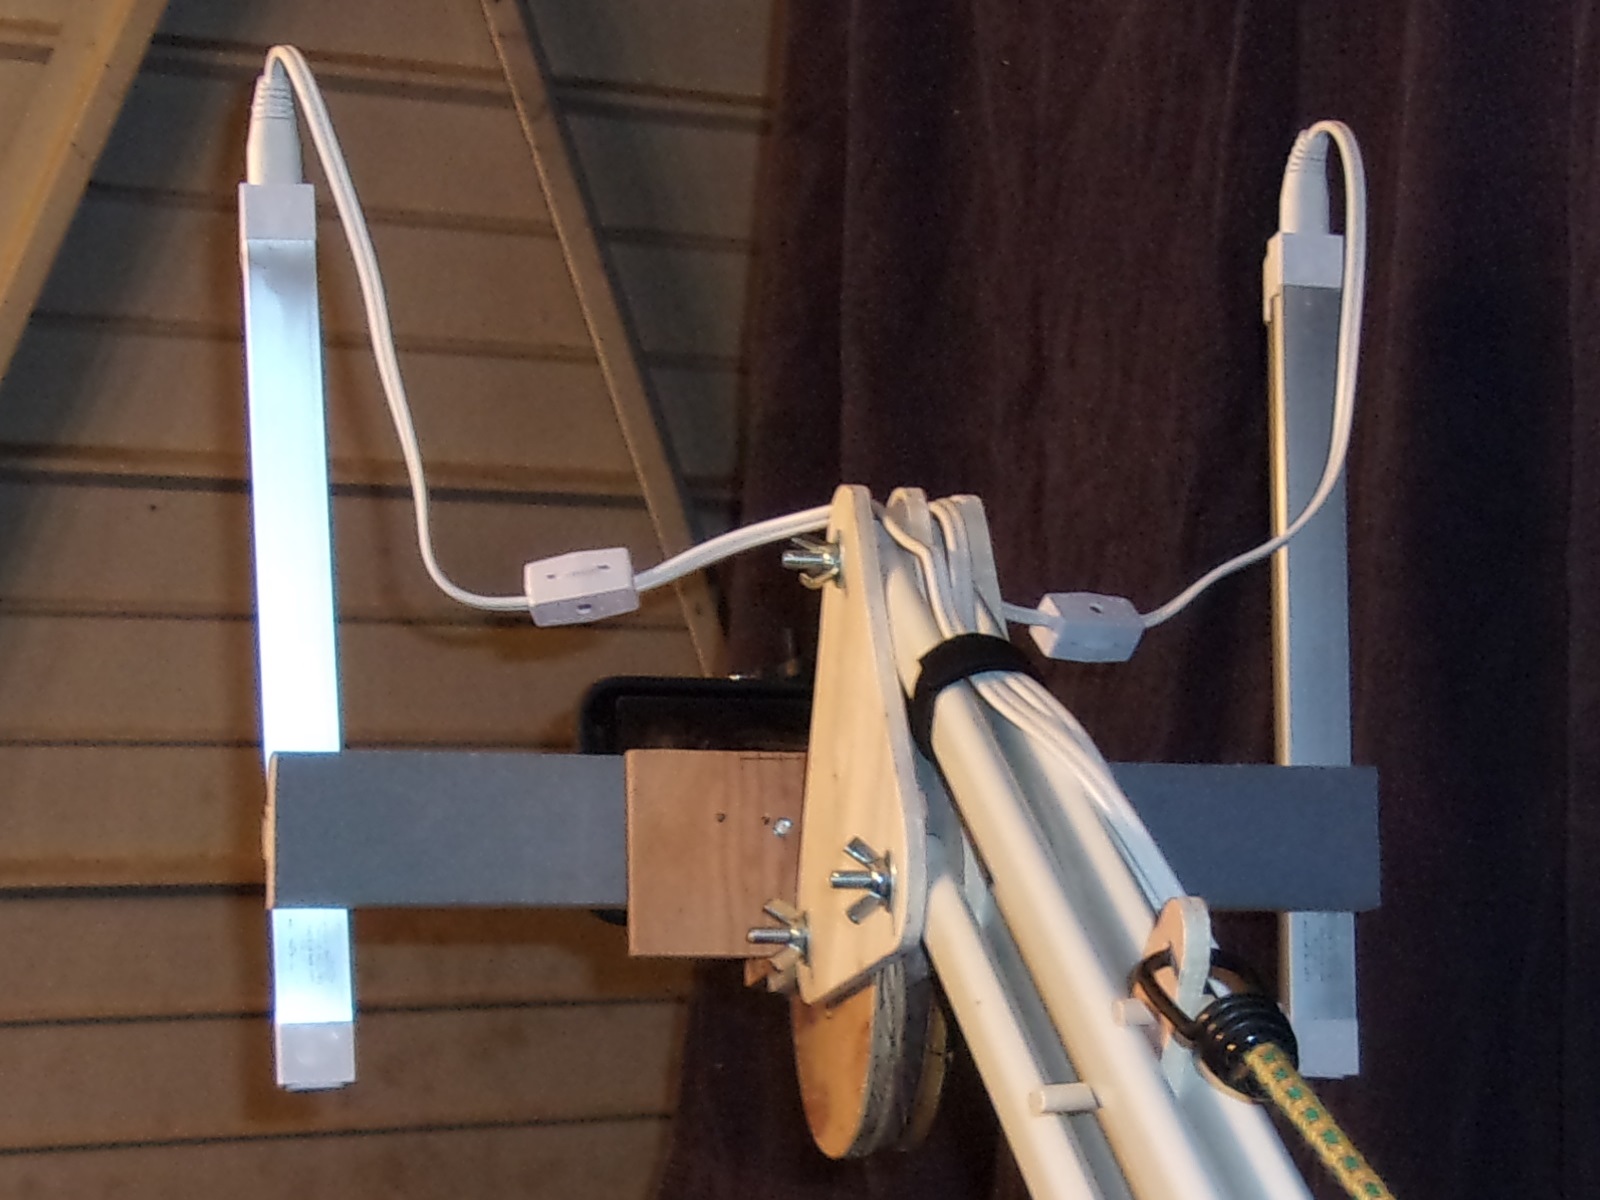
I decided to replace the bungee cords you see in the photos above since they seemed to be a little worse for wear. They weren’t new, and the elastic inside one for the bungees broke inside the outer sleeve. The new ones have the painted metal ends, so they’re thinner than the plastic ends… FYI, the plastic ends on the ones that I have, have a metal core that closely resembles the painted versions, they’re just not as think since they don’t have the plastic coating on them.
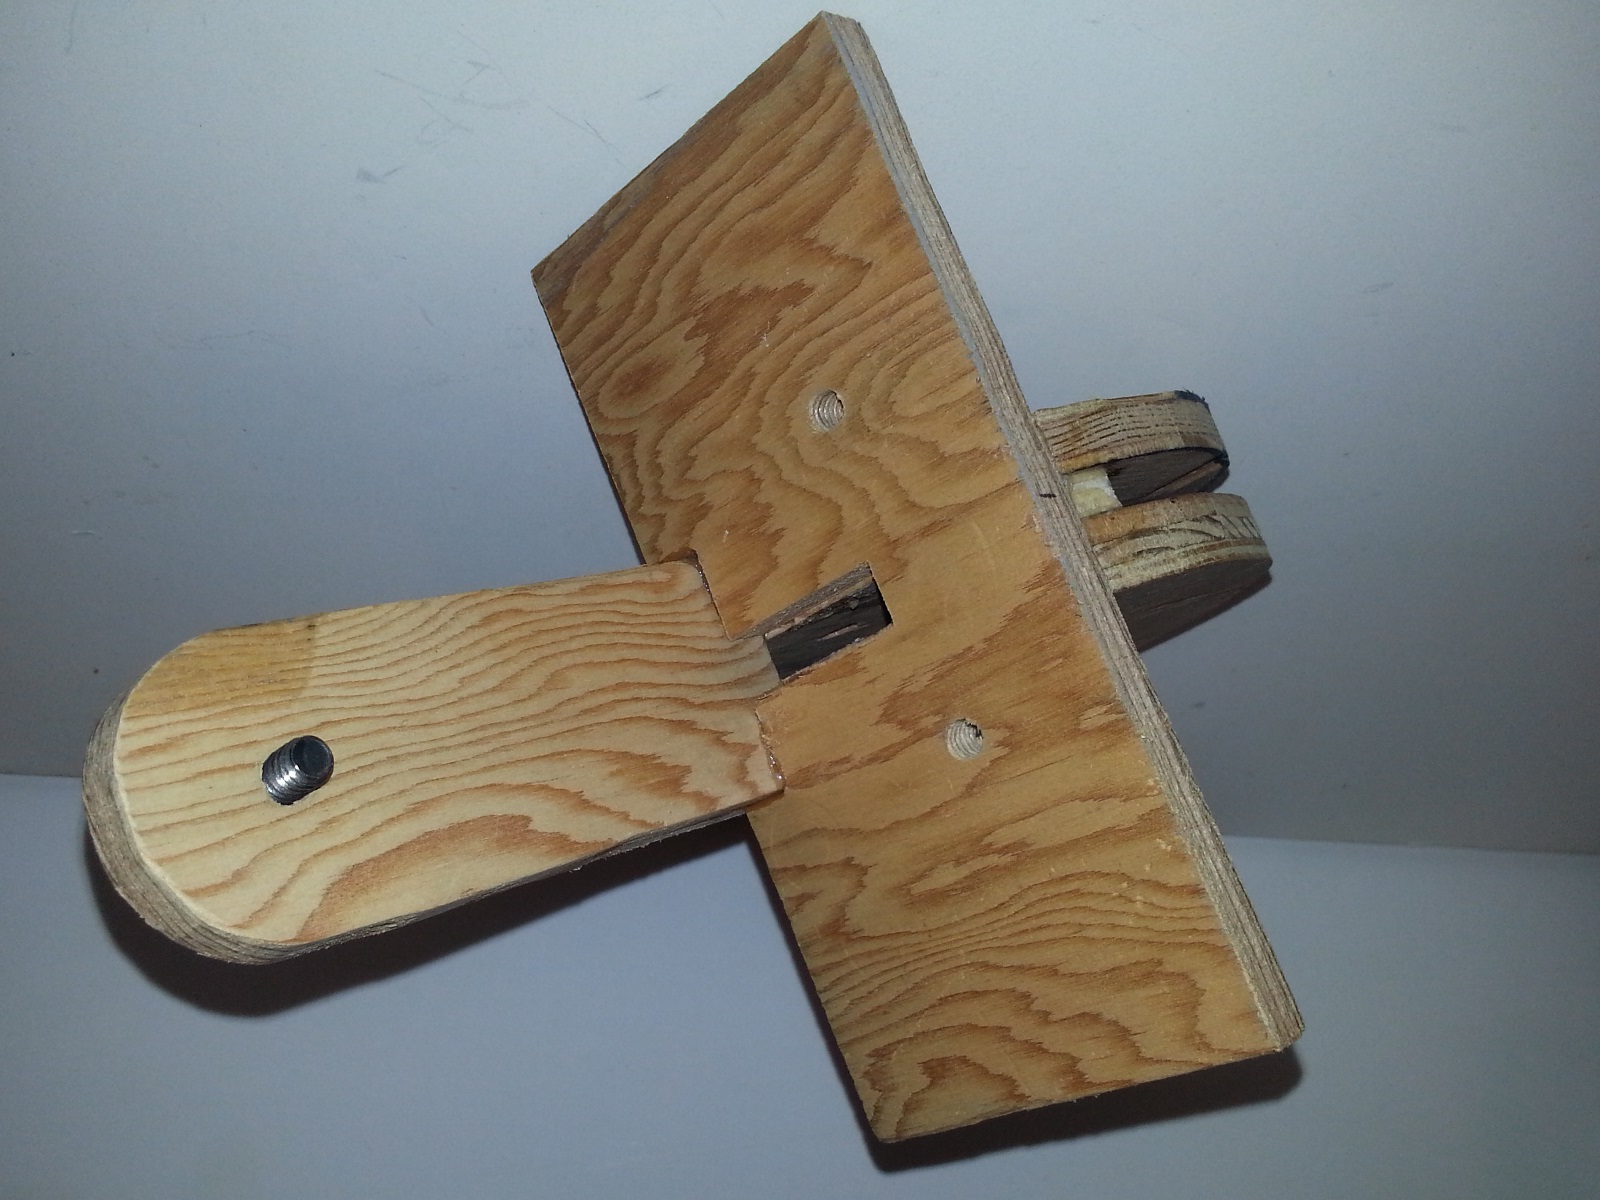
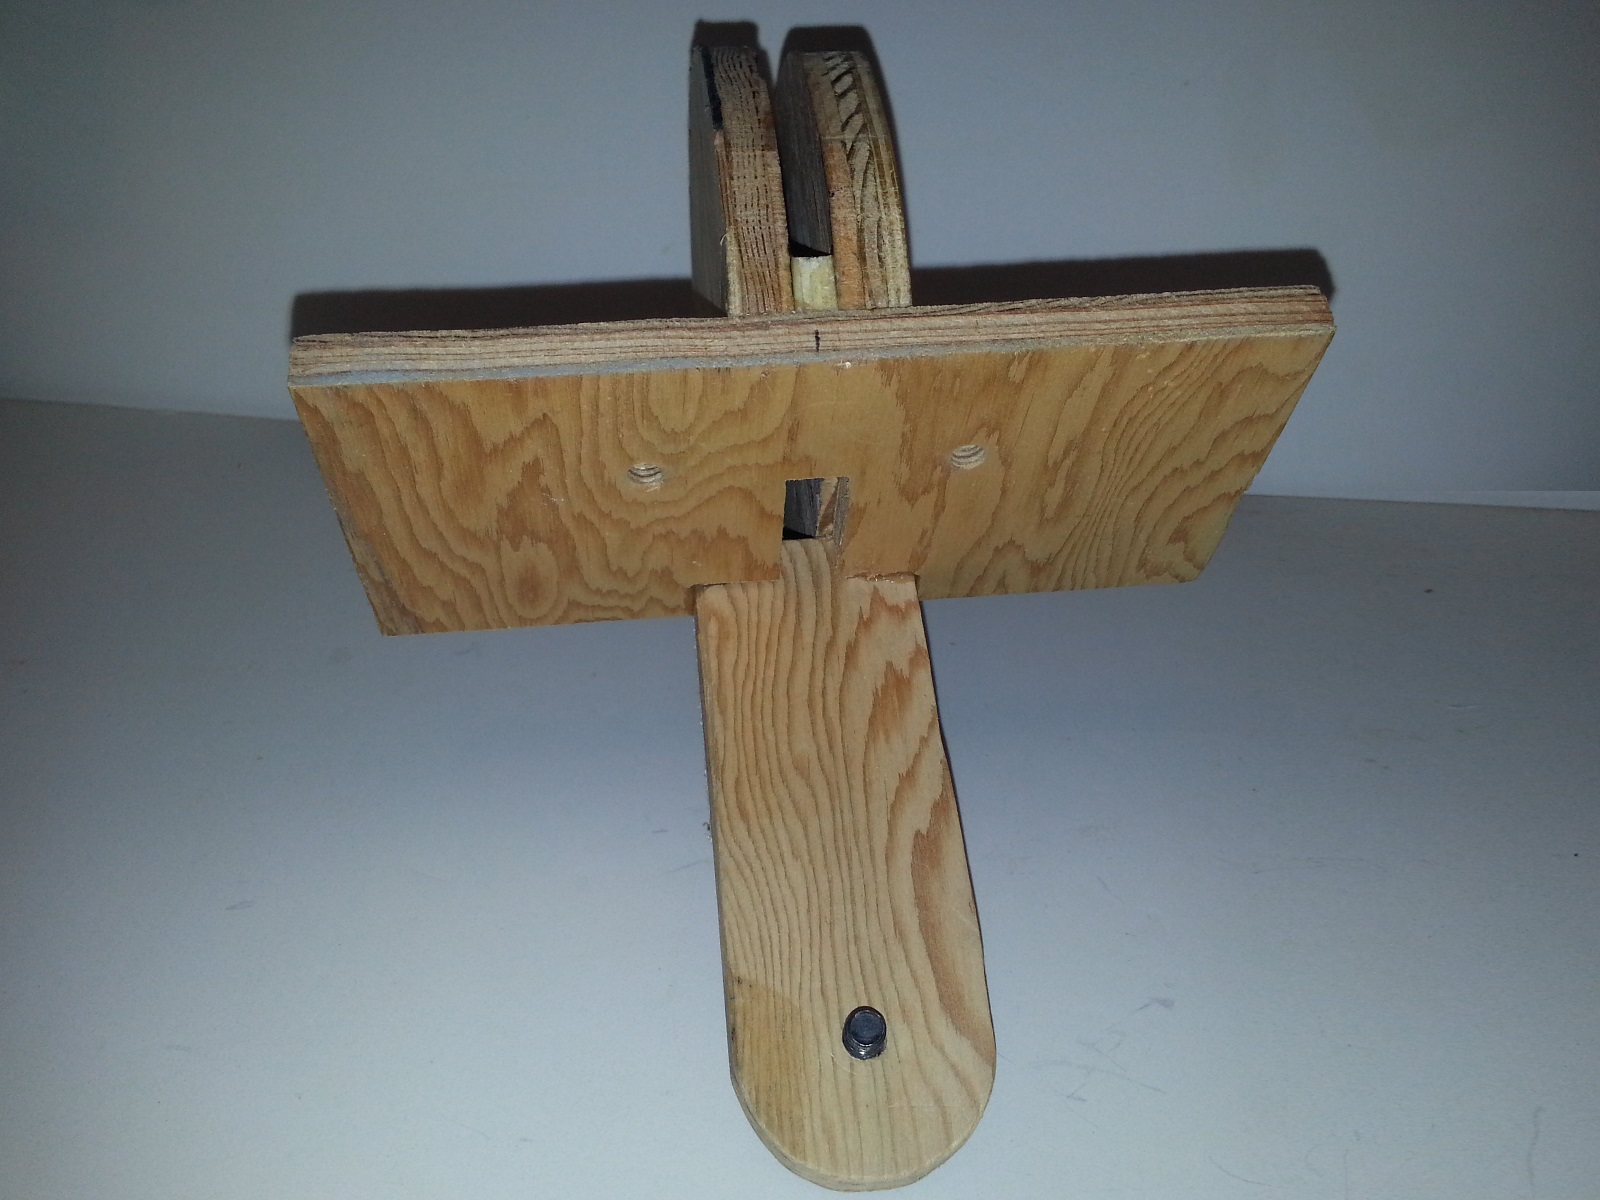
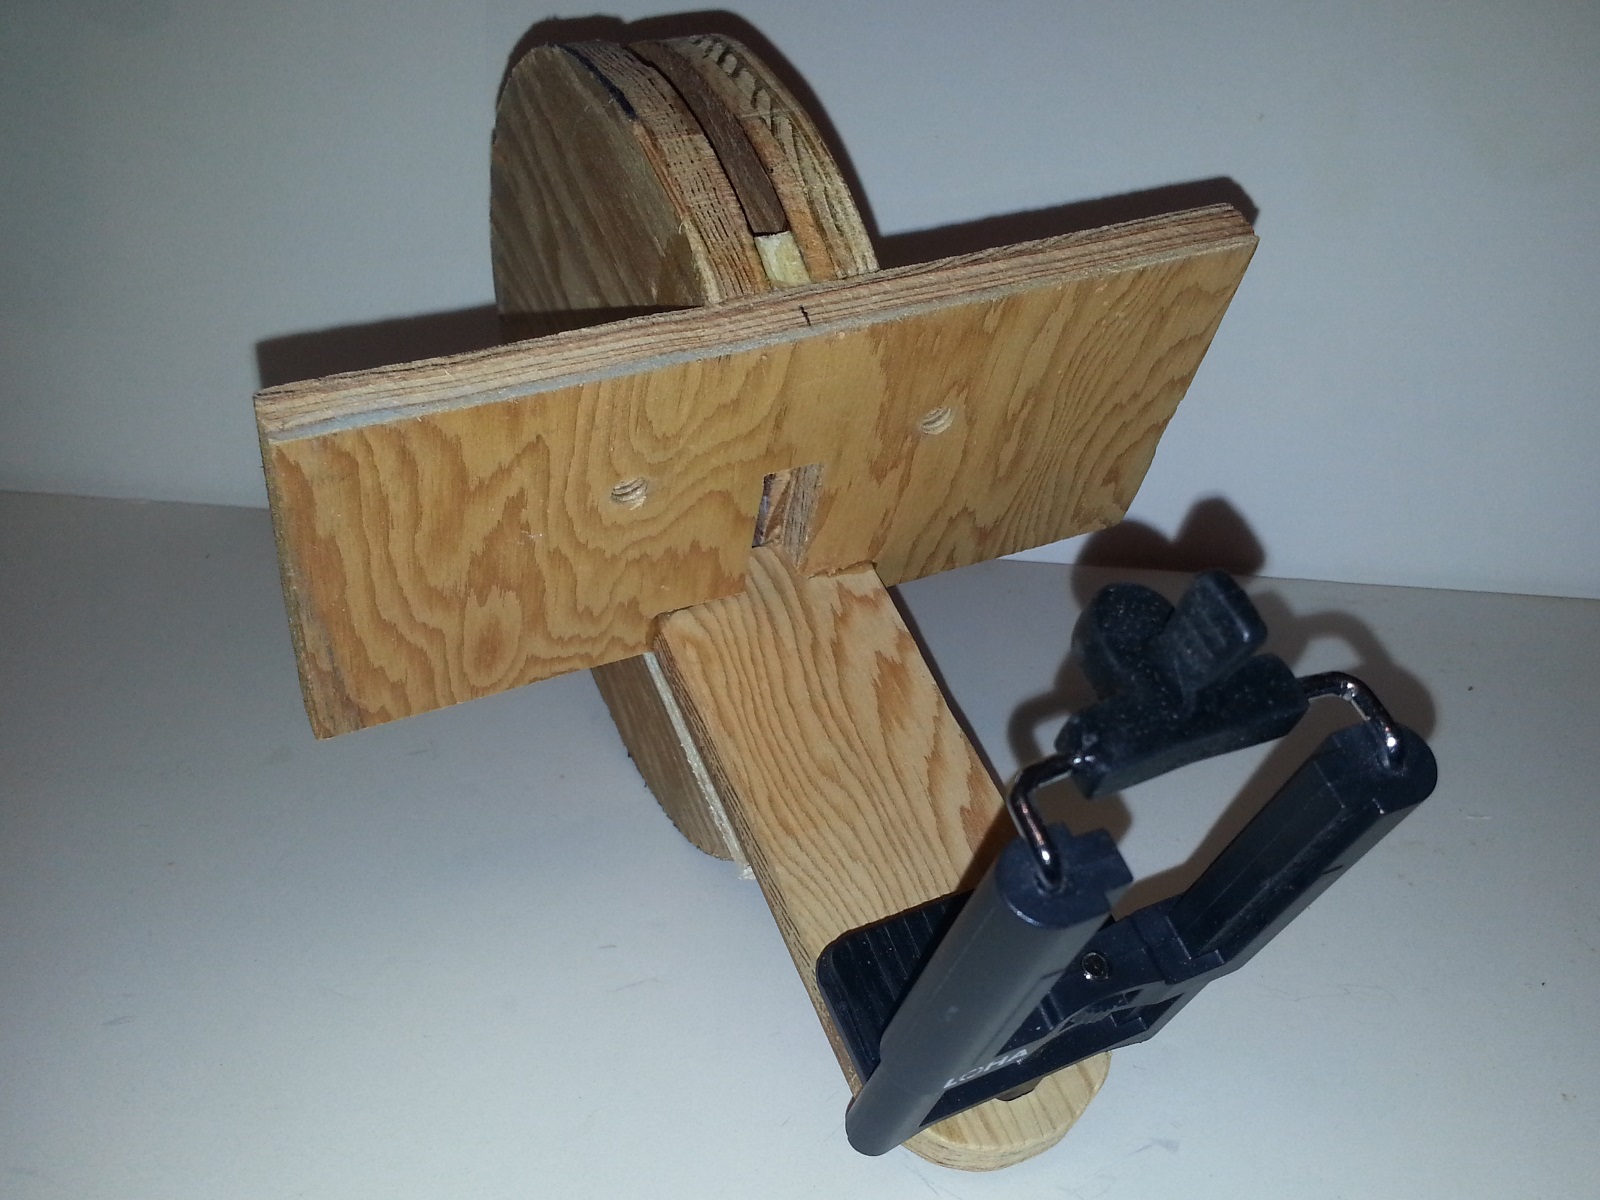
Designing and building the camera and light head

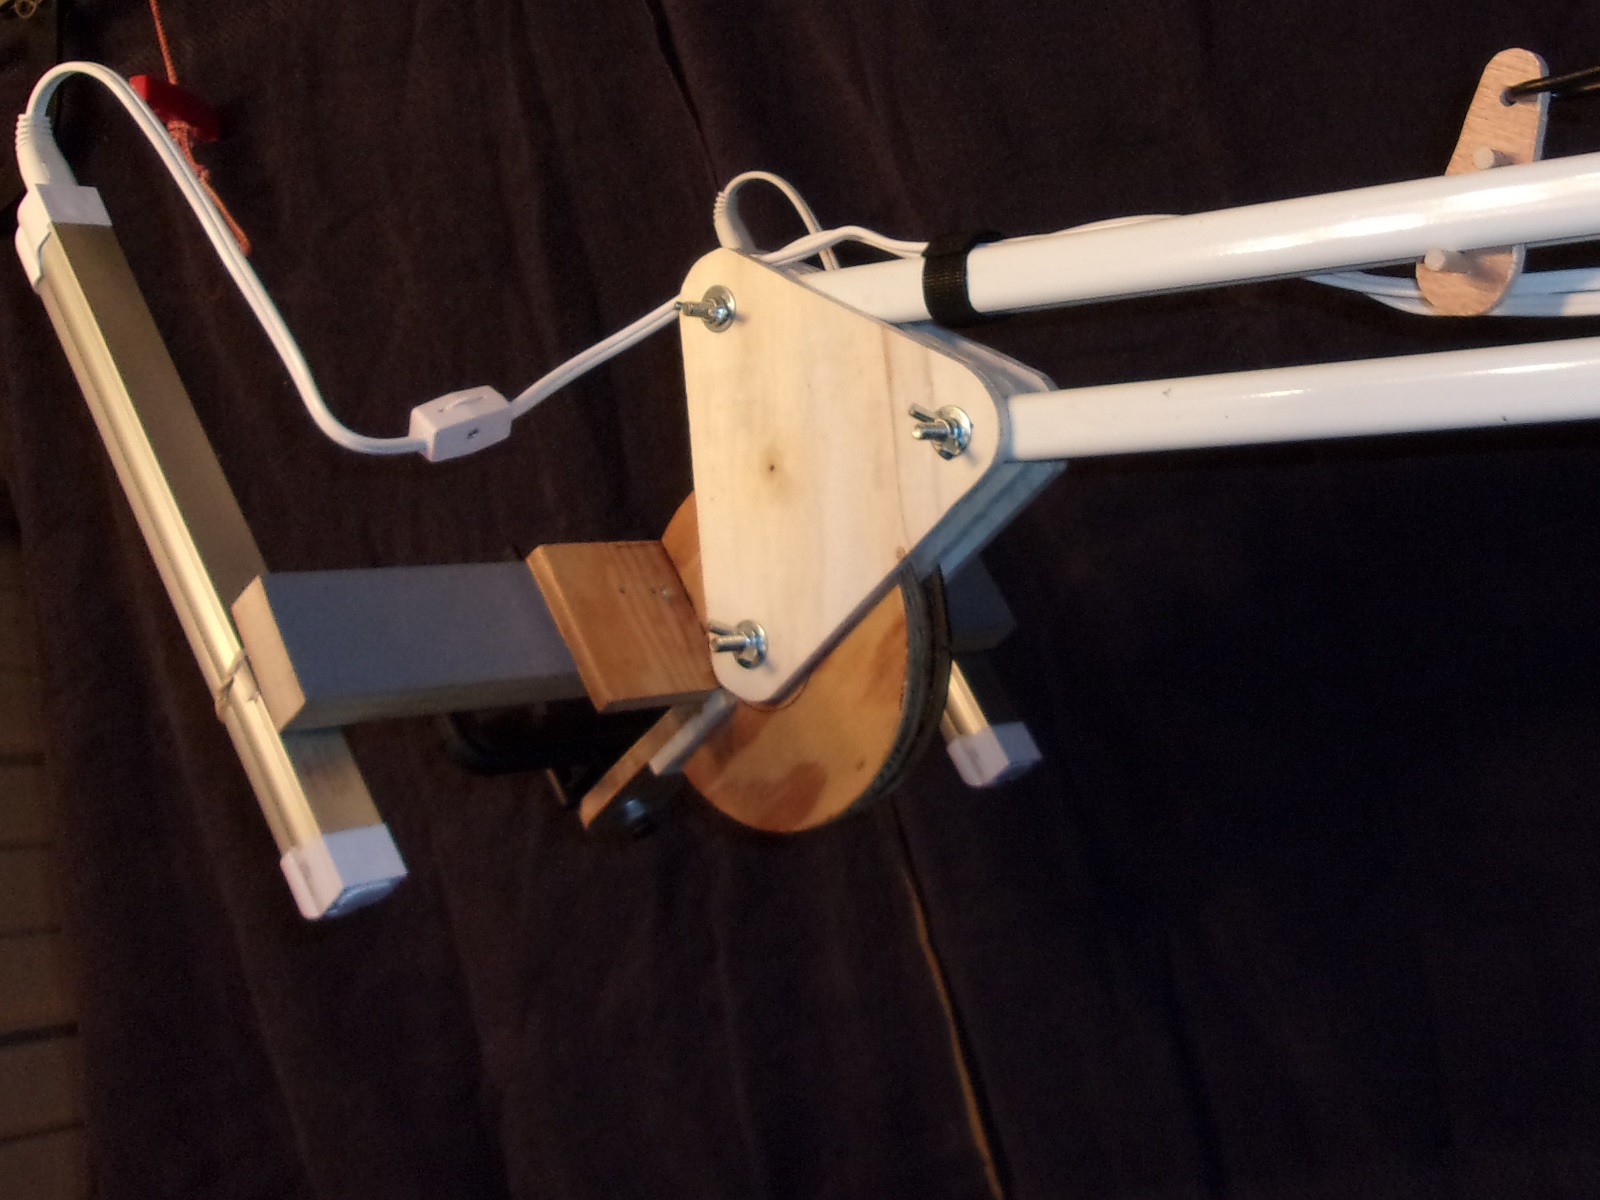
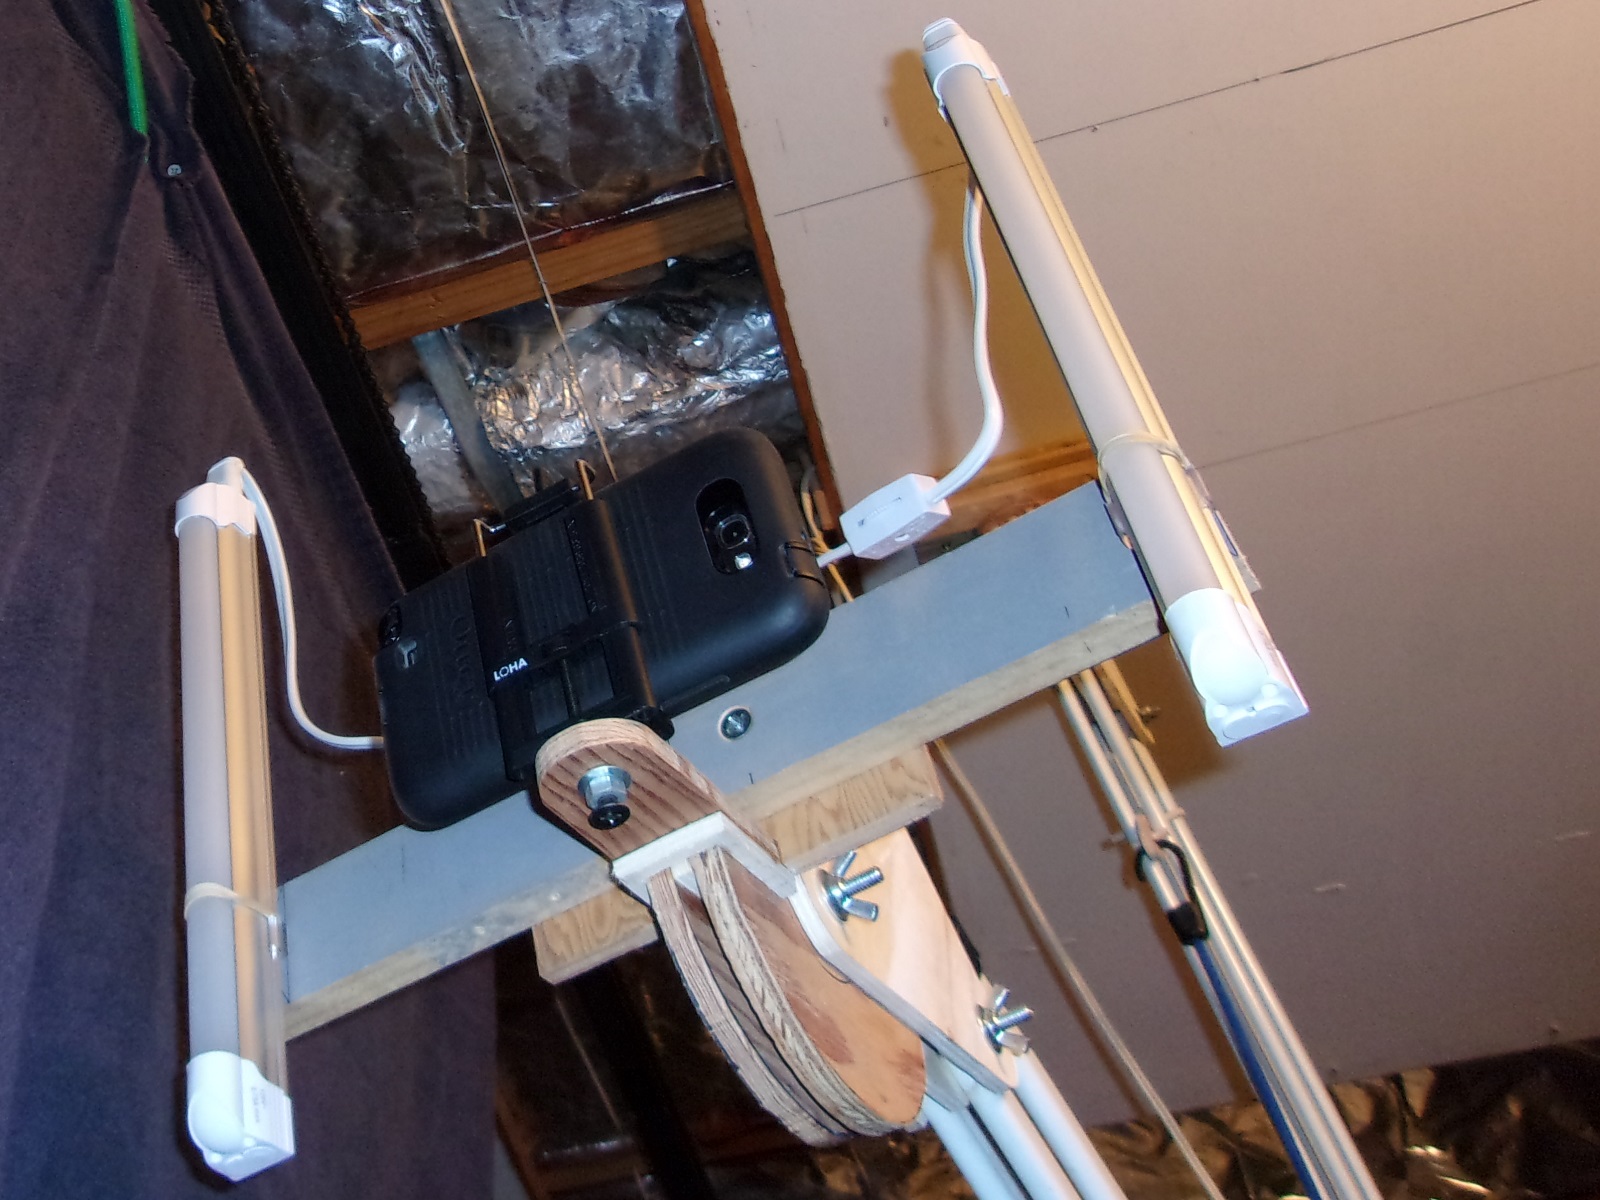
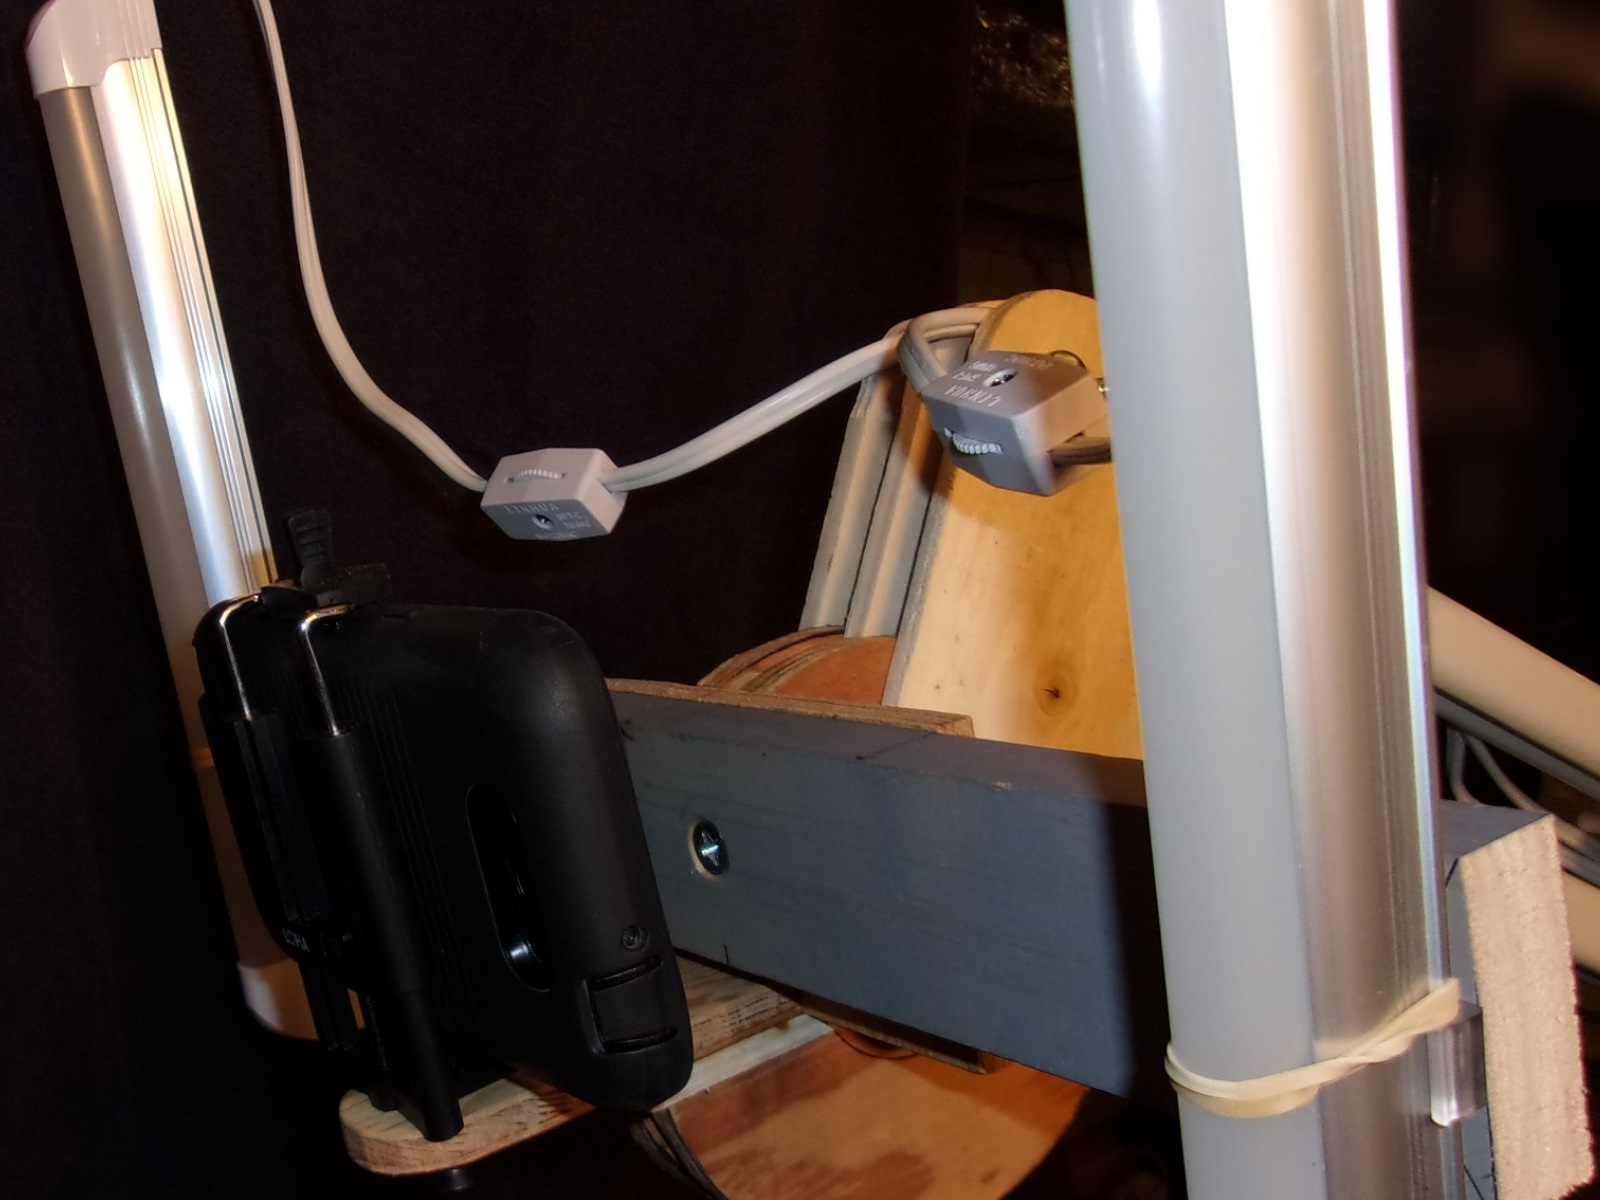
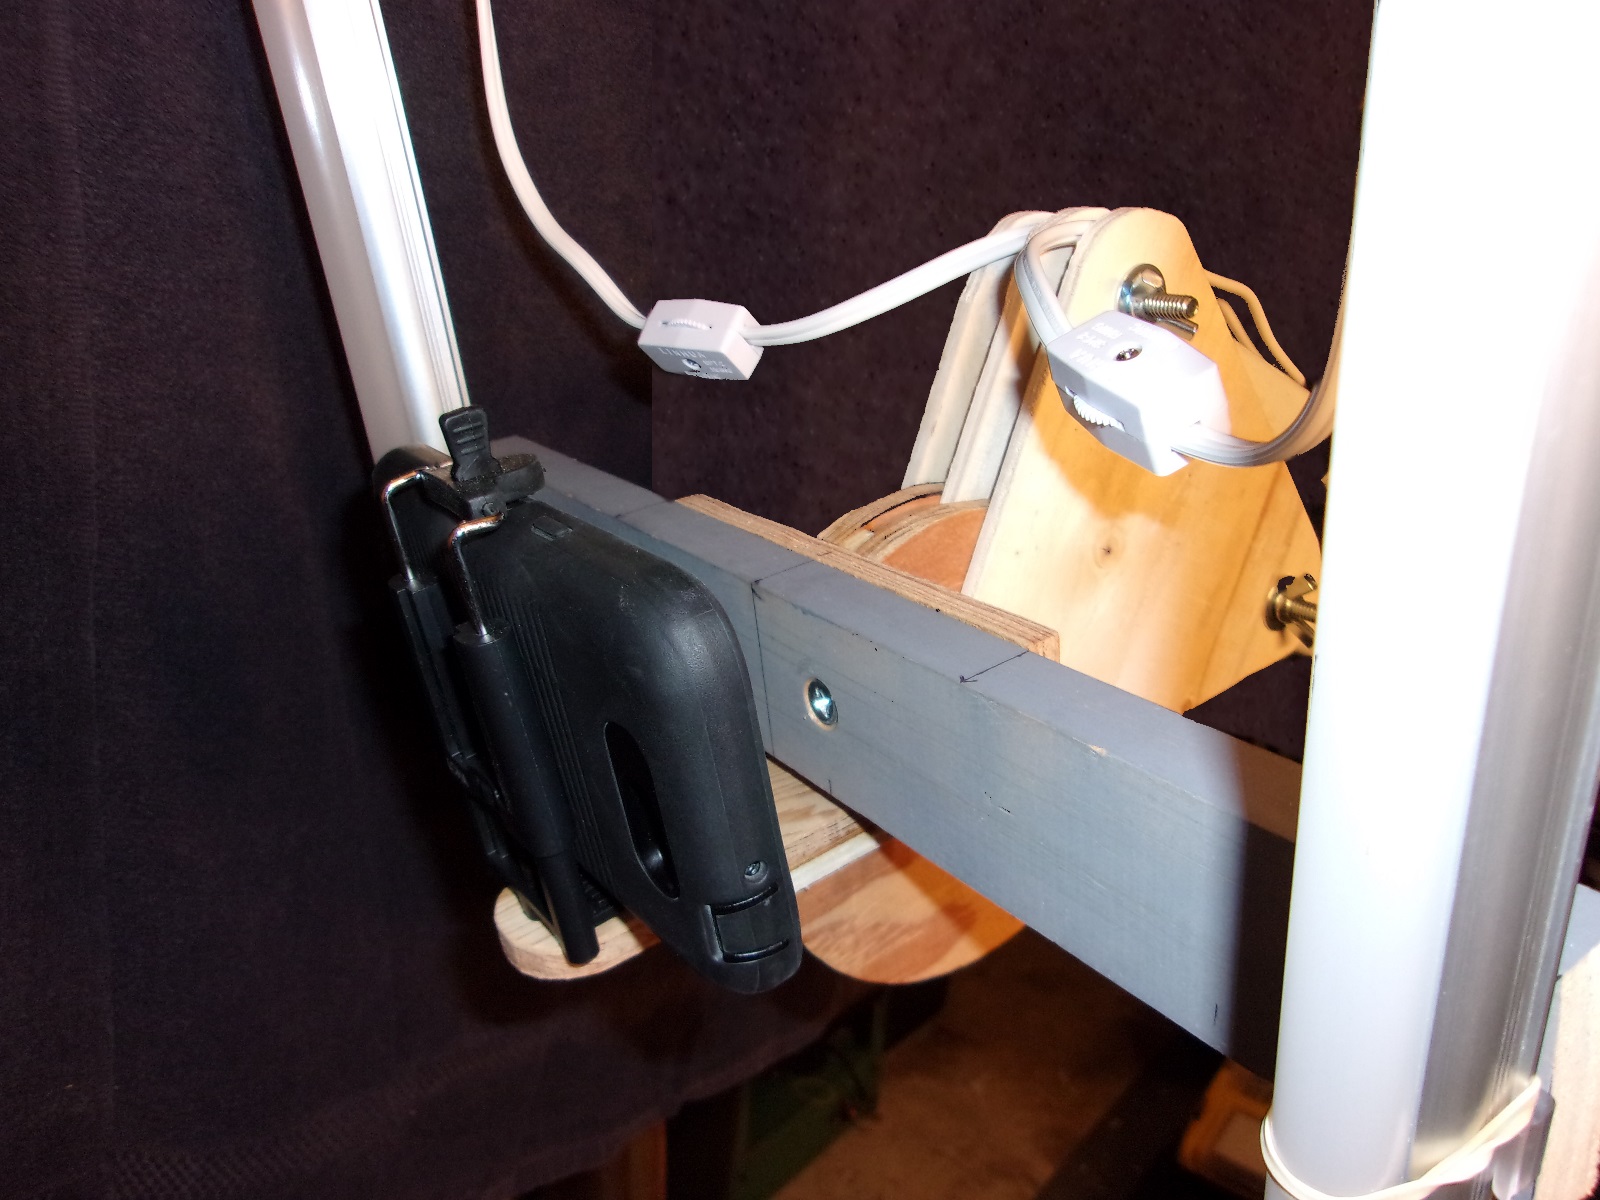
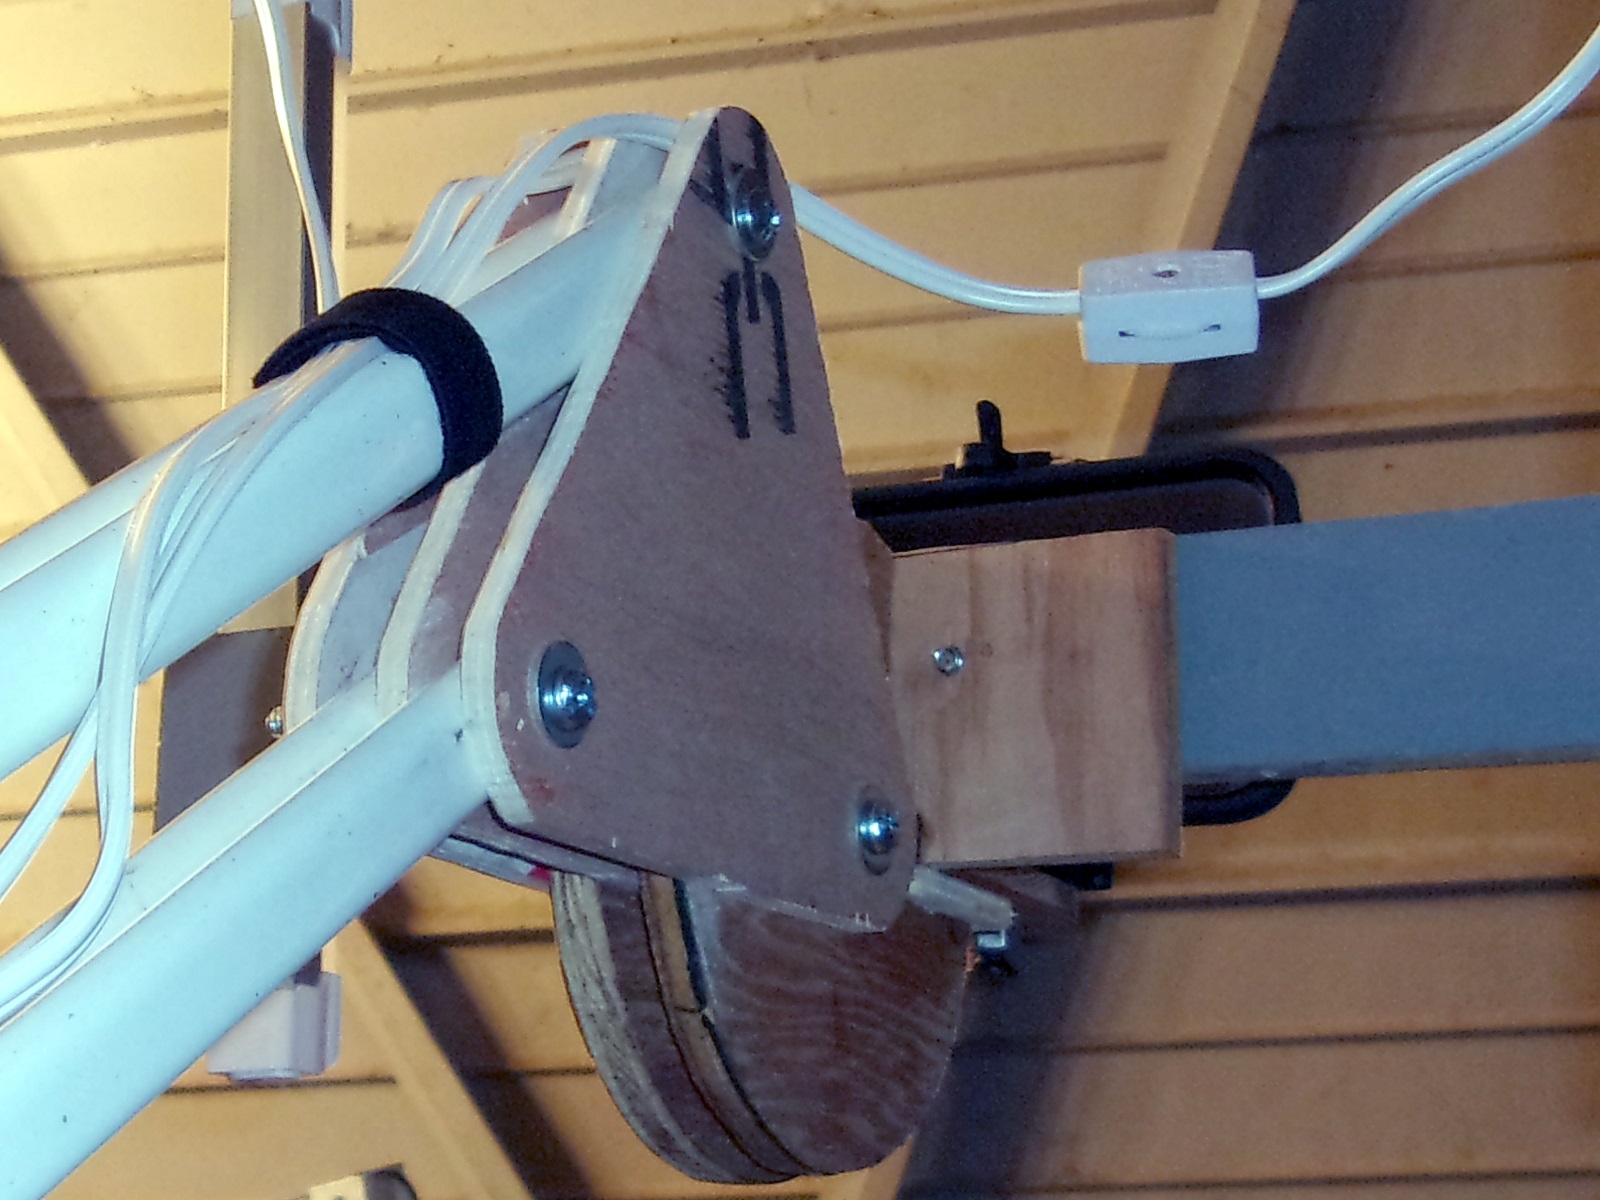
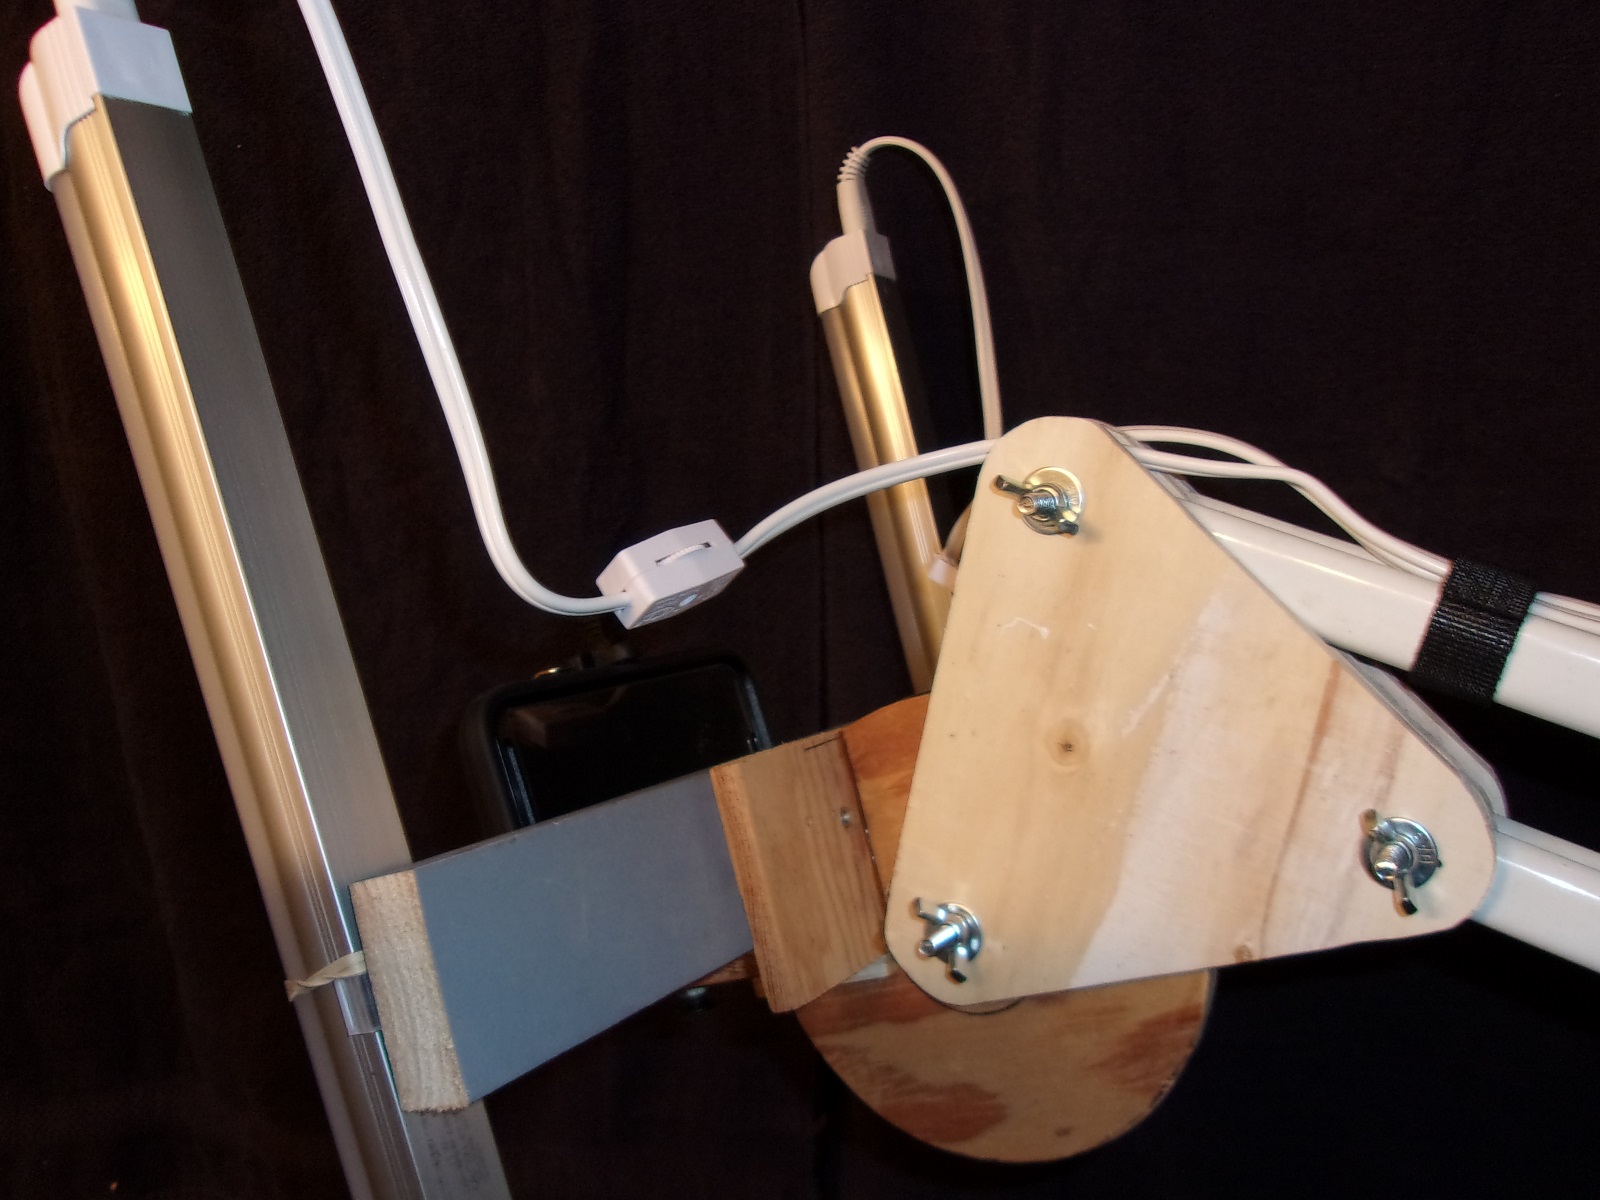
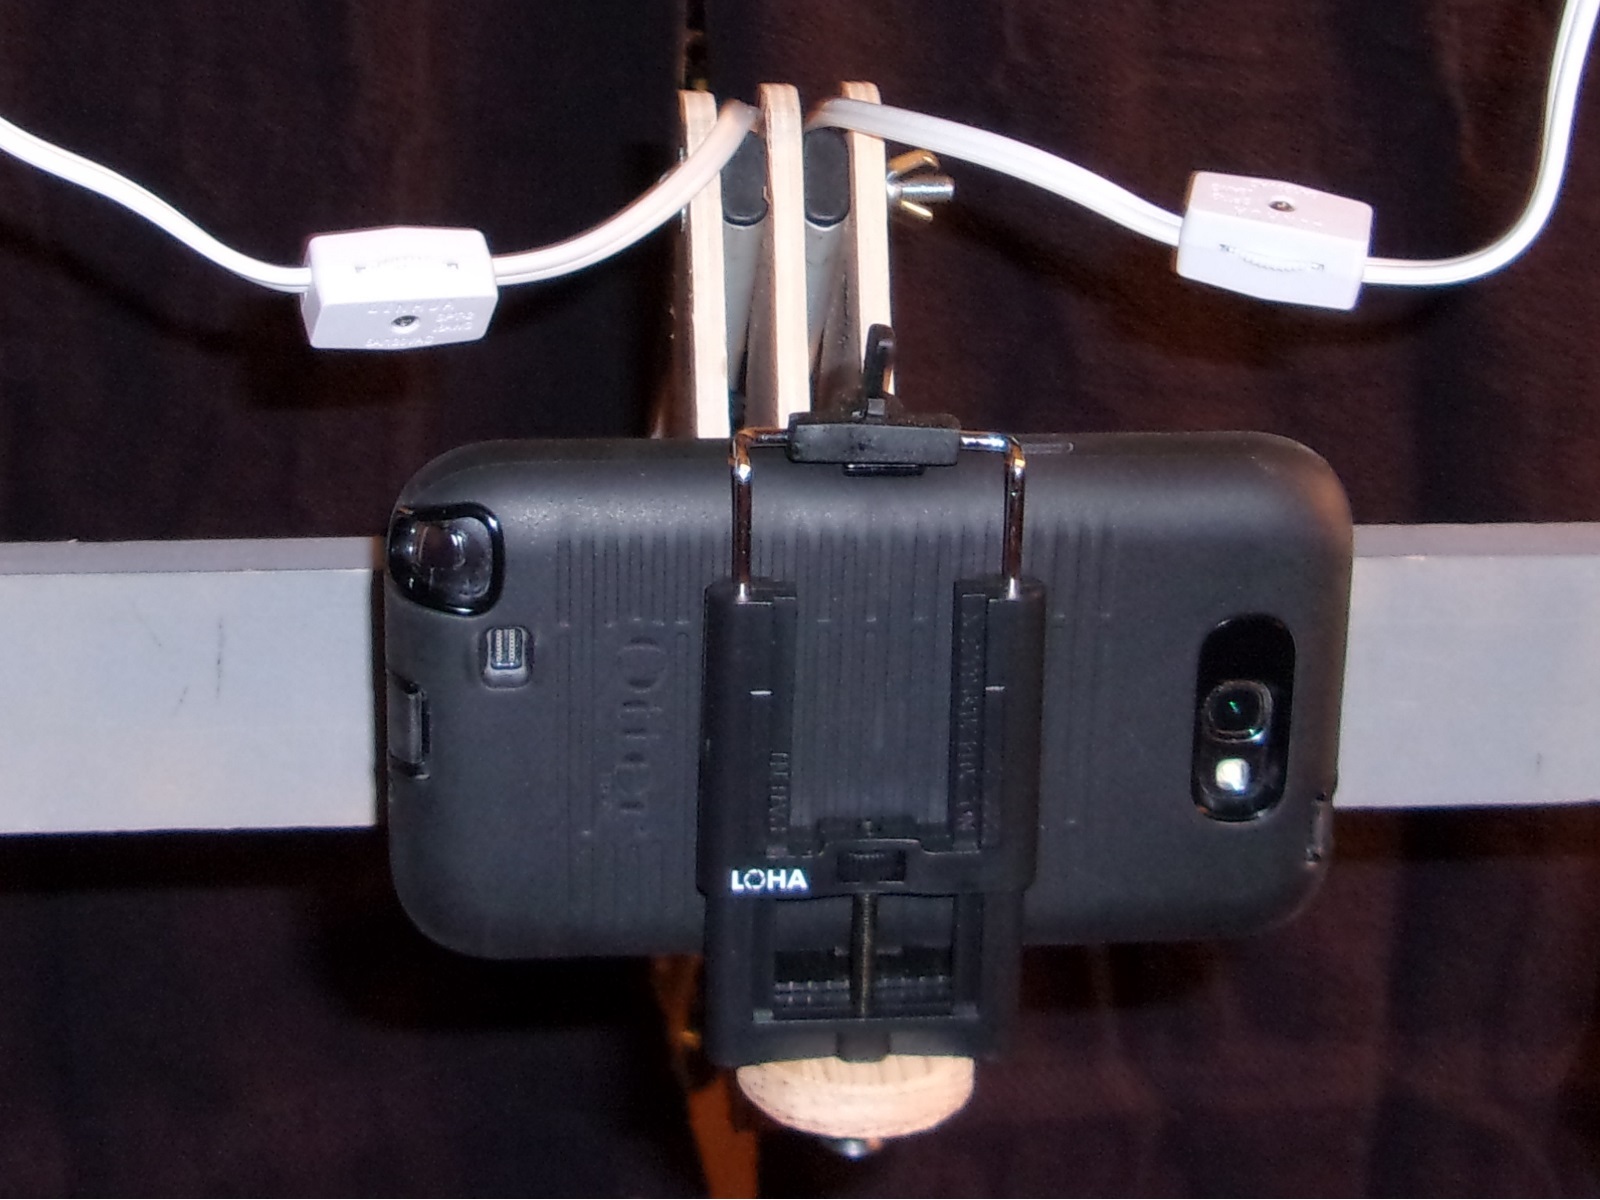
A more detailed view of the Camera Head
12 Inch, Slim LED, Under Cabinet Lights
Thoughts on the Ceiling Mount
So far I’m pretty happy with the setup. It doesn’t have the ability to slide across the ceiling on rollers, but I can always go down that route if I need to, but for now I’m literally screwing the mount into the ceiling. I’ll just move it if and when I need to. I don’t think that’s going to be a huge deal, and it lends the arm a lot of stability.
Index – Articulated Arm Camera Mount
- Articulated Arm Camera Mount – chapter 1
- Articulated Arm Camera Mount – chapter 2
- Articulated Arm Camera Mount – chapter 3