Articulated Arm Camera Mount – chapter 1
The camera needs to be in the same place you are for the best shot
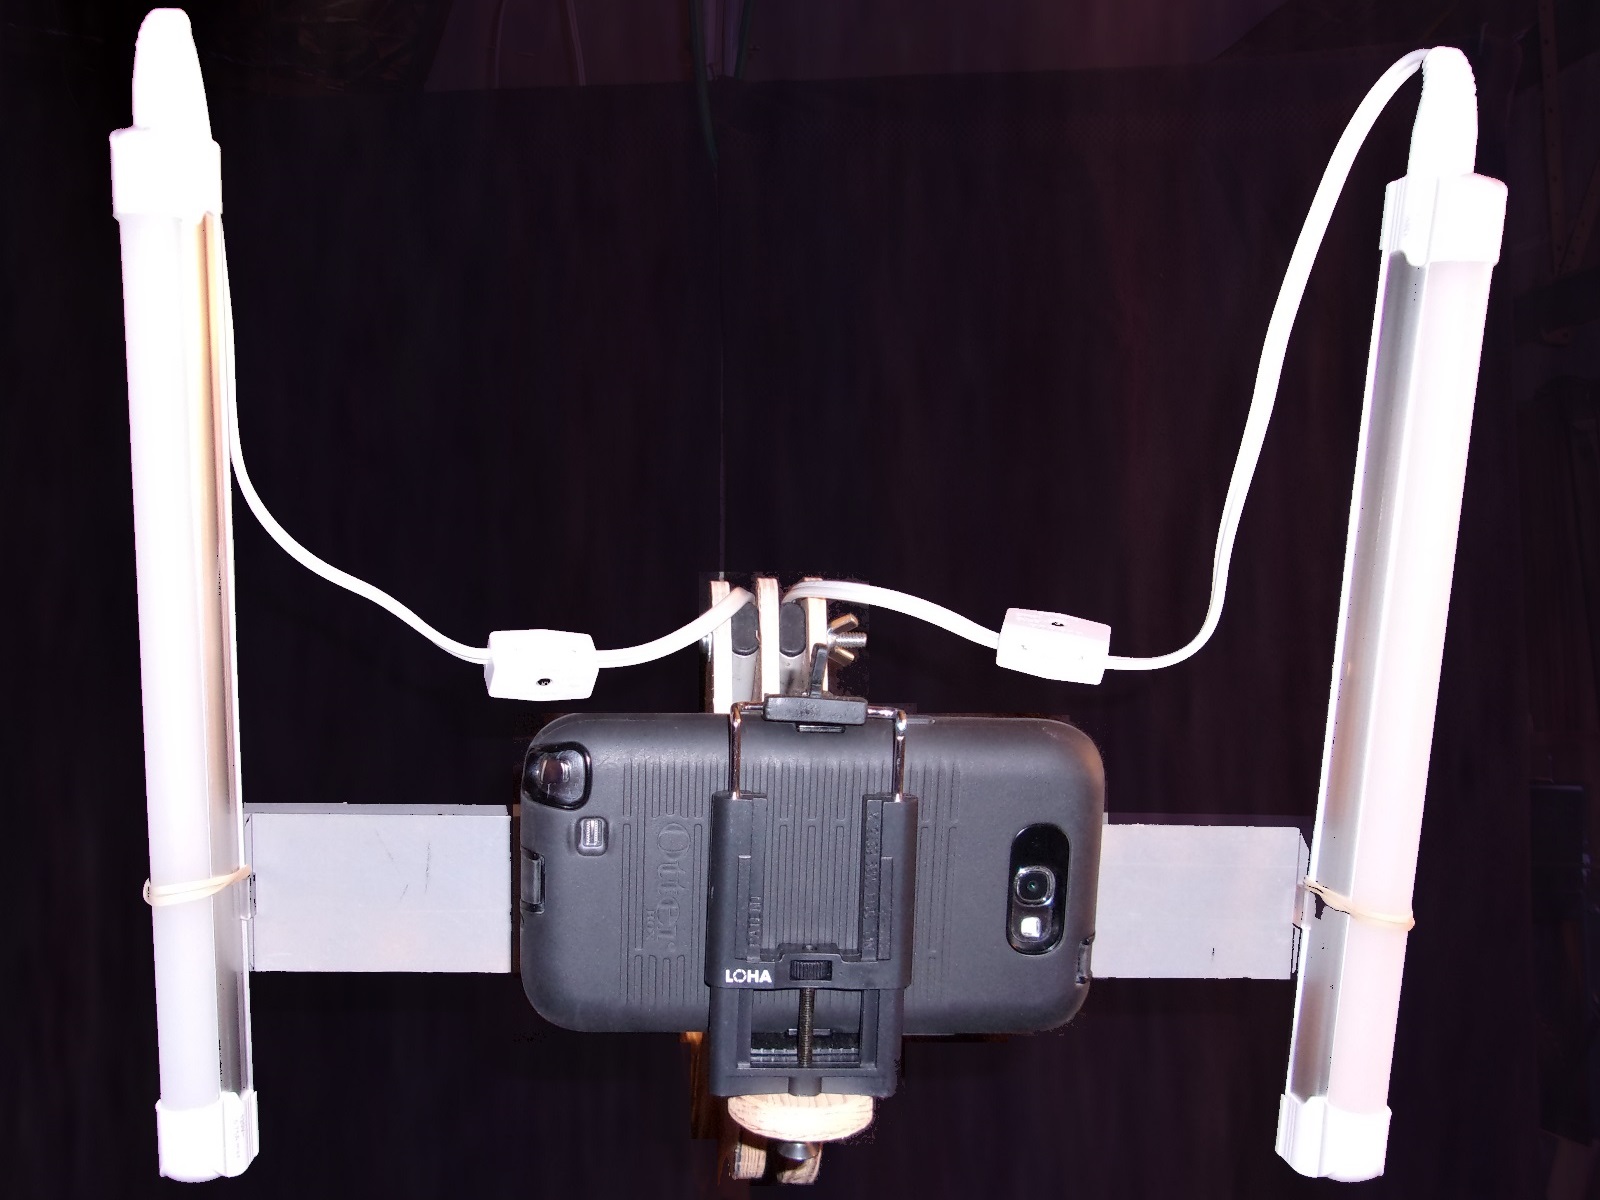
I decided I really needed to build an articulated arm to hang from the ceiling and position the camera where I’d be out of the shot.
 I knew I wanted to do something along the lines of what you would see on a normal desk lamp, with the arm and two springs giving some help for positioning the light. Of course I wanted to change over to a camera and I wanted to hang from ceiling so it would be out of the way and not prone to picking up vibration from the machines. I also needed it to be large enough that it could reach several places in the garage so I didn’t have to move it every time I wanted to do a video.
I did some preliminary research by looking at my own desk lamp, drawing up some basic plans, and trying to figure out what material to make the arm out of. I didn’t want it to be incredibly heavy, but I also wanted to be rigid enough that I could reasonably depend on it to hold the camera still, and I also wanted it to hold some lighting for the videos.
Salvaged Pop-Up Canopy Tent Frame
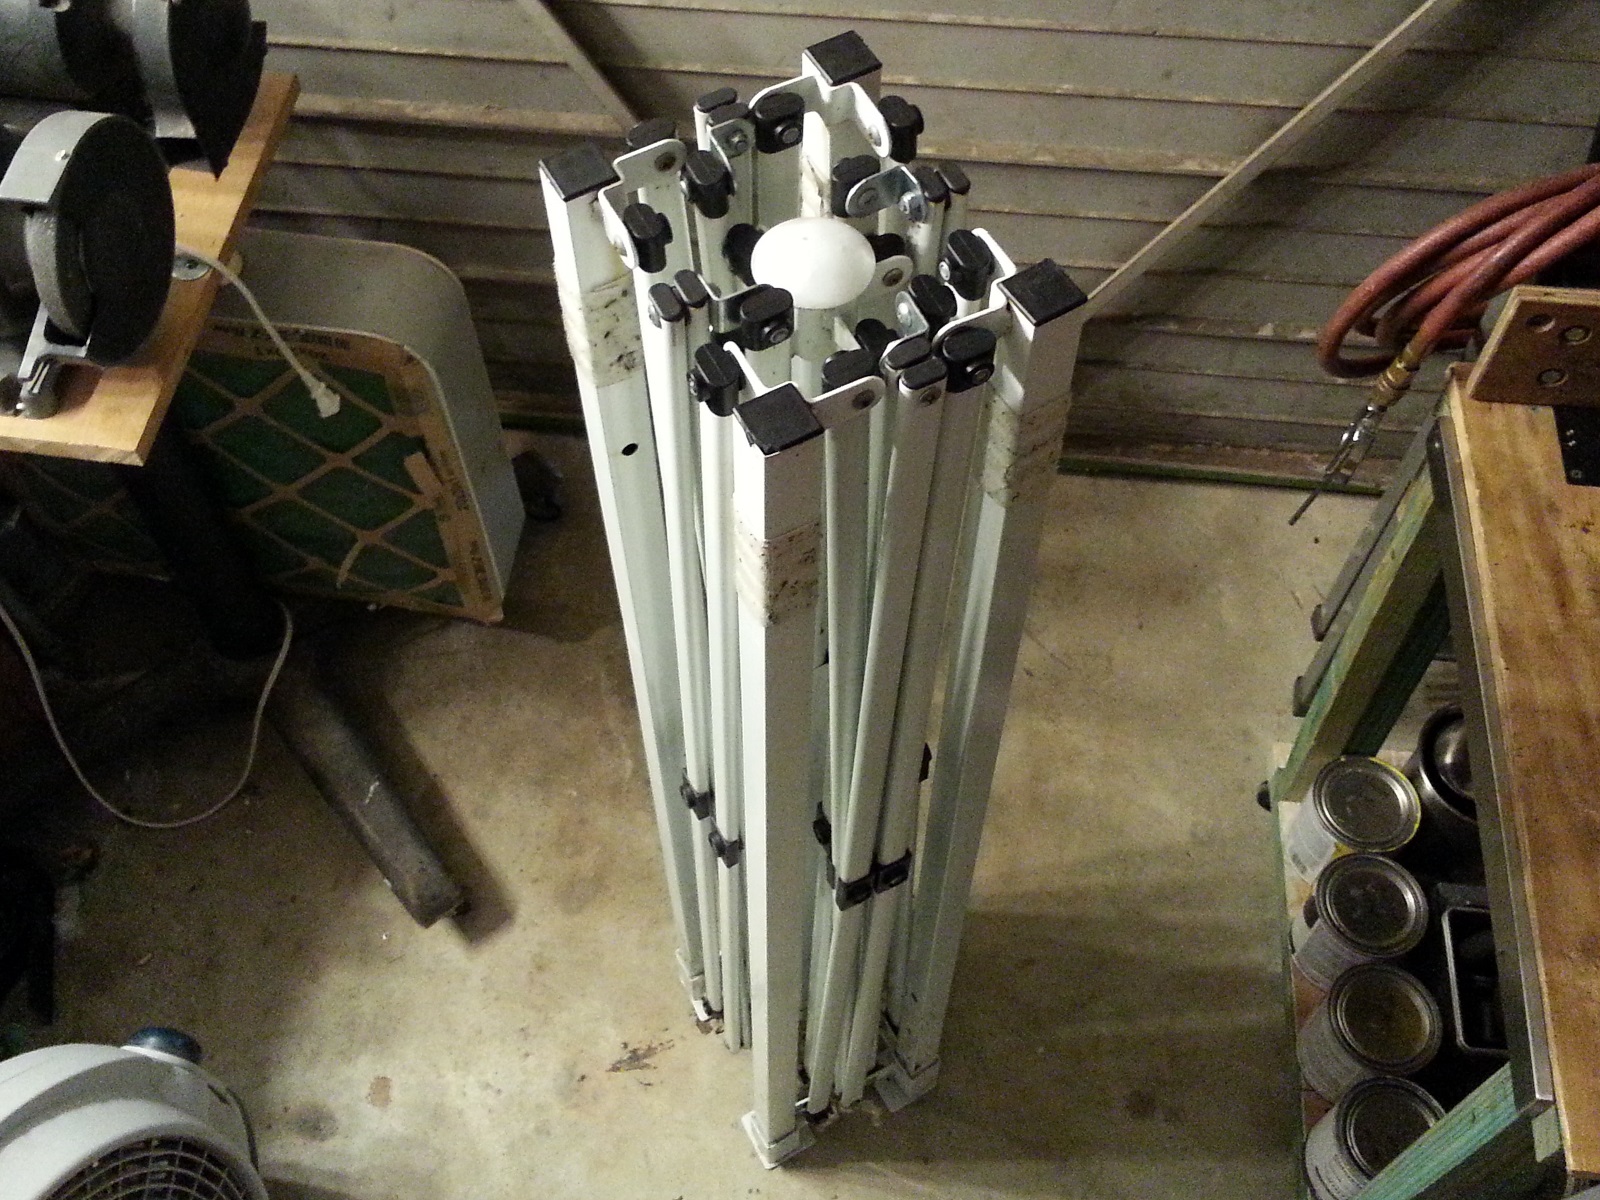 As luck would have it my wife and I were driving home one evening not long after I’d decided to build the camera arm, and I spotted a bundle of metal on the side of the road. I dropped my wife off at the house and grabbed my flashlight. I drove back to where I had spotted the metal and found a frame of some sort, and threw it in the back of my truck, and proceeded home. When I got a chance to look at it, it was the frame for one of those accordion type tents you see in the big box stores. There was no canvas with it, it was just the metal, but that was really all I needed.
Tent Frame Tear Down
I guess the arm camera mount is a good idea.
 I tried to create a video of the tear down of the tent frame, and again I had problems with my camera position.
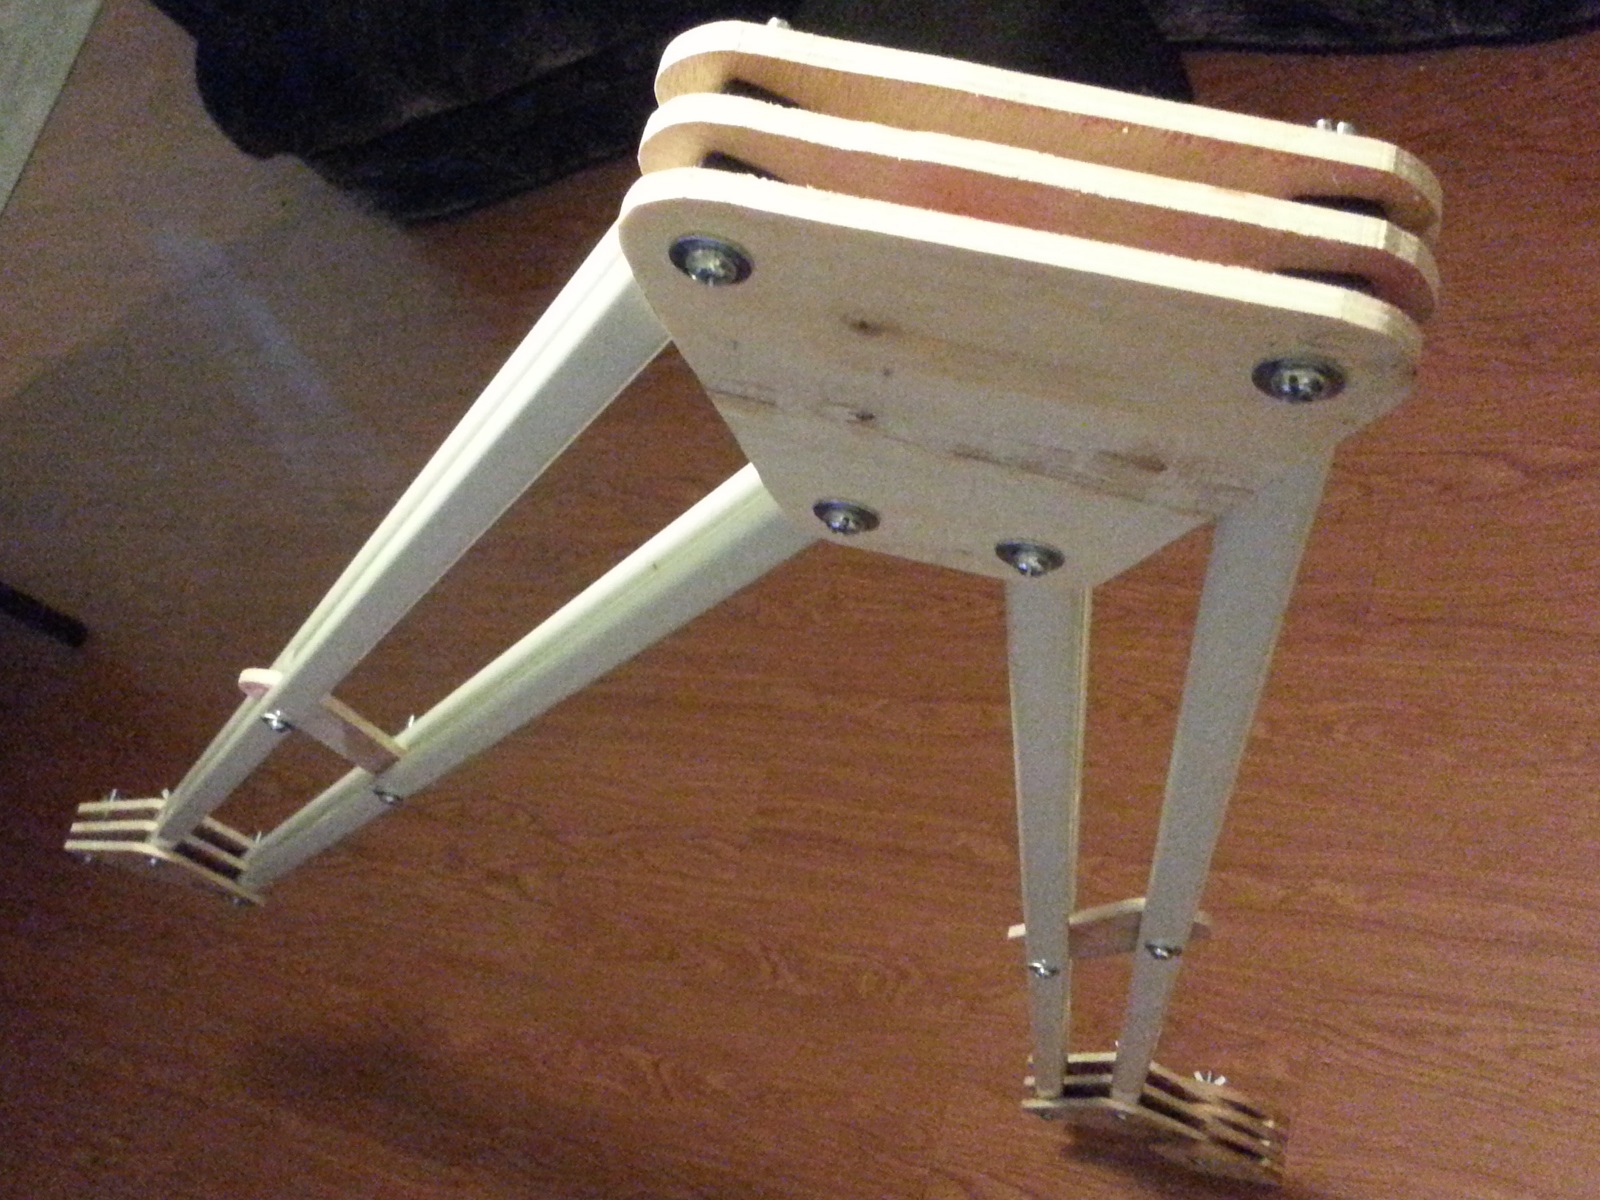
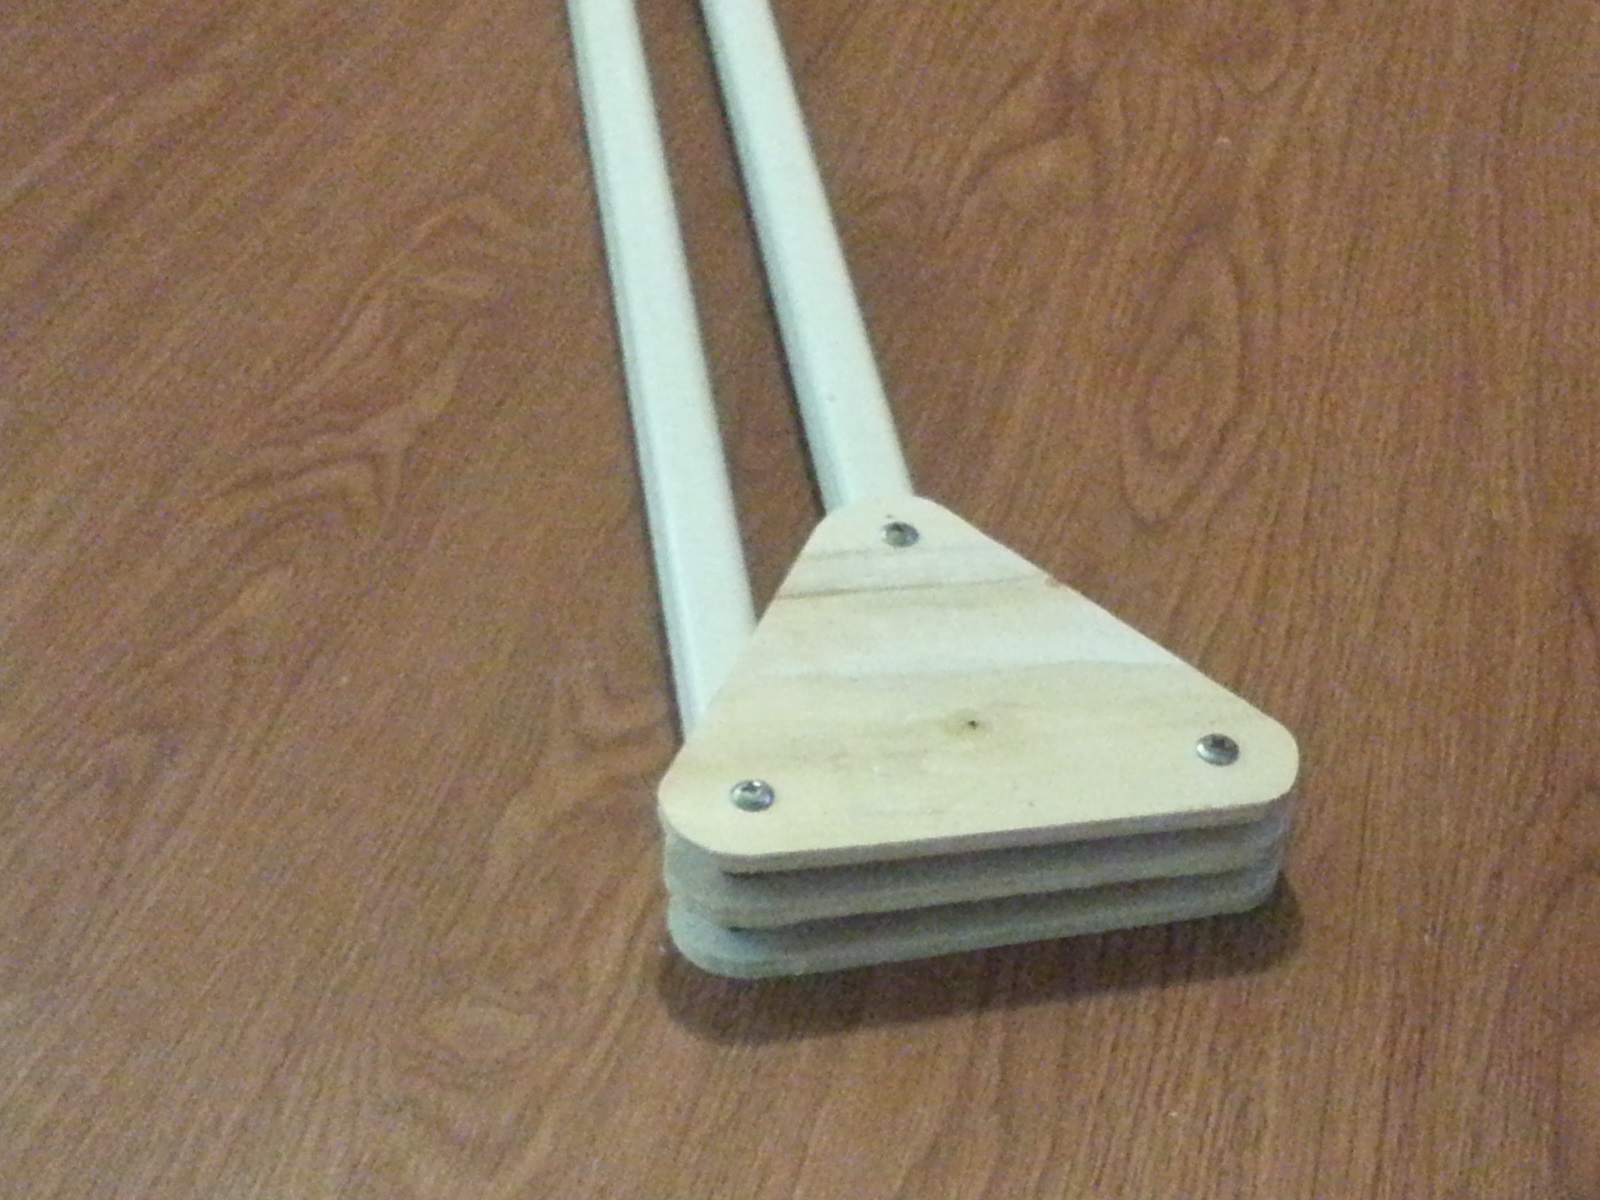
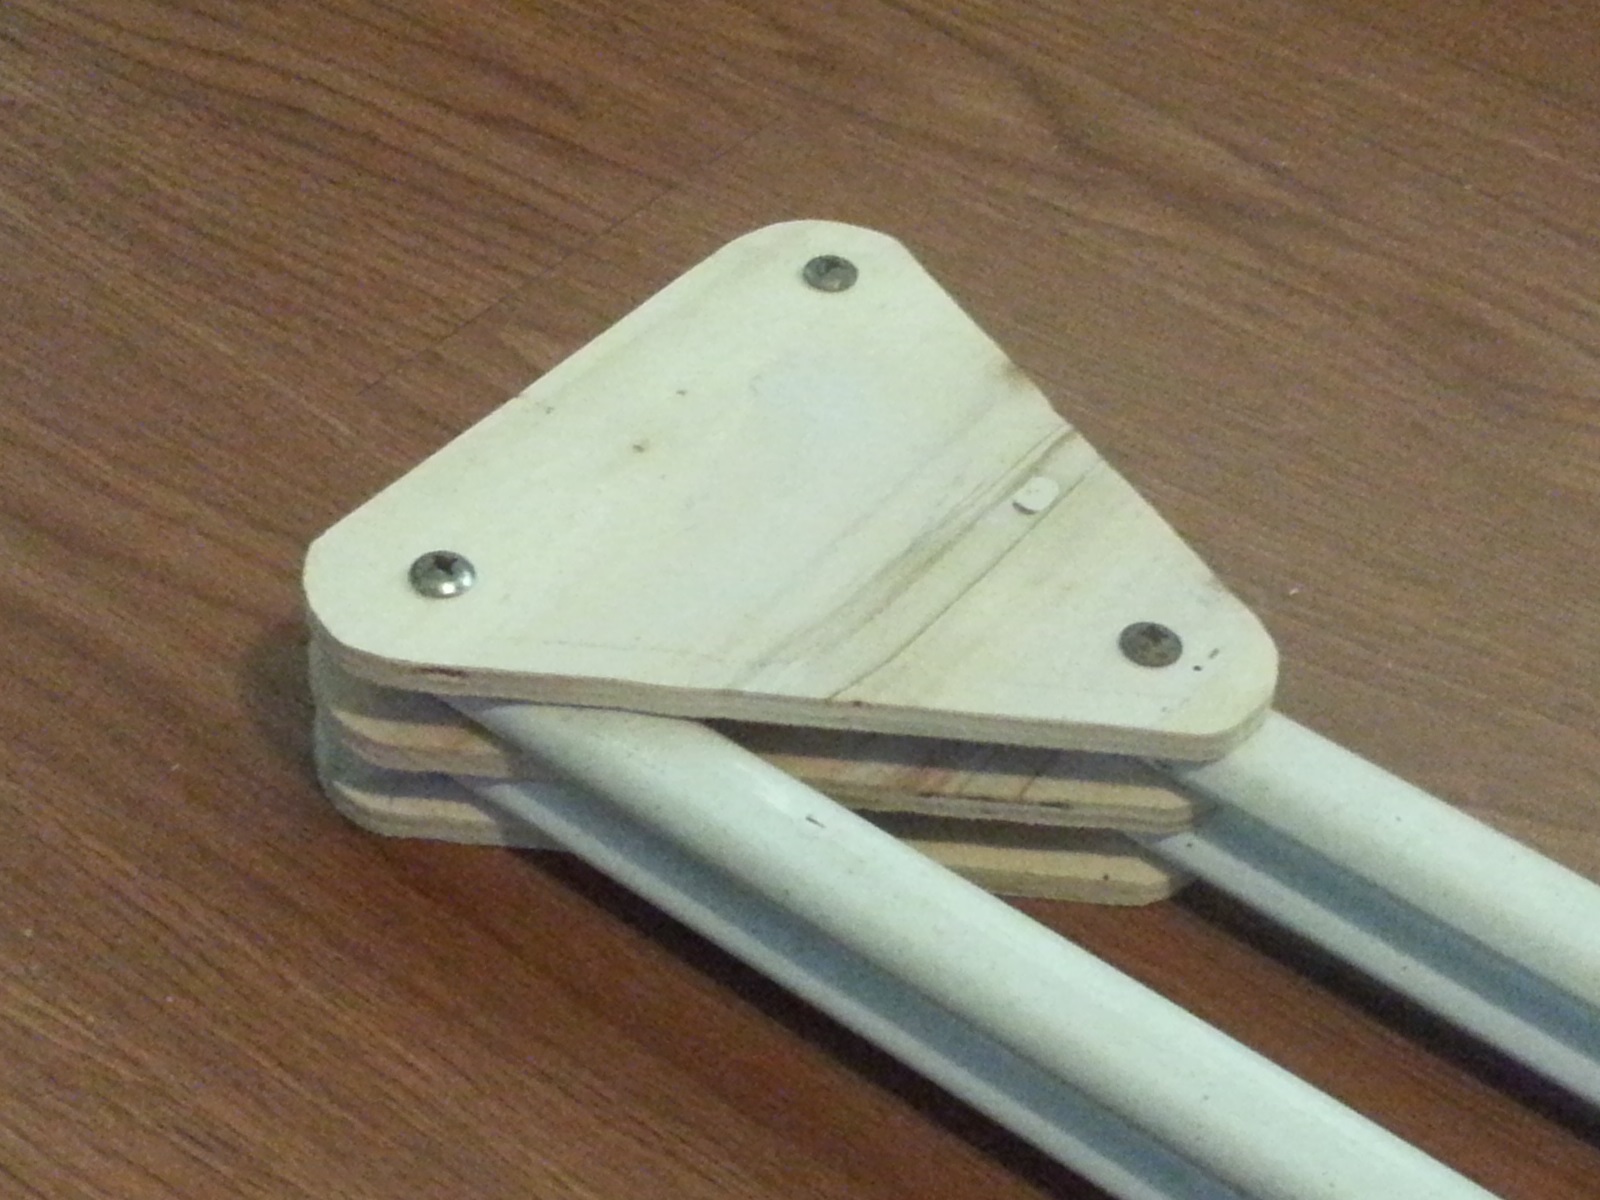
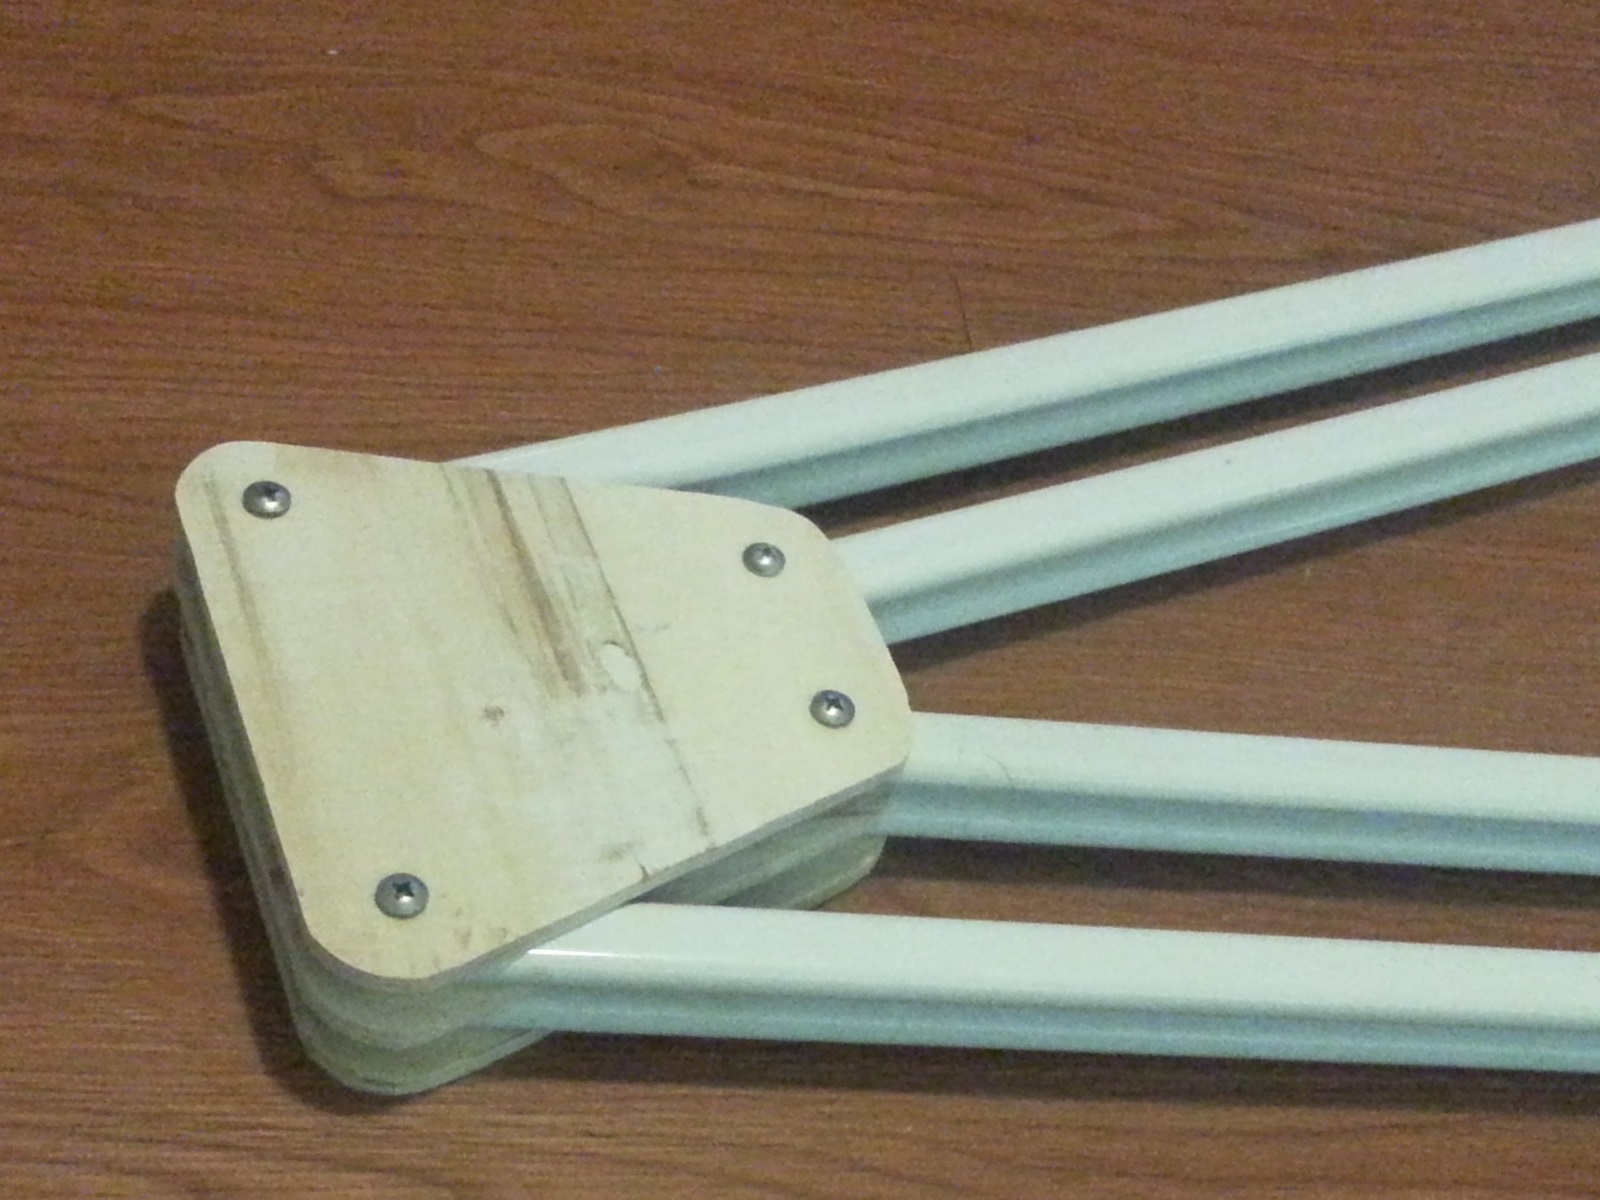
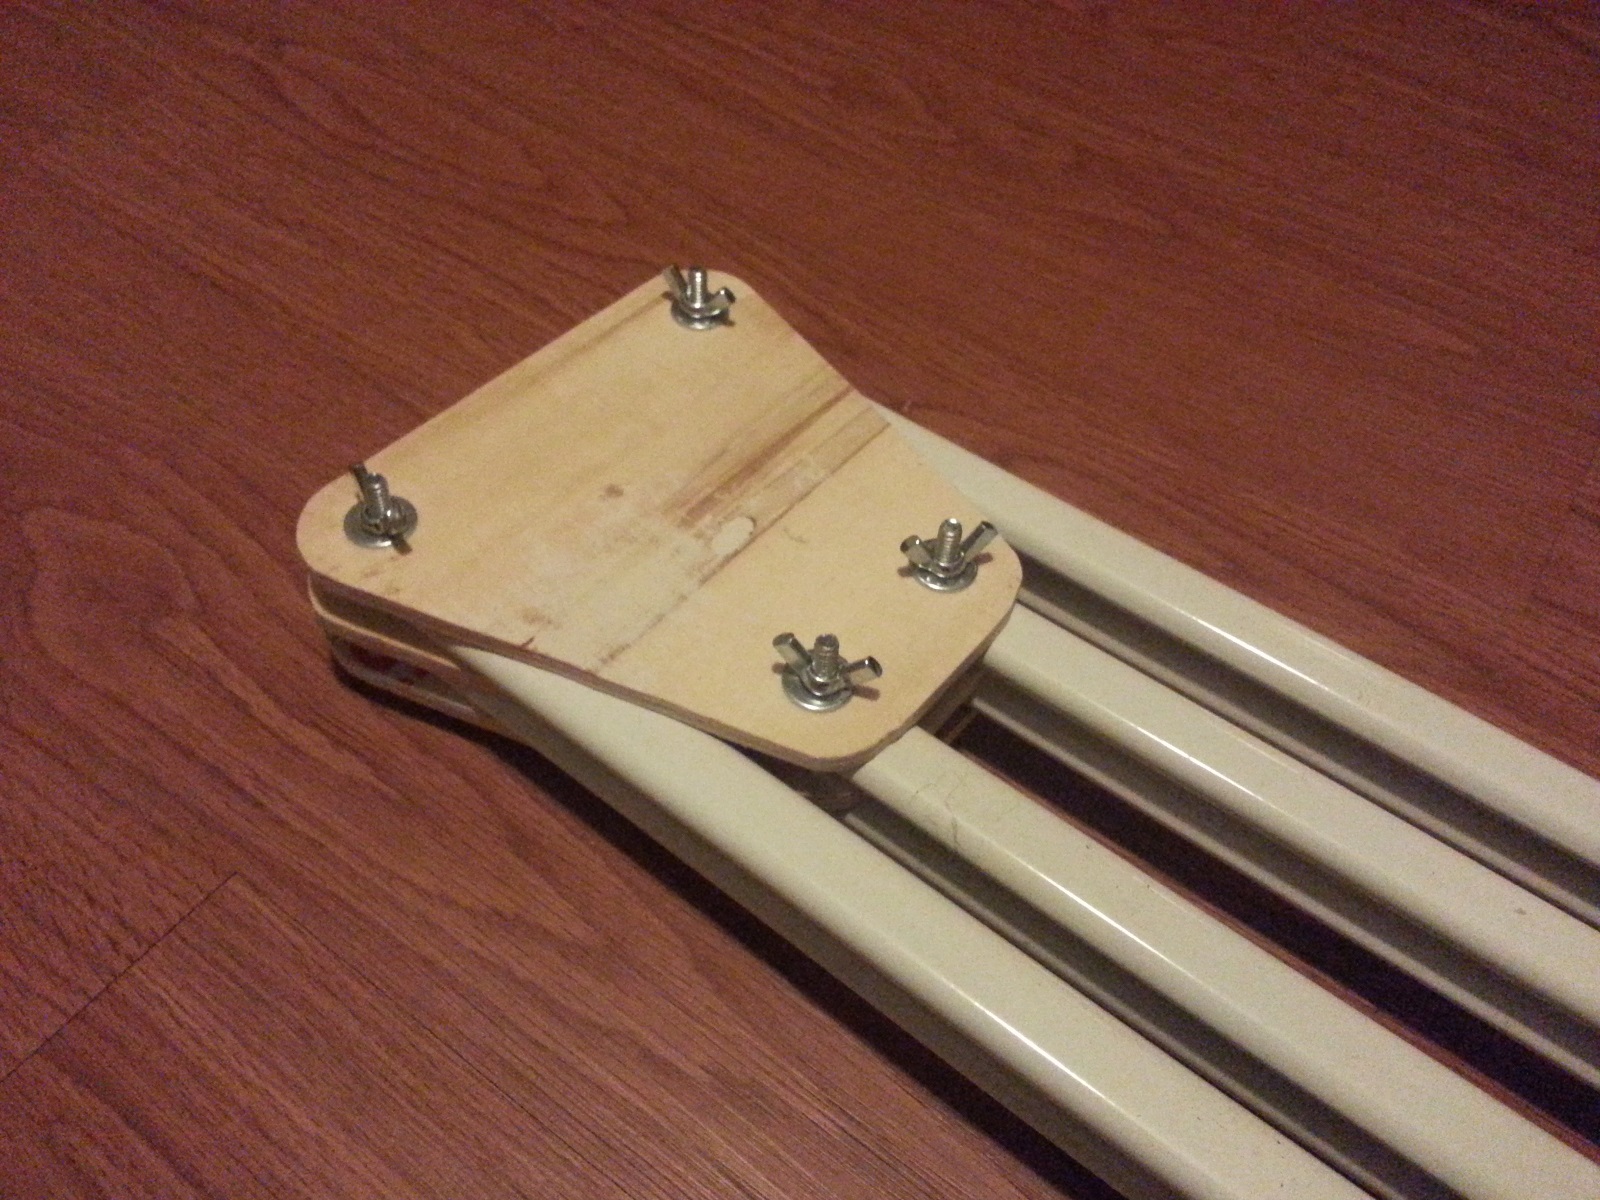
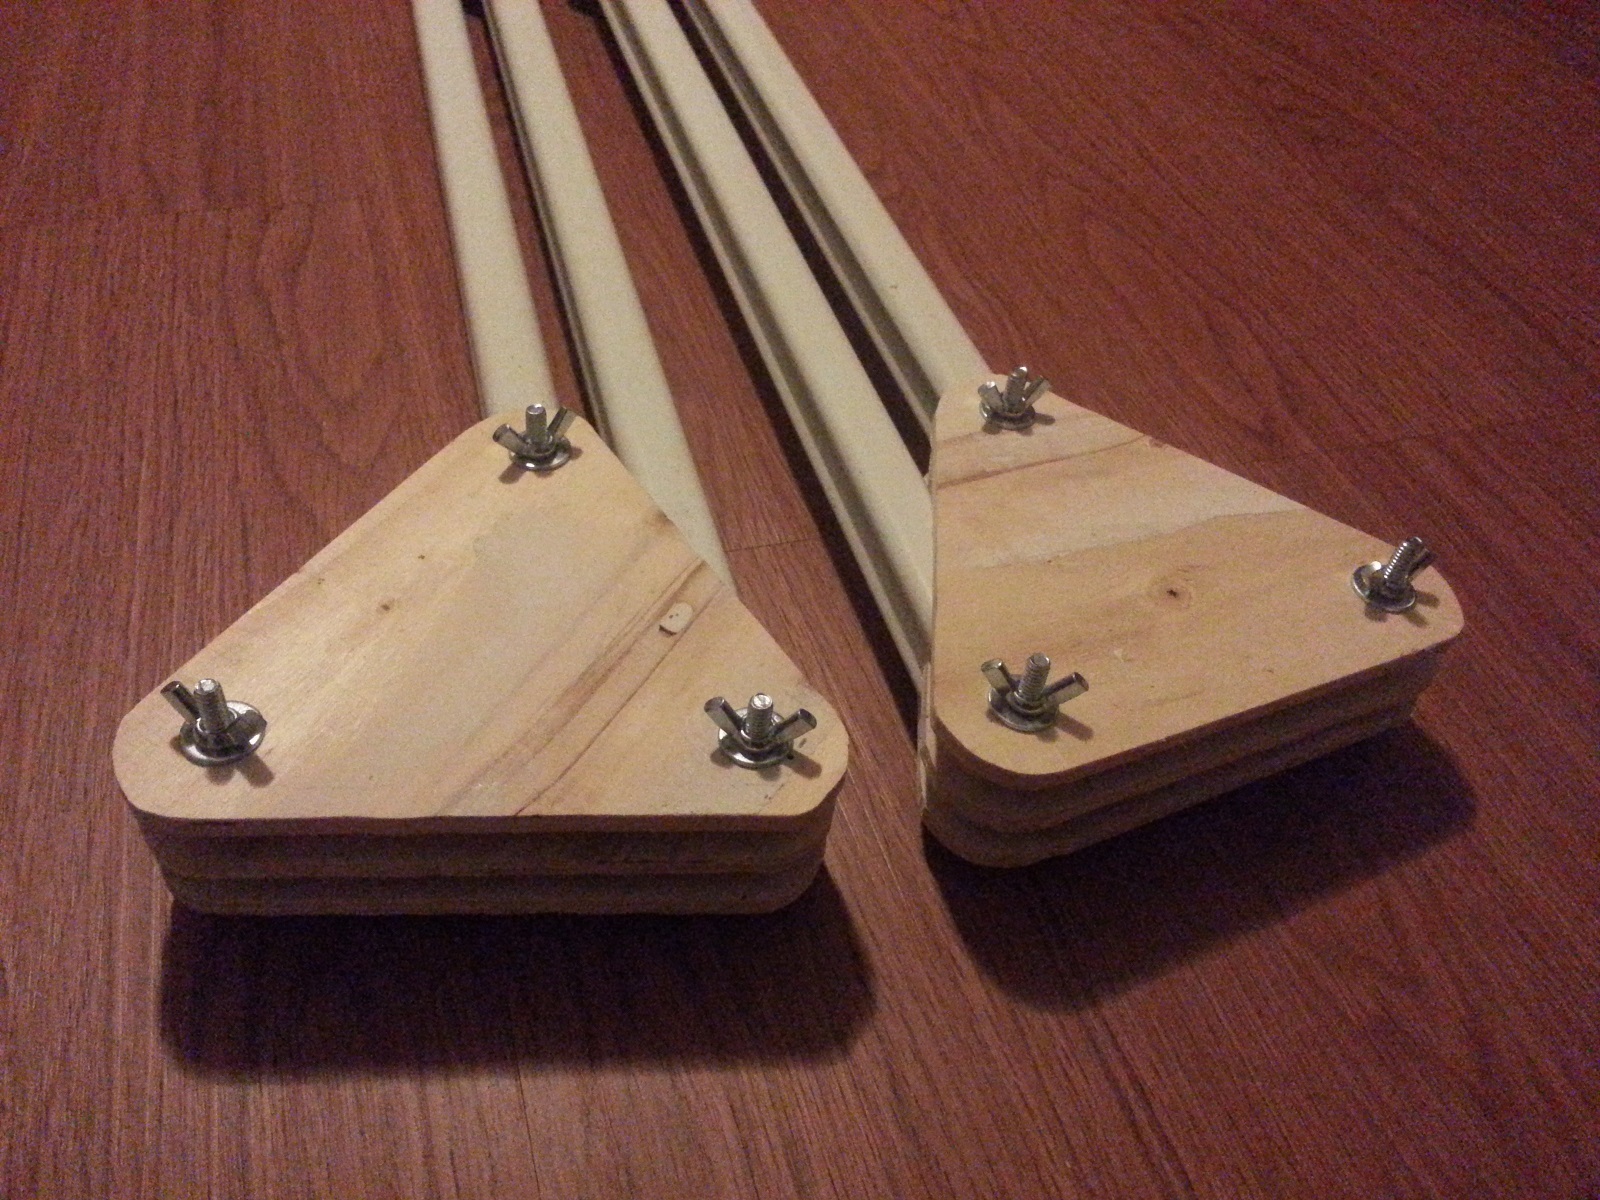
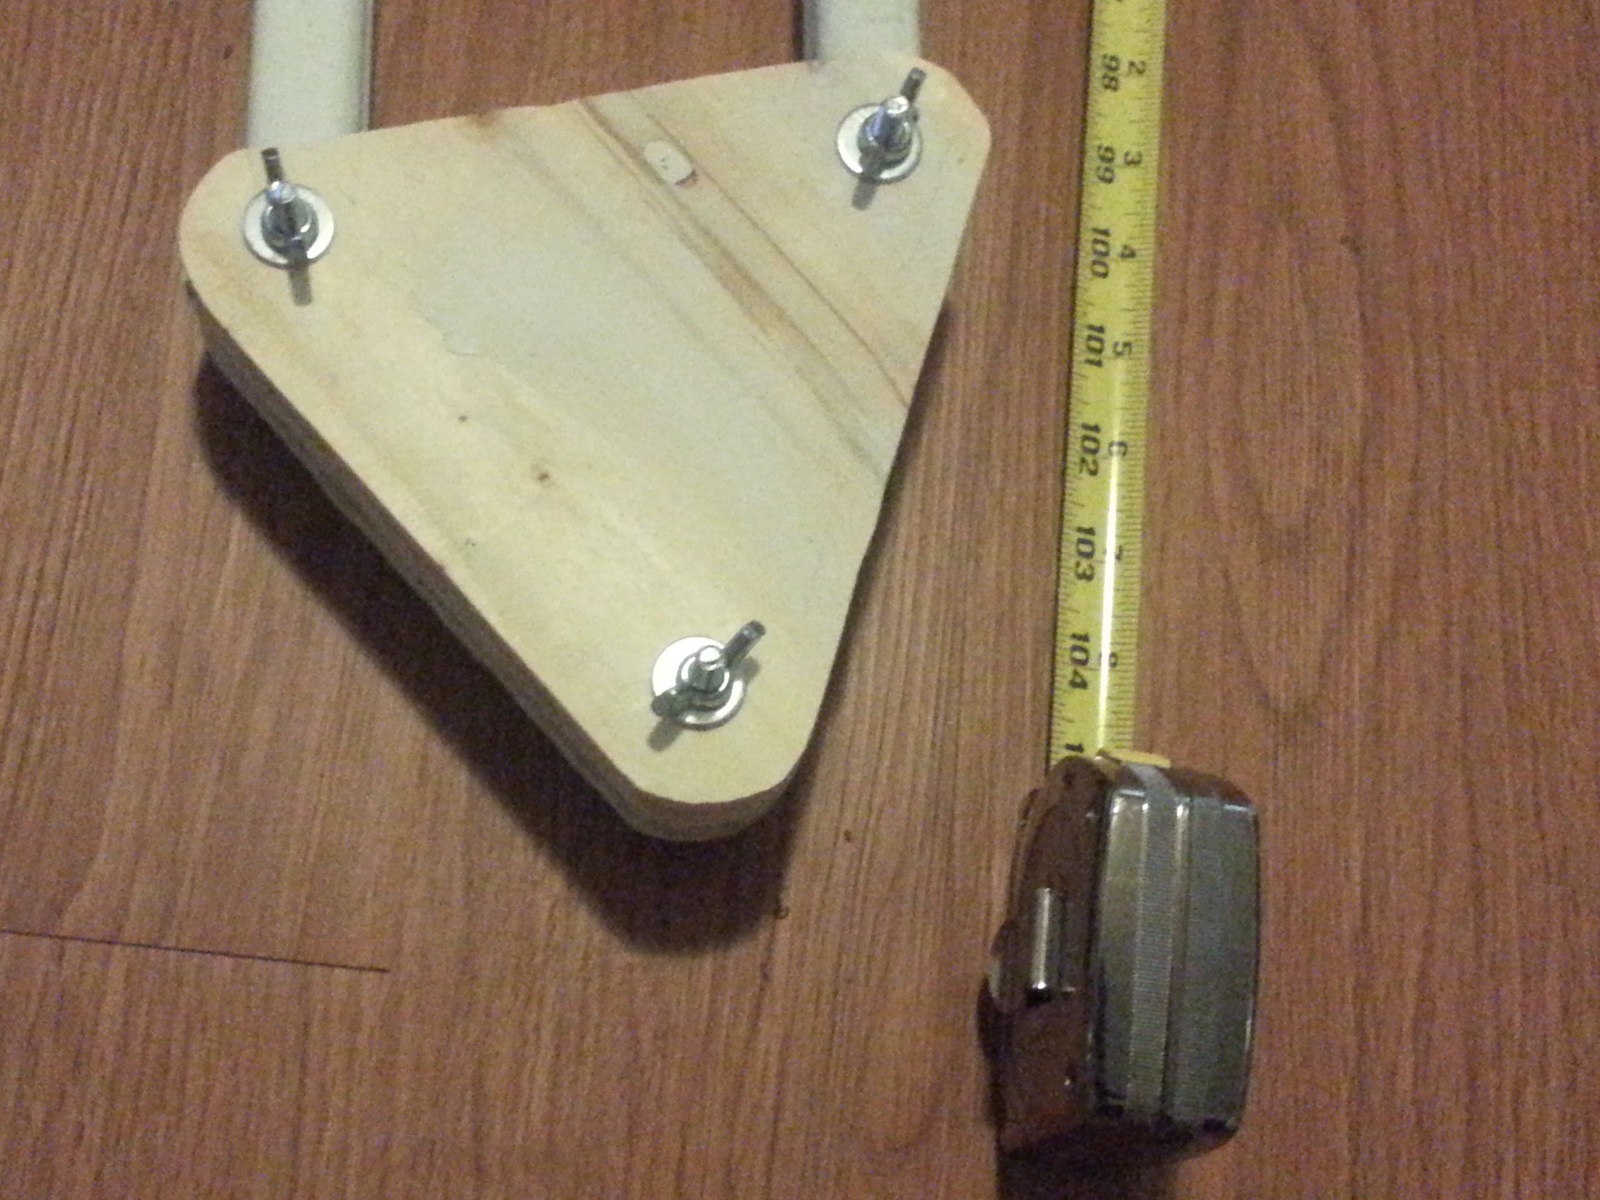
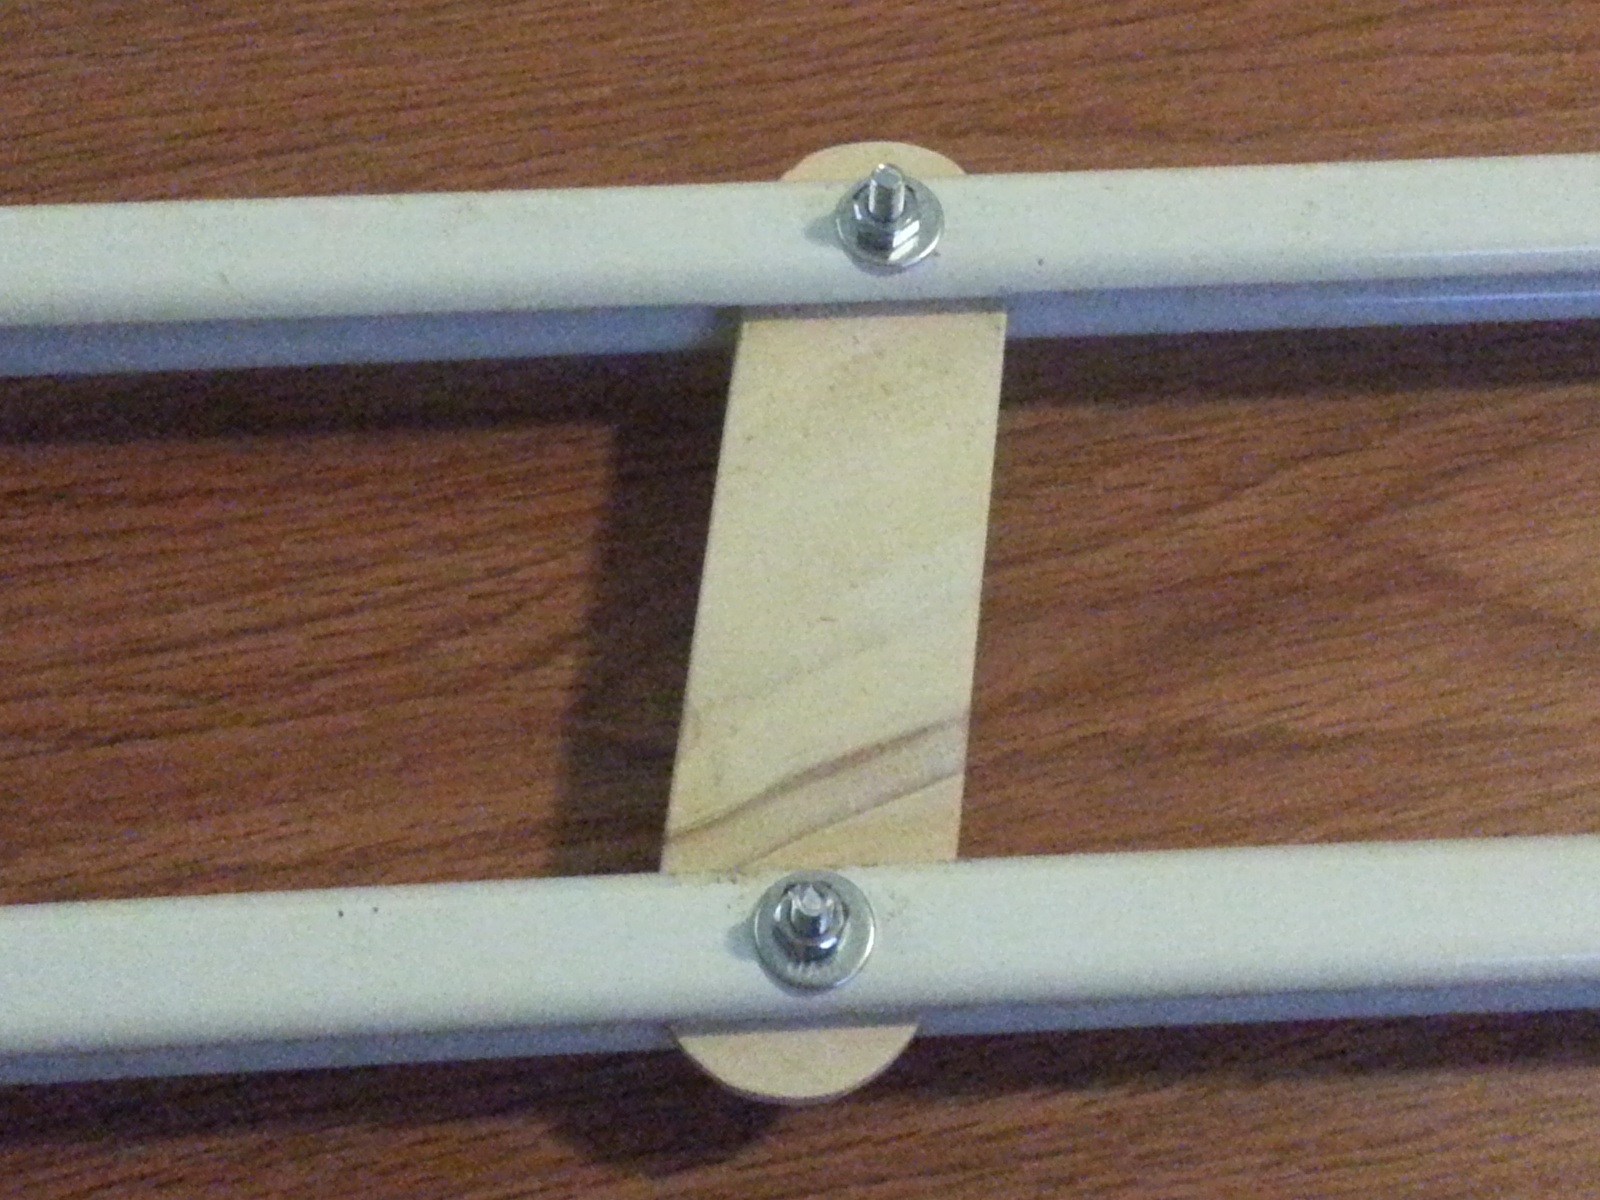
I got everything pulled apart and took inventory of the pieces of metal I’d managed to salvage. I also started looking around for materials to make the end brackets, like the ceiling mount, the end where the camera mount is attached, and the elbow section between the two pieces of the arm. I decided to use some wood I’d recovered from a packing crate. It isn’t tremendously thick wood but it’s fairly stout, and I think it will work out pretty well.
Cardboard Prototypes and Templates
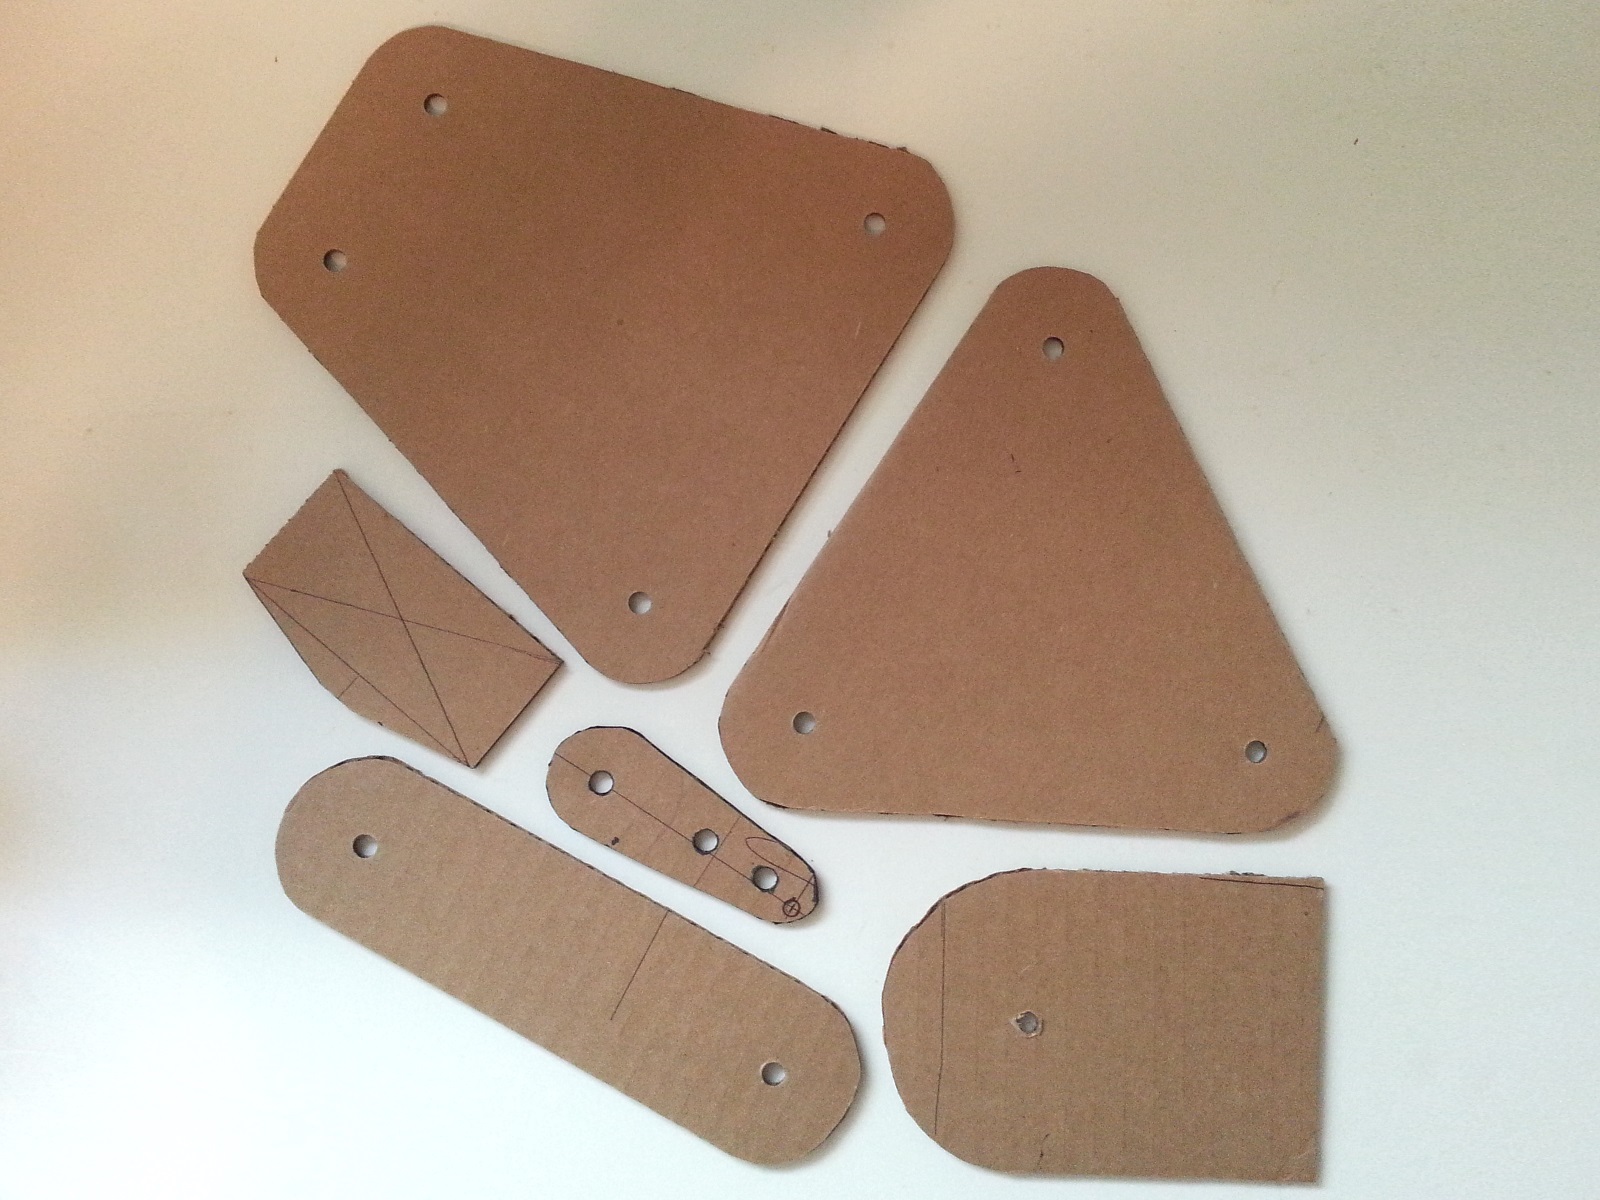 I started by making all of the attachment pieces out of cardboard, trying to get an idea of what size they needed to be, and where they would need to be positioned to function. I laid all of it out on my living room floor, and got a pretty good idea what I needed.
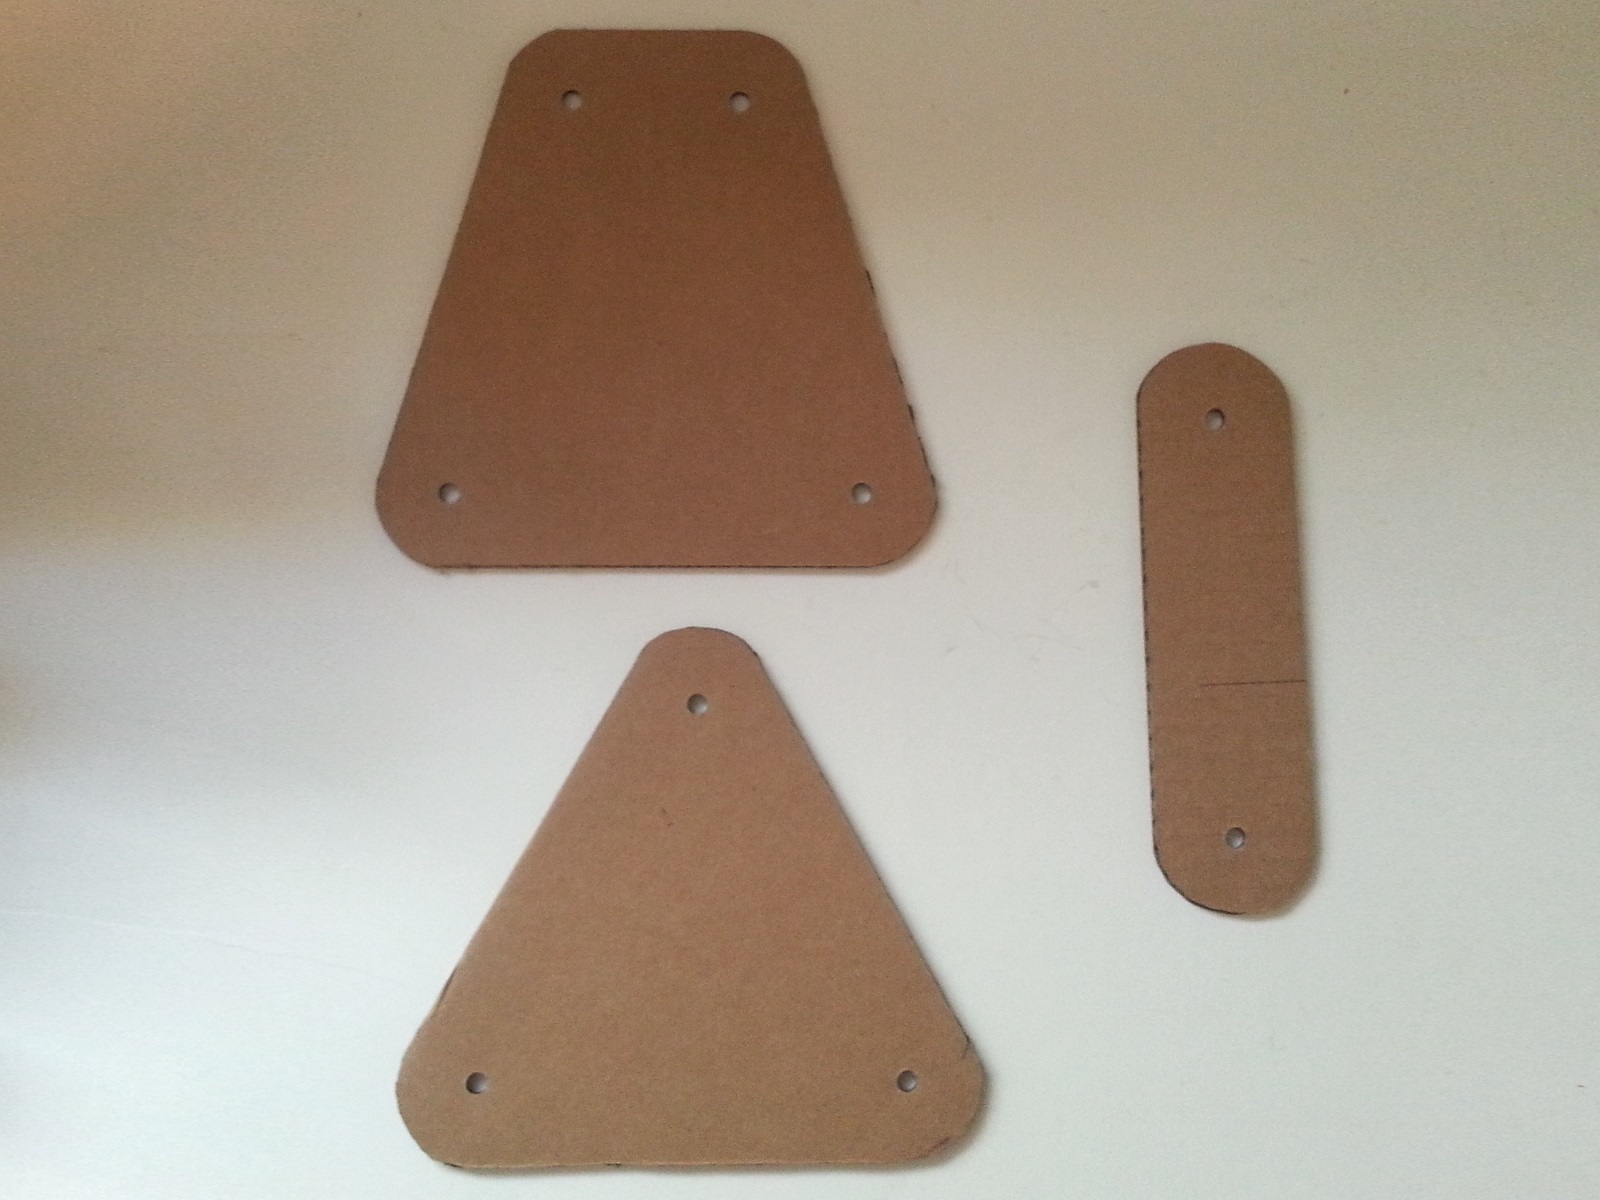

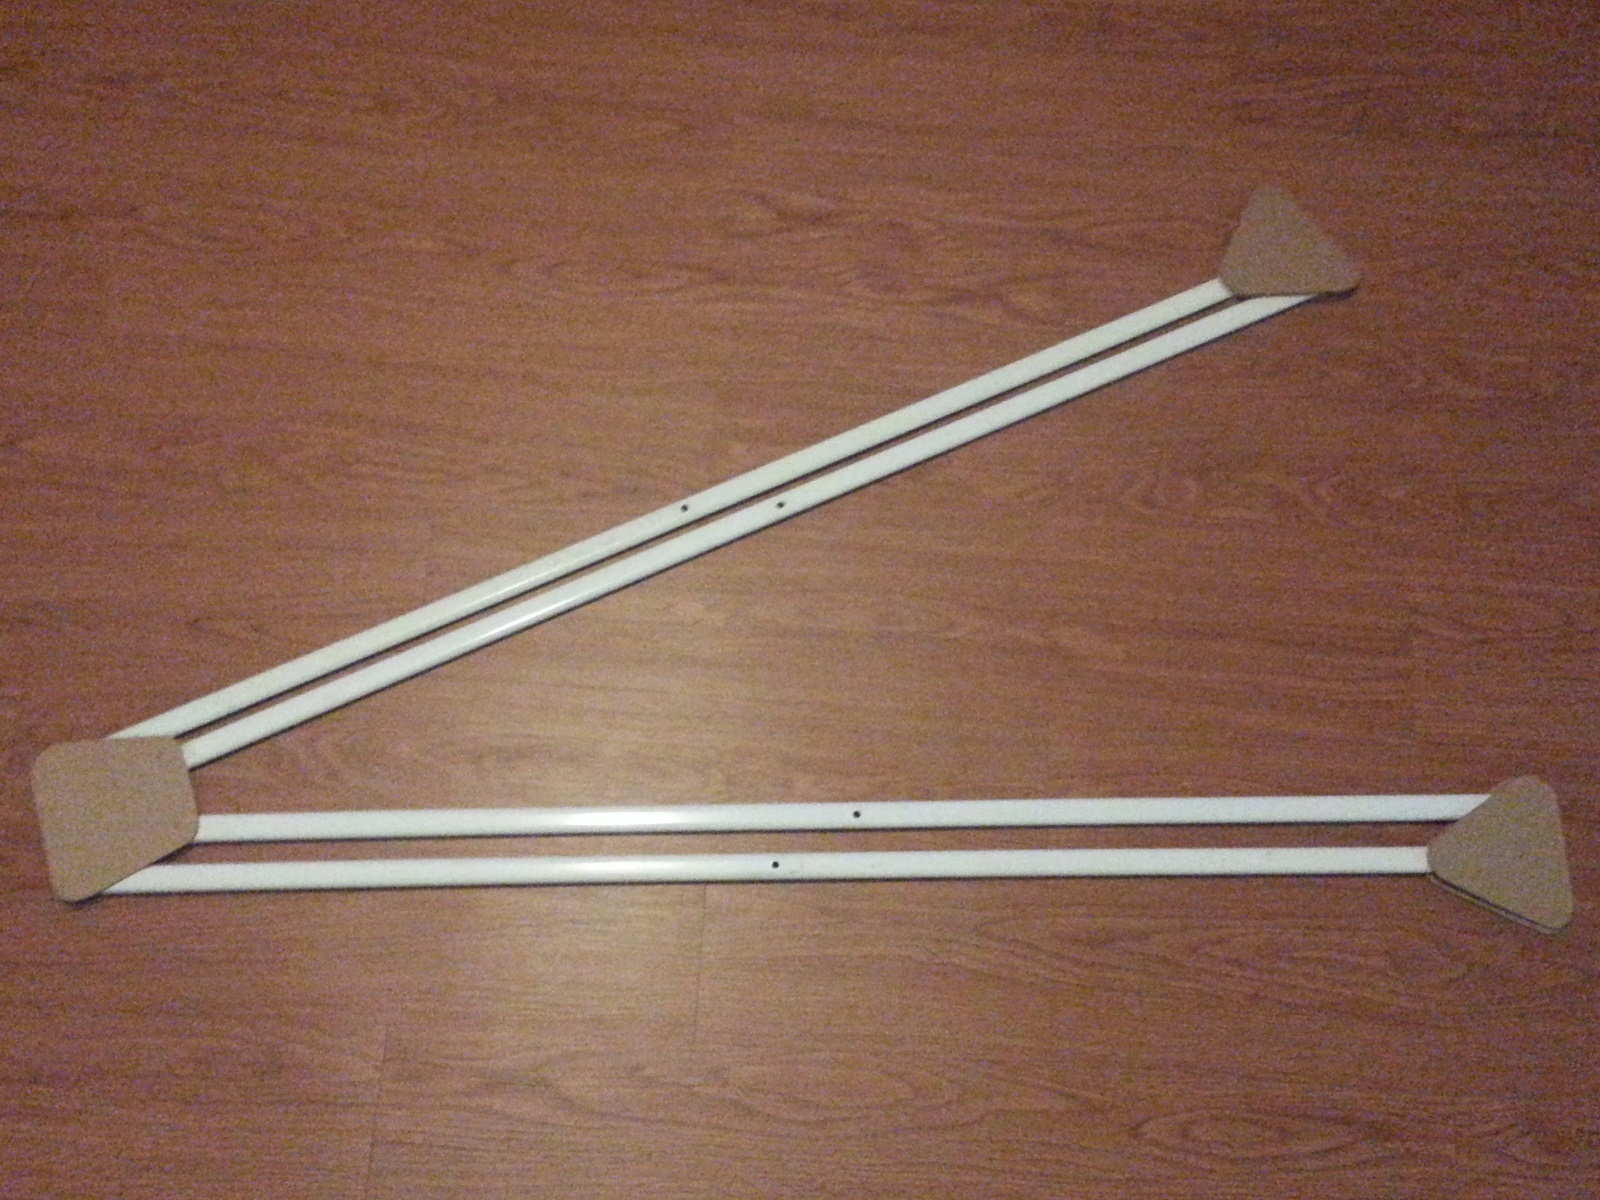
Transfer the patterns and cut, and cut, and cut…
Then I set about cutting all of those pieces with my scroll saw.
I laid all the pieces on the living room floor

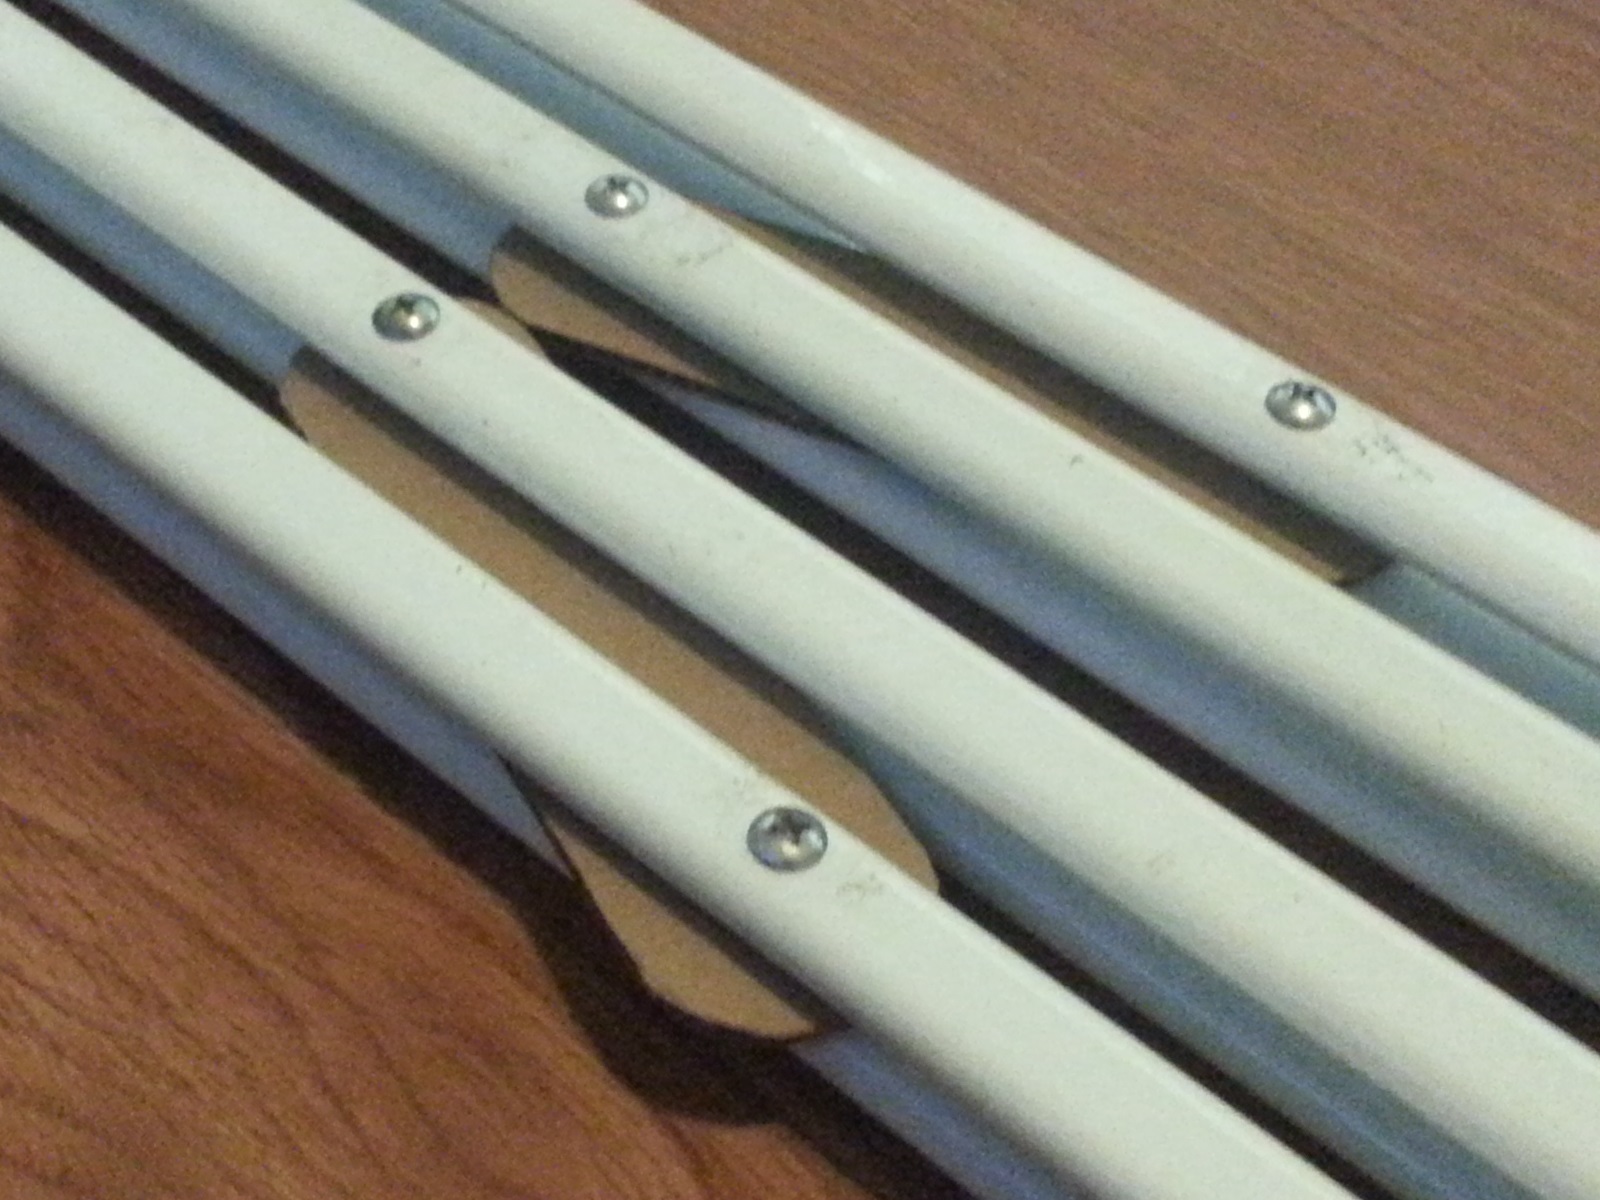
Off to the hardware store!
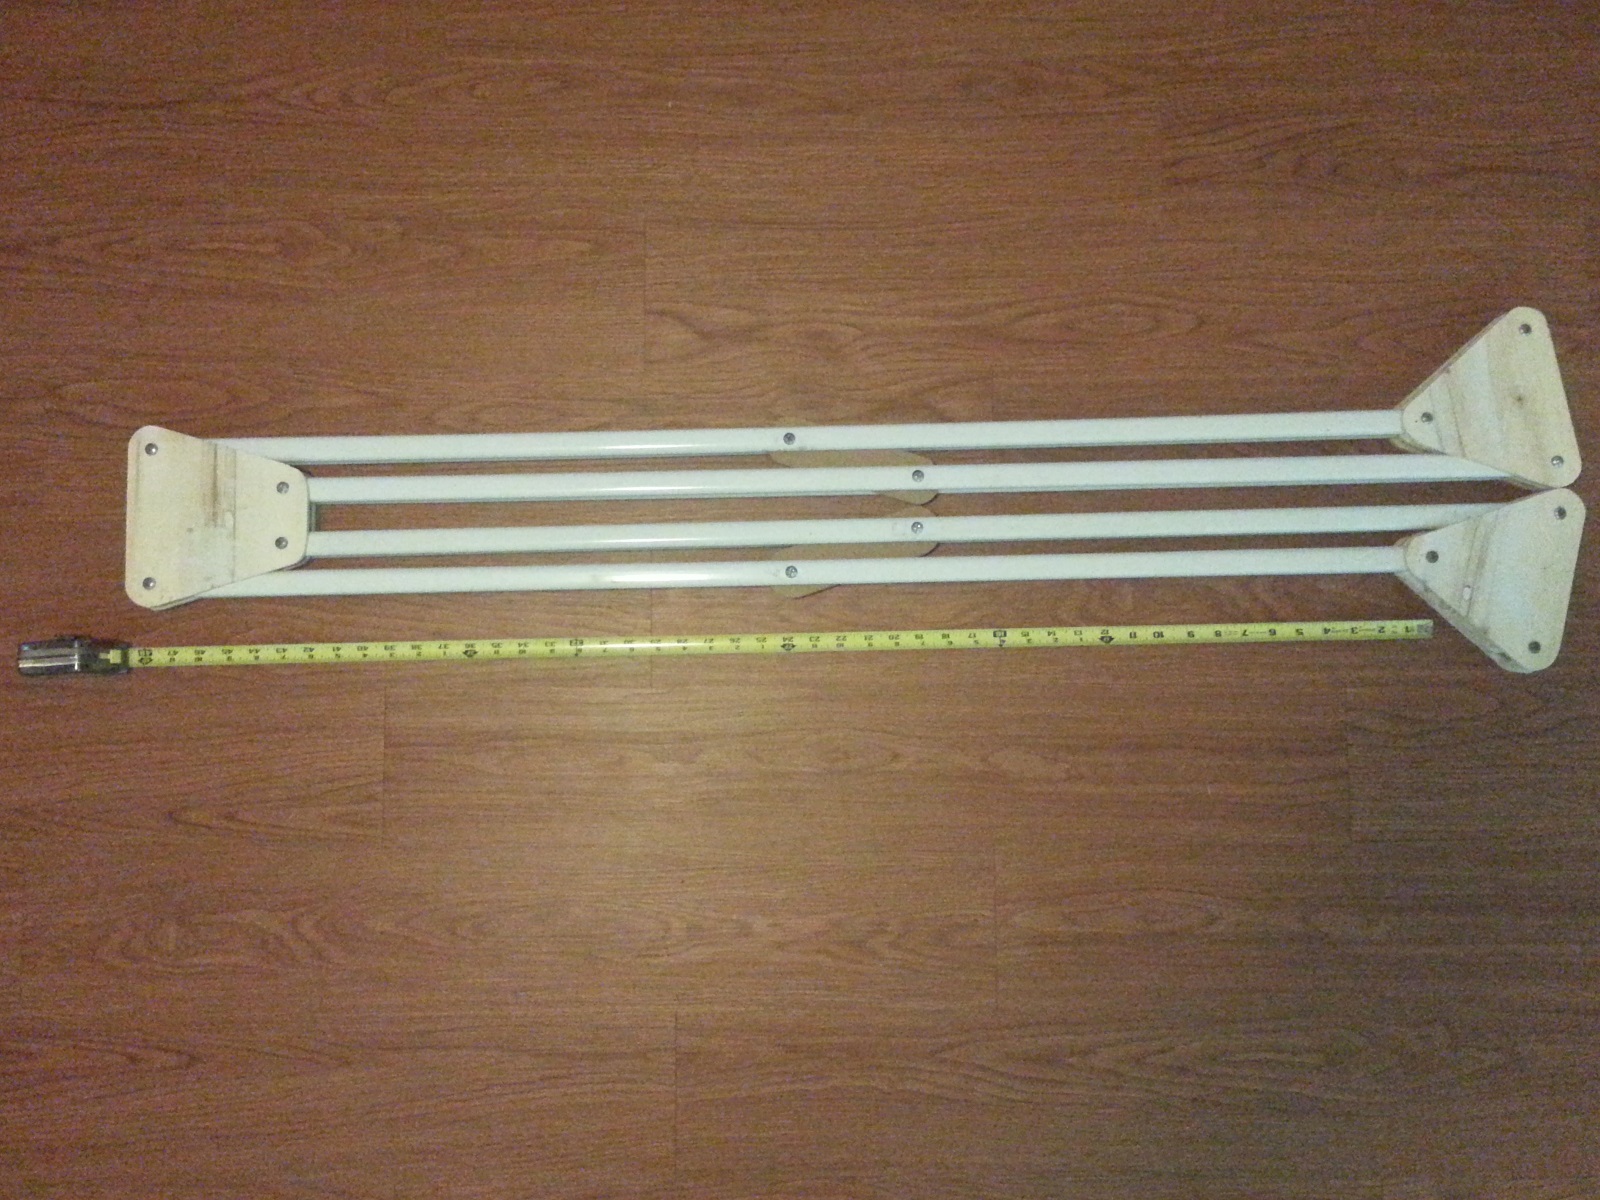
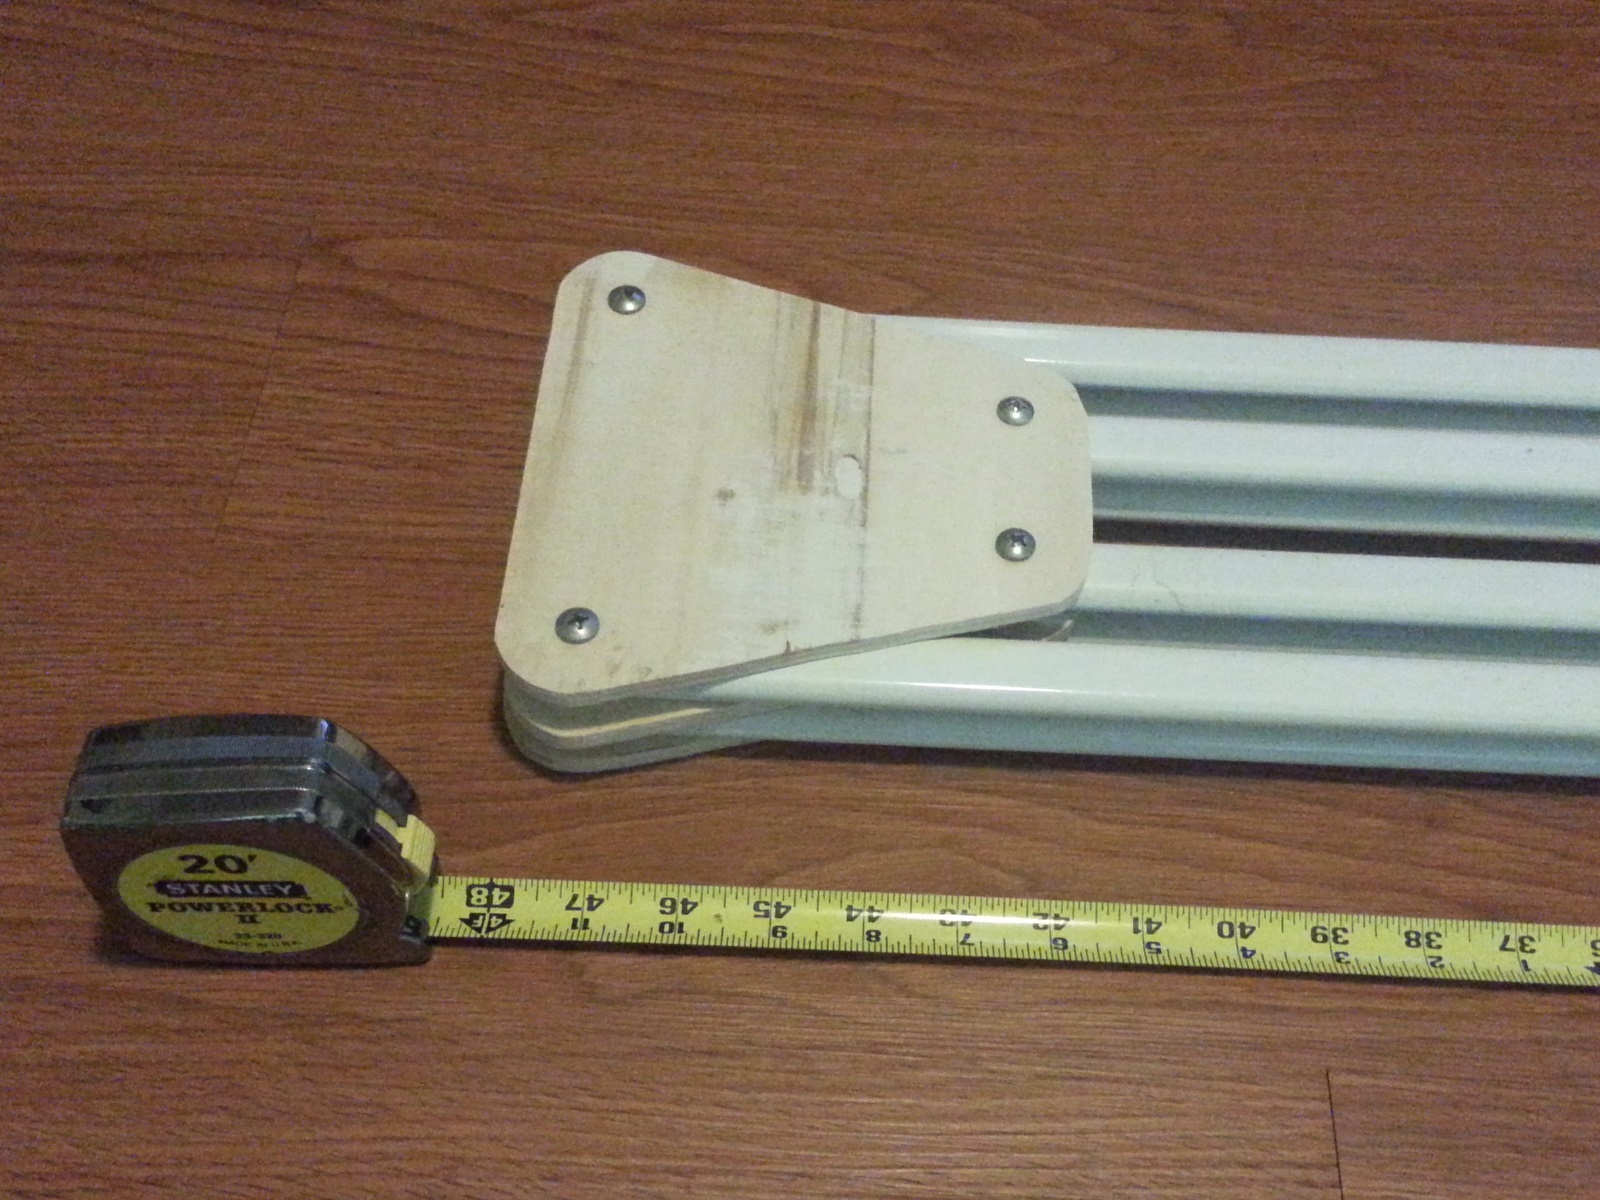
With the new hardware in place I was able to test the arm’s articulation points.
In chapter 2 – I will cover building the camera and light head
Index – Articulated Arm Camera Mount
- Articulated Arm Camera Mount – chapter 1
- Articulated Arm Camera Mount – chapter 2
- Articulated Arm Camera Mount – chapter 3